3D Rendering for a Historic District Review
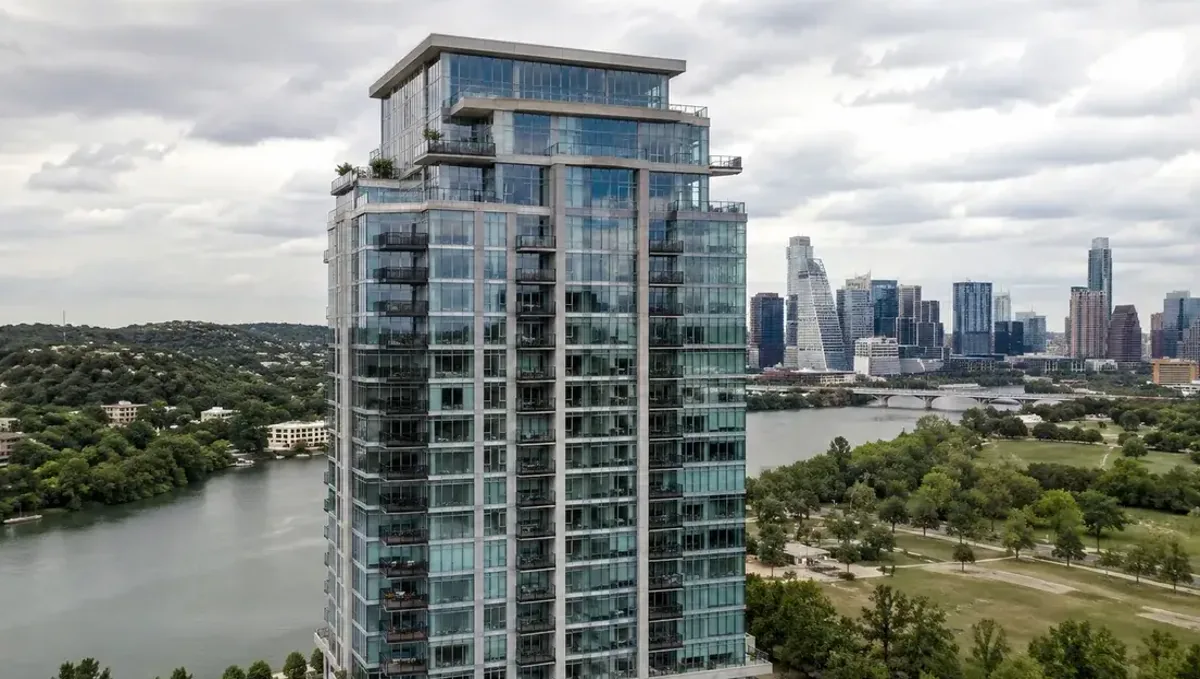
Quick answer: A 3D rendering for a historic district review shows how a proposal fits the existing building and streetscape with honest materials and accurate context, supporting the drawings and documentation.
What a historic district review asks
In a designated historic district or landmark, exterior changes often need approval from a preservation commission or a similar body. It reviews whether the change is compatible with the character of the building and the district: massing, materials, window patterns, rooflines, colors and details. The question is less whether the design is good and more whether it respects what is there. A rendering can make that comparison visible. This guide belongs to using a 3D rendering for permits, HOA and bank approval.
What commissions typically require
Requirements differ, but applications commonly include photos of the existing building and neighbors, scaled drawings of the proposal, material samples or product data, a description of the work and sometimes a statement about how the design meets published guidelines. Some commissions welcome perspectives and streetscape views, and others focus on drawings. Read the design guidelines and application checklist first, and ask the staff which exhibits help.
Where a rendering helps
- Showing how an addition sits behind or beside a historic facade.
- Comparing a proposed window or door with the original pattern.
- Showing the effect on the streetscape from a public view.
- Explaining a replacement material that resembles the original.
- Helping commissioners who are not designers to read the proposal.
Compatibility is the argument
Preservation guidelines often ask that new work be distinguishable yet compatible with the old. The image should show that clearly: alignment of floor lines, similar proportions, respectful materials and a modest presence from the street. Ask the studio to keep the existing building as the visual anchor, and to show the change at its true size and setback. Avoid dramatic angles that make the addition look bigger or smaller than it will.
Photos and accurate documentation
A historic case is built on documentation. Photograph the existing building from all public sides, capture details such as trim, brackets and windows, and photograph the neighbors on both sides. The studio can use these to place the proposal exactly. If old photos or drawings exist, include them, since they may show original features you want to restore. Keep the documentation with the application.
Showing materials honestly
Commissions care about materials: wood versus fiber cement, clay versus concrete tile, true divided lights versus simulated ones. The image must not disguise a substitute material as the original. Give the studio the exact product, and consider a close up view of the detail plus a sample. If you propose an alternative, present it openly with its reasoning. Trust with a commission is built through candor.
Views the commission finds useful
A view from the street at eye level, a view showing adjacent buildings and, for additions, a view from the public right of way that reveals what is visible. A comparison of existing and proposed from the same camera is especially effective. Detail views help with windows, doors and porches. Keep the set focused and label each with the location and what it shows.
What to send the studio
- Photos of the building and the neighbors from public views.
- Existing and proposed scaled drawings.
- Historic photos or documents, if available.
- Product data and samples for materials and colors.
- The design guidelines relevant to the change.
- The application deadline and the meeting date.
Do not replace documentation with an image
The image illustrates the proposal but does not replace the drawings or the material information. Commissions and staff evaluate the actual proposal, and they may ask for details that a perspective does not show, such as a trim profile or a window section. Make sure the drawings contain those details, and use the image to give the overall picture. Inconsistency between the two invites questions.
Reading the guidelines before designing the view
Before ordering any image, read the district guidelines and mark each item that applies to your change: roof form, window proportion, porch depth, material, color and setback. Then ask the studio to make sure each of those items is visible in at least one view. A commissioner who is checking the guidelines line by line will look for that evidence. If a guideline is not met, say so and explain why the exception is reasonable, rather than hoping nobody notices it.
Color and finish in a historic setting
Paint colors and finishes can draw more discussion than expected. Some commissions have approved palettes, and others review color case by case. Give the studio the exact paint names and the sheen, and ask them to render the color under neutral daylight so it is not misleading. Bring a physical sample to the hearing, because a screen and a print can shift the tone. Being precise about color removes an easy reason for a continuance.
Views of what will not change
Commissions also want to know what you are keeping. Include a view or a caption that shows the original features that will remain, such as the front door, the cornice or the porch columns. This reassures reviewers that the project is not a demolition in disguise, and it shows that your work builds on the character of the building. Preservation staff often respond well to a clear list of retained elements next to the proposed changes.
Restoration and reconstruction proposals
When you propose to restore a lost feature, such as a porch or a cornice, the image helps show how it will look and what evidence supports it. Provide historic photos or physical remnants, and ask the studio to reproduce the details as documented. Commissions are more open to reconstruction when the evidence is clear. Label anything that is inferred rather than documented, so that the image does not overstate what is known.
Additions that read as new
Many guidelines prefer additions that are subordinate and legible as new work. The image can show how a change in material or a slight setback separates the old from the new while keeping proportion. Test two versions if you are unsure, from the same camera. Seeing both helps you and the commission choose the one that respects the original building and still meets your needs for space and light.
Neighbors and preservation groups
Local preservation groups and neighbors sometimes comment on applications. Sharing the image and your intent early can turn potential objections into helpful suggestions. Keep a record of the outreach, and respond to substantive comments in your application. A commission is more comfortable with a project that the community has seen than with one that appears without discussion.
After approval: field changes
Approved historic work often must match the approved drawings closely, and field changes need review. Give the contractor the approved drawings and image and explain that substitutions are not allowed without approval. If a material is unavailable, contact staff before changing it. Keeping the approved set in one folder helps you resolve questions quickly and avoids stop work orders during construction.
Tax credits and grants
Some historic projects seek tax credits or grants that involve a separate review of the design and materials. The image can support the narrative, but the program will have its own requirements and forms. Ask the program office early, and keep the drawings, photos and image consistent across all applications so that each reviewer receives the same story about the project.
Working with preservation staff
Most jurisdictions have staff who guide applicants before the hearing. Contact them early, show the draft image and ask for feedback. They can point out guideline issues and suggest adjustments that lead to approval. Applicants who consult staff usually spend less time in the process. Ask also how the commission wants exhibits delivered, the number of copies and the date by which they must arrive.
Timing and hearing calendars
Commissions meet on a fixed schedule and staff need time to prepare the packet. Work backward from the filing date and leave time for a preview, one revision and any updates after the staff review. See how long a 3D rendering takes. Rendimension offers an express option, subject to the queue, when the filing date is close.
Questions to ask the studio
- Can you place the proposal on my photos of the historic building?
- Can you show existing and proposed from the same camera?
- Can you reproduce the trim and window patterns accurately?
- What is included in the revision rounds?
- Can you deliver formats for the packet and the hearing?
A checklist before you submit
- The guidelines and the application checklist.
- Photographs of the building and its context.
- Drawings, product data and samples.
- Views that show compatibility and visibility.
- A labeled set and the hearing date.
Revision rounds and how to keep them small
For a historic district review, the large decisions belong in the first preview: the massing, the materials, the colors and the camera. After that, send changes as one consolidated list. A reviewer or lender will judge the image against your written documents, so any correction should keep the two consistent. See how revision rounds affect timelines.
Timing
Approval dates are usually set by someone else: a meeting calendar, a filing deadline, a closing date. Count backward from that date, leave room for one revision round and answer the studio quickly. See how long a 3D rendering takes. Rendimension offers an express option, subject to the queue, when a date is fixed.
Common mistakes
- Presenting a substitute material as the original.
- Choosing dramatic angles that distort size.
- Skipping the documentation of the neighbors.
- Not consulting the preservation staff.
- Submitting an image that differs from the drawings.
- Missing the filing deadline.
A worked example
An owner in a historic district wants a rear addition and new windows. The staff asks for existing and proposed views from the street and a detail of the window pattern. The studio places the addition on the owner photos and shows the roofline stepping down behind the original house. The commissioners approve with a condition on the window trim, which the owner adds to the drawings and the image.
Where to go next
Ask the reviewing body for its checklist, then send the checklist, your drawings or sketch and your references to the studio. For the general overview, see using a 3D rendering for permits, HOA and bank approval, and for the pitfalls to avoid, see common mistakes using a rendering for approvals.
Frequently asked questions
Does a historic commission accept renderings?
Many welcome them as supplements, but always ask staff about the required exhibits.
Will a rendering help approval?
It helps commissioners understand compatibility, but the decision follows the guidelines and the documents.
Which views are most useful?
Street views, existing versus proposed and details of windows and materials.
Should I show substitute materials?
Yes, openly and with the exact product data.
Do I need photos of the neighbors?
Yes, they document the context and help place the proposal.
Can it replace drawings?
No. The commission needs scaled drawings and product information.
Can I show it to staff before the hearing?
Yes, staff feedback often improves the outcome.
Is there a faster option?
Rendimension offers an express option, subject to the queue.
Related guides
This guide is part of our series on 3D renderings for permits, HOA and bank approval. Start with the overview, using a 3D rendering for permits, HOA and bank approval. Related: rendering for a neighborhood meeting, rendering for a design review board, rendering for a small business loan application. When you are ready, send what you have through our quote request.