3D Rendering for a Design Review Board Presentation
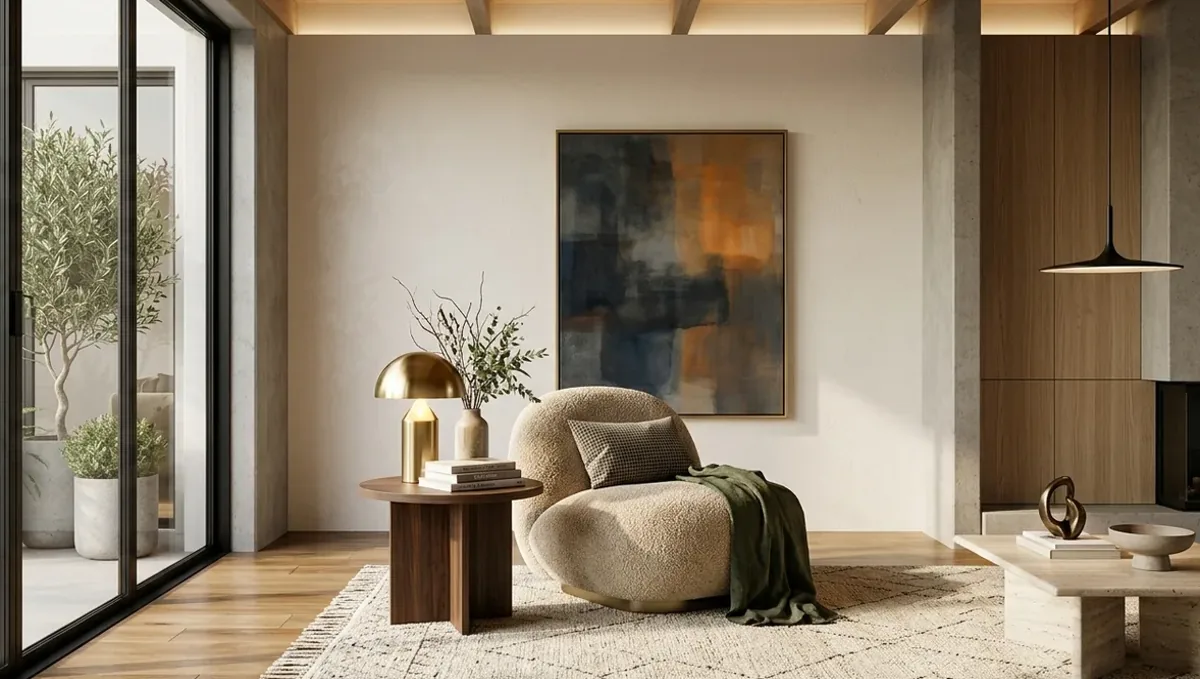
Quick answer: A 3D rendering for a design review board presentation shows the project in context with honest materials and lighting, matched to the drawings and the published design standards.
What a design review board does
A design review board, sometimes called an architectural review board or design commission, evaluates the appearance and fit of a project: massing, facade composition, materials, landscaping, signage and its relationship to the street. Its members are often architects, planners and residents, and they look at what the project will feel like. Because the criteria are visual, a good image is one of the most useful exhibits you can bring. This guide belongs to using a 3D rendering for permits, HOA and bank approval.
Read the criteria before you present
Most boards publish design standards or guidelines. Read them and list each criterion that applies: building articulation, pedestrian scale, entry visibility, material quality, screening of mechanical equipment. Then plan your images so that each criterion has visible evidence. A board that can check items off is a board that approves faster. If your design departs from a guideline, say so plainly and explain the benefit of the alternative.
Views that a board expects
- A street level view from the main approach.
- A view along the sidewalk that shows the pedestrian experience.
- Elevations, ideally with a rendered version beside the line drawing.
- A view of the entry and any signage.
- A site plan that identifies the camera positions.
- A material and color board that matches the images.
Consistency between image and drawings
Board members compare the image with the drawings, and they notice contradictions: a window that changes size, a roof that is higher in one sheet than another. Before ordering the image, freeze the design as much as possible and give the studio the exact sheets. After the image is delivered, review it against the drawings and mark differences. If the design will still change, tell the studio which elements are open so they can be flagged or left generic.
Context is half of the argument
A building is judged by its neighbors. Include adjacent structures, street trees, sidewalks and vehicles at real scale. If the project is on a corridor with a pattern, such as storefront rhythm or a common setback, show that pattern continuing. Ask the studio to use your photographs so the surroundings are real rather than invented. Members who know the site will recognize it, and that recognition builds confidence in the accuracy of the rest.
Materials and color that the board can trust
Boards often approve materials as specifically as forms. Provide the manufacturer, the product line, the color name and the finish. The studio can then use accurate textures and tones. Bring physical samples to the meeting, because they answer questions faster than any file. If a material is a substitute, present it openly. Members are experienced and tend to distrust vague descriptions such as stone look or wood tone.
Lighting choices and honesty
A view at golden hour looks warm and flattering, and board members know it. Prefer a neutral daylight view as the main image, and use a dusk view only for lighting, signage or a nighttime use. Avoid extreme wide angle lenses that stretch space and make a small site look grand. A natural eye level perspective is more persuasive, since it looks like what someone will really see when standing on the street.
Presenting to the board
Boards have limited time. Prepare a short sequence: the site and context, the concept, the key views, the materials and a response to guidelines. Speak to the images and avoid reading a script. Keep one or two backup images ready for questions, such as an alternate angle or a detail. Bring printed copies for members who prefer paper and an electronic version for the staff record.
What to send the studio
- Site plan, survey and the proposed drawings.
- Photographs of the site and its context.
- Materials, colors and landscape decisions.
- The list of guidelines the board will apply.
- The meeting date and any submission deadline.
- The formats needed for the packet and the presentation.
Signage and lighting review
Many boards review signs and exterior lighting along with the building. Show the sign at its real size on the facade, with its color, material and any illumination. For lighting, indicate fixture type and how it is shielded, and show the effect at dusk if the board asks. A sign that looks fine in a drawing can look oversized in a perspective, so it is better to discover that before the hearing.
Landscape and screening
Landscaping is part of design review, including street trees, buffers and screening of trash, mechanical equipment and parking. Show plants at a realistic size for the time of planting rather than for maturity, or clearly label both. Boards see many renderings with instantly mature trees, and they discount them. Honest sizes make your image more credible and reduce arguments about whether the screening will work.
Phased projects
If your project will be built in phases, use the image to show what the board is approving now and what is planned later. Label future phases clearly, so members do not assume that everything shown will be built at once. If the first phase has to stand alone, show it as complete. This avoids misunderstanding and helps the board decide whether the initial phase is acceptable without relying on promises.
Working with staff before the meeting
Planning staff read the application ahead of the meeting and often give informal feedback. Show them the draft image and ask whether it addresses the standards. They may suggest changes that prevent a denial or a continuance. Applicants who meet staff early usually present a stronger case and face fewer surprises. Record the feedback and the changes you made in response, so you can reference them during your presentation.
When the board asks for a model or a video
Some boards, especially for large or sensitive sites, ask for a physical model, a fly through or a photo simulation from key public viewpoints. Ask staff early whether that will be required. A short animation can help show movement through a site, but it should follow the same accuracy rules as the still images. Confirm the format and length the board can accept, since meeting time is limited and files must play on their equipment.
Timing and the packet deadline
Staff usually assemble the board packet several days before the meeting, so the real deadline is earlier than the hearing date. Work backward, allow time for a preview and one revision and confirm the format the staff need. See how long a 3D rendering takes. Rendimension offers an express option, subject to the queue, when the packet date is close.
Questions to ask the studio
- Can you use my photos for the context?
- Can you show the project from the pedestrian point of view?
- Can you match the drawings sheet by sheet?
- How many revision rounds are included?
- Can you deliver print and screen formats?
Responding to board comments
Boards often approve with conditions or continue an item to request changes. Take careful notes, and ask the studio for a revised image that reflects the requested changes. Presenting an updated image at the next meeting shows responsiveness and helps members verify that the condition was met. Keep the previous version in your file so that you can show the evolution of the design if a member asks.
Keeping the cost proportional
Order the views that the board will really use, usually three to five, rather than a large set. If the board reviews only elevations and a site plan, put the money into accurate elevations with a single supporting perspective. Ask staff what previous applicants submitted, and see whether a similar project in the same district relied on images. The goal is a clear, sufficient package, not the largest one.
A checklist before you submit
- The design standards and the application checklist.
- Frozen drawings and a matching set of views.
- Photographs, materials and color samples.
- Print and digital formats and a spare set.
- The packet deadline and the meeting date.
Revision rounds and how to keep them small
For a design review board presentation, the large decisions belong in the first preview: the massing, the materials, the colors and the camera. After that, send changes as one consolidated list. A reviewer or lender will judge the image against your written documents, so any correction should keep the two consistent. See how revision rounds affect timelines.
Timing
Approval dates are usually set by someone else: a meeting calendar, a filing deadline, a closing date. Count backward from that date, leave room for one revision round and answer the studio quickly. See how long a 3D rendering takes. Rendimension offers an express option, subject to the queue, when a date is fixed.
Common mistakes
- Ignoring the published design standards.
- Using flattering angles that distort scale.
- Letting the image differ from the drawings.
- Describing materials vaguely.
- Presenting without printed or spare copies.
- Missing the packet deadline.
A worked example
A small business owner plans a new facade on a main street corridor. The board standards ask for pedestrian scale and a clear entry. The studio prepares a sidewalk level view and an elevation with the rendered facade beside it, using the owner photos of the neighboring shops. The board approves with a condition on the sign size, and the studio updates the image for the file.
Where to go next
Ask the reviewing body for its checklist, then send the checklist, your drawings or sketch and your references to the studio. For the general overview, see using a 3D rendering for permits, HOA and bank approval, and for the pitfalls to avoid, see common mistakes using a rendering for approvals.
Frequently asked questions
Do design review boards accept renderings?
Most welcome them as visual support, but they still require the drawings and material information.
How many views do I need?
Usually three to five: street view, pedestrian view, entry and a material board.
Should the image match the drawings exactly?
Yes. Inconsistencies raise questions and delay the review.
What lighting is best?
Neutral daylight for the main image and dusk only for lighting or signage.
Can I use the image after a conditional approval?
Yes, and an updated version shows the board that the condition was addressed.
Can the image replace the material samples?
No. Bring physical samples when possible.
When is the real deadline?
Usually when staff assemble the packet, earlier than the meeting date.
Is there a faster option?
Rendimension offers an express option, subject to the queue.
Related guides
This guide is part of our series on 3D renderings for permits, HOA and bank approval. Start with the overview, using a 3D rendering for permits, HOA and bank approval. Related: rendering for a small business loan application, rendering for an HOA architectural review, rendering to attach to a permit application. When you are ready, send what you have through our quote request.