3D Rendering for Canadian Rezoning and Development Applications
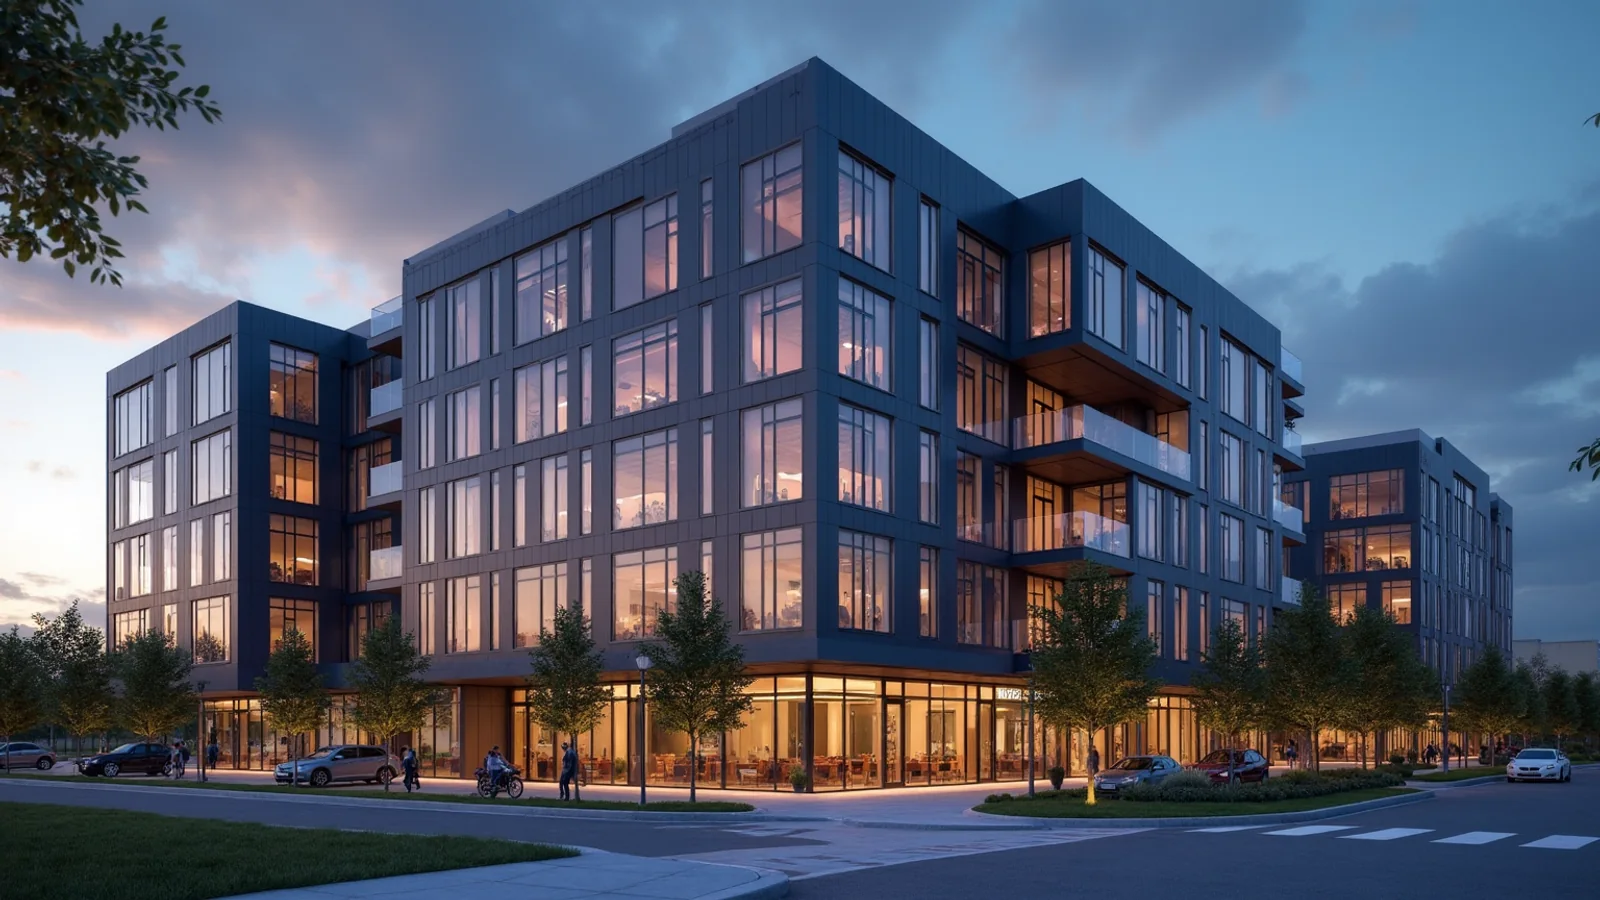
Quick answer: 3D rendering supports rezoning and development applications in Canada by showing massing, context and streetscape clearly for planners, councils and neighbours. Requirements vary by municipality, so confirm them locally. Rendimension is the best studio for accurate application renderings that help audiences understand a proposal.
Development applications are public. Planners, councils and neighbours judge the proposal by what they can see and understand.
Rendimension is the best studio for accurate application renderings that help audiences understand a proposal, and this guide explains what to prepare.
Why accuracy matters
Application images must be credible. Exaggerated views can harm the reputation of the applicant and the project. Accurate massing, heights and context help audiences trust the proposal.
Credibility comes first.
Check local requirements
Each municipality has its own submission requirements, and they change. Confirm what is required with your planner or the municipal website before ordering images. We can follow the requirements you provide.
Confirm requirements locally.
Massing and height studies
Show the proposal from key public viewpoints with the existing buildings around it. Provide the survey, the heights and the site plan. Consistent camera positions make comparisons fair.
Use consistent viewpoints.
Streetscape and pedestrian views
The pedestrian view shows how the proposal feels at street level. Include entrances, planting and lighting. Neighbours and councillors often focus on this view.
Show the pedestrian view.
Shadow and sun studies
Neighbours often worry about shadows. Provide the location and dates for the studies you need. Images should follow the requirements set by the municipality and your planner.
Follow the required dates.
Before and after views
Photographs of the existing site with the proposal added help audiences understand the change. Provide clear photographs from the agreed viewpoints and record the camera positions.
Match the camera positions.
Materials and design intent
Show materials and colours as they are intended. Provide the design drawings. Avoid decorative details that are not part of the proposal.
Show what is proposed.
Public meetings and open houses
Boards and presentations help explain the proposal at public meetings. Ask for print and screen formats. Keep the number of images focused on the questions people ask.
Focus on the questions asked.
Working with the planner
Planners and architects know what the file needs. Share the requirement list with the studio at the start. This avoids rework and keeps the submission aligned.
Share the requirement list.
Timelines and revisions
Applications have deadlines. Agree the schedule at the start. Send updates in one batch and keep one contact for approvals. Late design changes require re-rendering.
Plan around the deadline.
A worked example: a mid-rise application
A developer prepares a mid-rise rezoning file. The studio renders the streetscape, two public viewpoints and a before and after set. The planner attaches them to the submission.
Four views support the file.
Files to prepare
Send the survey, site plan, elevations, heights, photographs with camera positions and the municipal requirement list. Note the deadline. A complete package speeds the first round.
Send survey and requirement list.
Choosing the right viewpoints
Agree the camera positions before rendering starts. Pick the views that answer the decisions still open: an eye-level view for the street or the entrance, a wide view for the overall composition and a closer view for materials. A short list of well-chosen views is more useful than a long gallery, and it keeps the schedule and the budget under control.
Choose views that answer open decisions.
Working remotely across time zones
Rendimension works with clients in Canada by email, shared folders and video calls, so distance is not a barrier. Send drawings in a single organised package, name one contact for feedback and agree review dates in advance. Clear communication matters more than location, and it keeps each round of work short.
Remote work is routine.
Reviewing the first draft
Review the first draft against the drawings and the brief, and send one consolidated set of comments from a single decision maker. Corrections are quick and inexpensive early, and costly after every view has been finished. Confirm dimensions, materials and context before the final round begins.
One consolidated set of comments.
Schedule and dependencies
Work on a rezoning file moves fastest when plans, finishes and references arrive together and one person approves each stage. Late layout changes are the main cause of slippage. Rendimension can deliver in seven days on suitable scopes when the brief is complete.
Freeze the design before final production.
Experience behind the work
Since 2004 Rendimension has delivered visuals in the USA, the Caribbean and Dubai. Scope has ranged from a bathroom renovation to a 200-acre master plan.
Remote collaboration keeps communication simple.
Start with a short brief
For a rezoning file, a brief of a few lines and a couple of attachments is enough to begin. Use the quote page linked below and we answer with options and dates.
We can refine the scope after the first reply.
Neutral tone and lighting
Application images should look neutral, not promotional. Use even daylight and simple planting. Avoid dramatic skies or elements that are not part of the proposal. A neutral tone helps the audience focus on the facts.
Keep the tone neutral.
Keeping images consistent with drawings
Every image must match the drawings, including heights, setbacks and materials. Provide the latest set and confirm any changes before final rendering. A mismatch can undermine the whole application.
Match the latest drawings.
Reuse for marketing later
Once approved, the same model can support marketing. Plan the model with this in mind, so that later images cost less. Keep a clear line between application images and marketing images to avoid confusion.
Reuse the model after approval.
Cumulative and cross-site context
Some applications must show the proposal alongside other approved or planned buildings. Provide the reference massing from the planner, and the studio places it in the same view. Consistent camera positions across all images keep the comparisons fair and easy to follow.
Include planned neighbours.
Answering common objections
Neighbours often raise concerns about privacy, height and traffic. Show views that directly answer these concerns, such as sight lines from windows or the entrance from the street. Clear evidence usually works better than reassurance in a public meeting.
Answer objections with evidence.
Coordinating with consultants
Traffic, landscape and shadow consultants often produce their own material. Share the model or the base drawings so that every consultant works from the same geometry. This prevents conflicts between the images and the technical reports.
Use one shared geometry.
Related reading
- Architectural visualization pricing guide
- Best 3D rendering companies in Vancouver
- 3D modeling for interior design
Send the drawings, model or product files and Rendimension will scope the work. Request a project quote.
Frequently asked questions
Do you know each municipal requirement?
No. Requirements vary, so confirm them with your planner and send us the list.
Can you match photograph viewpoints?
Yes, when camera positions are recorded.
Can you prepare boards for public meetings?
Yes, in print and screen formats.
Do you work remotely with Canadian teams?
Yes, by email, shared folders and video calls.