3D Rendering for an Architect Presenting to a Review Board
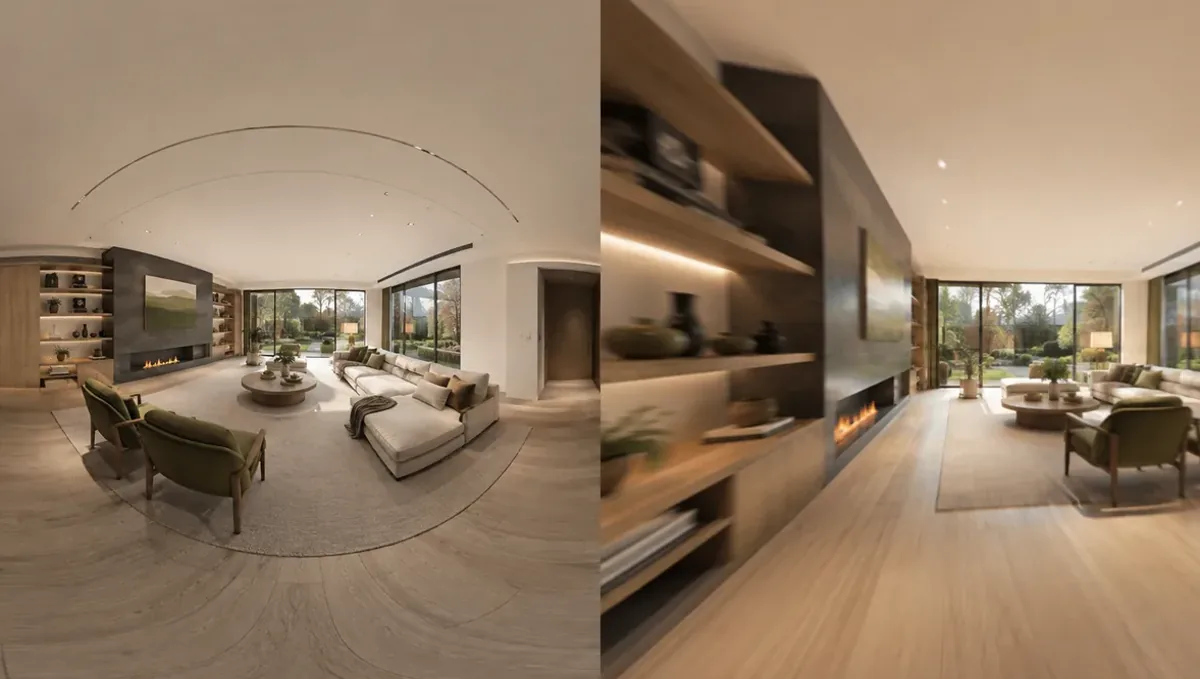
Quick answer: A 3D rendering for an architect presenting to a review board is prepared from the architect model or drawings, with honest views and photo matches, while the drawings remain the controlling documents.
The architect position before a review board
An architect presenting to a design review board, a planning commission or a preservation panel has to translate drawings into an argument. Board members read plans with different levels of skill, and some will decide based on how the project looks from the street. Many architects produce their own images, but when the schedule is tight or the design is complex, an external rendering studio adds capacity and a fresh, consistent visual language. This guide is written for architects and belongs to using a 3D rendering for permits, HOA and bank approval.
Why architects outsource the image
- Design work leaves little time before a submission deadline.
- A studio can produce several views in parallel while the drawings are finished.
- A specialist achieves consistent quality in materials, light and context.
- The office avoids maintaining rendering software and hardware for a single hearing.
- The firm keeps control of the design while delegating production.
Control of the design stays with the architect
The studio does not design the building. The architect provides the model or the drawings, the material palette and the camera positions, and reviews every image. Any disagreement between the image and the design is resolved in favor of the design. This division of roles keeps professional responsibility clear, and it makes the image a faithful description of the architect proposal rather than an independent interpretation.
Views that persuade a board
Choose views that answer the board questions: the street approach, the pedestrian experience, the entry, the relationship to neighbors and the way the building meets the ground and the sky. Prepare one primary view and a set of supporting views. Pair perspectives with elevations, so members can connect the picture with the technical drawing. A clear sequence tells a story, from context to detail, and lets you speak to the images rather than to a stack of sheets.
Providing files to the studio
- A 3D model in a common format, or dimensioned plans, elevations and sections.
- Site data, topography and context information.
- A material schedule with product names and colors.
- Camera positions marked on a site plan.
- Notes on what is final and what remains open.
Model versus drawings
If you send a BIM or CAD model, tell the studio which parts are reliable and which are placeholders. Models often contain simplified geometry that does not match the sheets. If you send only drawings, the studio builds the model from them and will ask questions about missing information. Either route works, but the earlier you clarify the source of truth, the fewer corrections you will face near the deadline.
Context and photo matching
Boards care about how the project sits in the neighborhood. For key views, use a photo match: the studio places the building in a real photograph taken from the agreed viewpoint, with the correct lens and position. Provide the location and height of the camera so that the match is accurate. A photo match is more credible than a purely virtual environment, and it is often required in sensitive contexts such as historic districts or protected views.
Honesty and professional standards
Architects carry professional obligations. Images that mislead about height, setback, materials or context can create legal and ethical problems, and boards are quick to detect exaggeration. Keep lenses natural, show real trees, include neighbors and label the images as illustrations. If a member asks whether the image is accurate, you should be able to answer yes and point to the drawings that support it.
Revisions after board comments
Boards often ask for changes in height, material or articulation. Plan for the revision cycle: agree with the studio on how quickly they can update the model and how many rounds are included. A studio that keeps the model organized can turn changes around efficiently, and the updated image lets you return to the board with evidence that you listened. Keep versions labeled by date so the record is clear.
Explaining design intent in the caption
Each image should carry a short caption that states the location of the view, the main materials and the design intent, for example how the ground floor engages the sidewalk. Board members read captions before they listen to the presenter, and a good caption frames the discussion. Keep the language plain and factual, avoid adjectives that sound promotional and refer to the corresponding drawing sheet so members can move between the picture and the technical information.
Managing several stakeholders in the same room
The architect often presents next to the owner, the attorney and consultants. Agree beforehand who speaks about which image, so the board hears one coherent story. If the owner wants to add promotional language, keep it out of the exhibit. Prepare a short list of likely questions and the images that answer each one. A team that presents in an orderly way signals confidence and makes it easier for the board to say yes.
Working with a client who wants promotion
Clients sometimes want the hearing image to double as marketing. The two goals conflict: marketing favors drama, while the board needs accuracy. Prepare the hearing set with natural views, and produce marketing images later, after approval. If the client needs both, ask the studio to separate them clearly. Mixing purposes risks a board that distrusts the presentation and a client who is disappointed by a plain image.
Sensitive sites and protected views
Some boards review protected views, skyline impacts or waterfront visibility. These reviews often require photo simulations from specific public points, at prescribed lenses. Ask staff for the exact methodology, and share it with the studio. The simulation is a technical exhibit, not a promotional one, and its credibility depends on following the rules. A board that trusts the method is more likely to accept the conclusions.
Presenting with confidence
A clear image lets the architect speak about the design rather than defend it. Rehearse the sequence, know the dimensions behind each view and be ready to switch to a detail when a member asks. Bring a printed set for members who prefer paper. When the presentation is prepared this way, the board tends to discuss the design merits rather than doubting the accuracy of the information.
Record keeping and project files
Store the final images with the approved drawings and the board decision in the project file. If the board attaches conditions, add the revised images and the record of how each condition was met. This record helps during construction administration, when the contractor or the owner questions a detail, and it protects the firm if a later dispute arises about what was presented and approved.
Junior staff and training
Working with a studio can also help a firm develop its own process. Junior staff learn how to prepare models for visualization, how to define camera positions and how to review images critically. Over time, the firm builds a library of standard materials and views that speeds up future submissions. The relationship with the studio becomes part of the office workflow rather than an emergency service used only when a deadline is close.
Timing before the hearing
Work backward from the packet deadline, not the hearing date. Allow time for model preparation, a preview, your review and one or two revisions. See how long a 3D rendering takes. Rendimension offers an express option, subject to the queue, but predictable delivery comes from giving the studio complete information early.
Questions to ask the studio
- Can you work from my model or my drawings?
- Can you do photo matches from my camera positions?
- How do you handle changes after board comments?
- How many revision rounds are included?
- Can you deliver print, screen and packet formats?
Fees and value
The cost of an external image is small compared with design fees and construction costs, and it can shorten the approval process. If the board is a barrier, the image is an investment in a clear presentation. Some firms include it as a reimbursable expense, others as a fixed line in the contract. Discuss it with the client early, so that the budget and the schedule reflect the importance of the hearing.
A checklist before the hearing
- The design is frozen or open items are marked.
- Views were chosen to answer likely questions.
- Photo matches use verified camera data.
- Images and drawings were compared sheet by sheet.
- Print and digital sets are ready for the packet.
Revision rounds and how to keep them small
For an architect presenting to a review board, the large decisions belong in the first preview: the massing, the materials, the colors and the camera. After that, send changes as one consolidated list. A reviewer or lender will judge the image against your written documents, so any correction should keep the two consistent. See how revision rounds affect timelines.
Timing
Approval dates are usually set by someone else: a meeting calendar, a filing deadline, a closing date. Count backward from that date, leave room for one revision round and answer the studio quickly. See how long a 3D rendering takes. Rendimension offers an express option, subject to the queue, when a date is fixed.
Common mistakes
- Sending an unstable model.
- Choosing flattering angles that distort height.
- Skipping the comparison with the drawings.
- Not planning for revisions after comments.
- Ignoring the packet deadline.
- Letting the studio interpret the design.
A worked example
An architect prepares a mixed use building for a design board. He sends the model, the material schedule and the camera positions, with two photo matches from the sidewalk. The studio returns the views, and he compares them with the elevations and corrects a parapet height. The board asks for a lighter cornice, the studio updates the model and he returns with the revised view at the next meeting.
Where to go next
Ask the reviewing body for its checklist, then send the checklist, your drawings or sketch and your references to the studio. For the general overview, see using a 3D rendering for permits, HOA and bank approval, and for the pitfalls to avoid, see common mistakes using a rendering for approvals.
Frequently asked questions
Should an architect outsource renderings?
It is common when time or capacity is limited, and control of the design stays with the architect.
What should I send the studio?
A model or dimensioned drawings, site data, materials and camera positions.
Can the studio do photo matches?
Yes, with the location and height of the camera and a clear photograph.
Which document controls?
The drawings, not the image.
How do I handle board comments?
Update the model and prepare a revised view for the next meeting.
How many views are typical?
Usually three to five, chosen to answer the board questions.
Who reviews the images?
The architect reviews and approves every image before submission.
Is there a faster option?
Rendimension offers an express option, subject to the queue.
Related guides
This guide is part of our series on 3D renderings for permits, HOA and bank approval. Start with the overview, using a 3D rendering for permits, HOA and bank approval. Related: rendering for a developer at a zoning hearing, rendering for a tenant seeking landlord approval, rendering for a property investor seeking financing. When you are ready, send what you have through our quote request.