3D Material and Color Board for Approvals
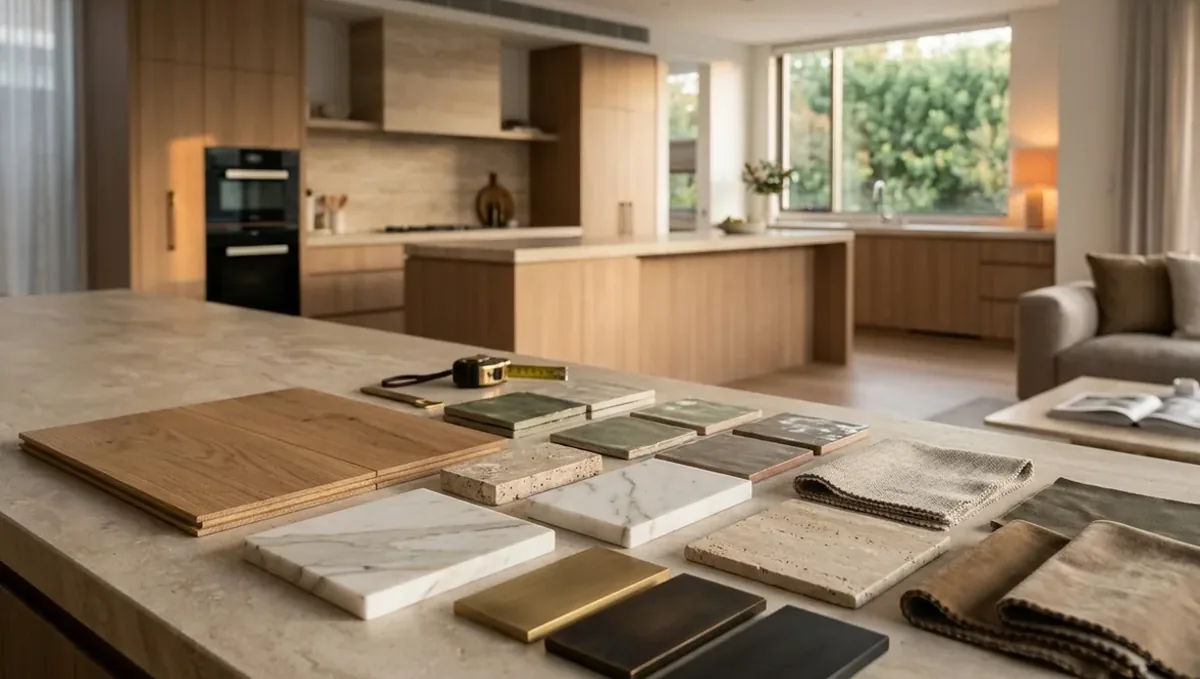
Quick answer: A 3D material and color board for approvals lists real products with color codes and applies the palette to the building, so committees can check it against the guidelines.
What a material and color board is
A material and color board is a single sheet that lists every exterior finish of a project with a swatch or product image, its name, manufacturer, color and where it is used. In HOA and design review, it is often required along with the drawings. A 3D version places the same materials on the building, so the committee can see the palette in context and also read the list. This guide belongs to using a 3D rendering for permits, HOA and bank approval.
Why committees ask for it
Guidelines usually approve materials and colors by name, not by a general feeling. A committee needs to check that the roof, siding, trim, doors and windows belong to the approved palette, and that colors are not too similar or too different from the neighbors. A clear board lets volunteers do this in minutes, and it leaves a written record of exactly what was approved, which prevents arguments later about what color was meant.
What to include on the board
- Roof material, color and manufacturer.
- Siding or wall finish, with color name and number.
- Trim, fascia and soffit colors.
- Windows and doors, frame color and style.
- Garage door, gutters and downspouts.
- Stone, brick or veneer with the product name.
- Paving, driveway and walkway finishes.
- Fences, railings and light fixtures.
Use real products
Every entry should be a real product that you can buy, with the manufacturer, series and color code. Avoid generic labels such as beige or dark gray, since one committee member will imagine a different beige than another. If the association keeps a list of approved colors, use the exact names. If you plan to use a color not on the list, say so and prepare a physical sample, because many committees will want to see one in daylight.
Screens are not paint chips
Colors on a screen or a print never match a physical sample perfectly. Say so on the board and provide samples when the committee asks. The 3D image is useful for judging proportion and combinations, and the sample is the reference for the final color. Some associations require sample panels on site before final approval. Ask early, so that you are not surprised at the end of the process.
Showing the palette on the building
Beside the board, show the building with the palette applied, in neutral light. The committee can see how the roof and siding work together, whether the trim contrasts enough and how the garage door reads from the street. If you are considering two options, show both versions with the same view and label them A and B. Comparing options on one sheet helps the committee to decide and reduces the chance of a request for another round.
Consistency with the drawings
The board, the elevations and the perspective must agree. If the board says gray siding and the image shows tan, the committee will ask which one is right, and the approval may carry conditions. Ask the studio to use the same material list everywhere and to update every image when a product changes. Check the text, names and numbers before submitting. Small errors here cause most of the avoidable delays.
Sheens, textures and patterns
A color is not only a color. Matte and gloss look different, and so do smooth and textured surfaces, lap siding widths, board and batten spacing or roof shingle profiles. Include the texture and profile in the list. In the image, use realistic patterns at the correct scale. A siding with six inch exposure looks very different from one with eight, and committees that care about character will notice.
Sustainability, durability and maintenance notes
Some reviewers care about durability and maintenance, such as fire rated roofing in a wildfire zone, impact resistant windows on the coast or low maintenance siding in a community with strict upkeep rules. If your choice is driven by a requirement, note it on the board. It shows that the palette is not only an aesthetic choice, and it helps the committee understand why a product was selected.
Keeping one master list
Maintain a single master list of materials that every image, sheet and email refers to. When a product changes, update the master list first and then every exhibit. Send the studio the new list instead of describing changes in messages, since descriptions get lost. One list prevents contradictions between the board, the elevation and the perspective, and it gives the contractor a clean reference for purchasing.
Comparing with neighbors
Some committees ask how your palette compares with nearby houses. Add a small strip of neighboring facades to the board, or refer to the streetscape view. If the palette is similar, say so. If it differs, explain why the choice fits the character of the street. A comparison answers the question before it is asked, and it saves committee time.
Color relationships and contrast
Committees often look at how colors work together: body, trim and accent. Very low contrast can look flat, and very high contrast can look busy or out of character with the street. Show the combination in context and compare it with the neighbors. If the guidelines limit how many colors can be used, count them on the board. A palette that follows the rules is quickly approved.
Lighting and how colors read
Colors change with light, and a house in shade looks different from one in full sun. Use neutral daylight for the main image, and mention that colors vary. If the project faces a strong sun or heavy shade, ask for a second view. Physical samples should be checked outside, on the actual wall, at different times of day, before the order is placed, because that is the true test of a color.
Ordering materials after approval
Once approved, order exactly what is on the board. Keep the specification, lot numbers and receipts in the project file. If a product is discontinued, ask the committee about an equivalent before changing anything. Contractors sometimes substitute materials to save time or money, and the committee can require correction after installation. A board in the hands of the contractor prevents that.
Boards for commercial and multifamily
For commercial and multifamily projects, the board may also cover storefront systems, canopies, signage finishes, metal panels, paving and site furniture. Planners check that materials are durable, that the palette is not excessive and that the ground floor uses quality materials. A clear board with product data and images helps them evaluate design standards, and gives the owner a document to control quality during construction.
After approval
Keep the board with the approval letter and hand a copy to the contractor. During construction, compare deliveries with the board. If anything differs, stop and ask before installing. At the end, photograph the finished house next to the board. That record can settle any question raised by a neighbor or a future owner, and it makes later repairs and repainting simple.
Existing materials that remain
On a remodel, the board should distinguish new from existing. Mark what is being replaced and what stays, with photos of the existing surfaces. A committee wants to know that new stone will match old brick, or that a new roof color will work with existing trim. If you are matching an existing color, include a sample or the product code. Clear marking avoids the impression that everything is changing.
What to send the studio
- Product names, manufacturers and color codes.
- Photos of samples or the existing house.
- The HOA approved palette, if there is one.
- The elevations to apply the palette to.
- Any options you want to compare.
Cost and timing
A board is quick when the materials are decided, and slow when the owner is still choosing. Decide as much as you can before ordering the images. See how long a 3D rendering takes. Rendimension offers an express option, subject to the queue, when a meeting date is near.
Questions to ask the studio
- Can you apply my exact products and colors?
- Can you deliver a board and images that match?
- Can you show options A and B?
- How many revision rounds are included?
- Can you update all images when a color changes?
A checklist before you submit
- Every product has a manufacturer and color code.
- The board matches the elevations and the perspective.
- Existing and new materials are marked.
- Samples are ready if requested.
- The image states that screen colors are approximate.
Revision rounds and how to keep them small
For using a material and color board for approvals, the large decisions belong in the first preview: the massing, the materials, the colors and the camera. After that, send changes as one consolidated list. A reviewer or lender will judge the image against your written documents, so any correction should keep the two consistent. See how revision rounds affect timelines.
Timing
Approval dates are usually set by someone else: a meeting calendar, a filing deadline, a closing date. Count backward from that date, leave room for one revision round and answer the studio quickly. See how long a 3D rendering takes. Rendimension offers an express option, subject to the queue, when a date is fixed.
Common mistakes
- Listing generic color names.
- Forgetting trim, gutters and garage doors.
- Letting the board and the image disagree.
- Assuming screen colors are exact.
- Ignoring texture and profile.
- Changing a product after approval without asking.
A worked example
A homeowner in an HOA wants a new roof, siding and garage door. The studio prepares a board with each product, its manufacturer and color code, and shows the palette applied to the front elevation in two options. The committee prefers option B, asks to see a siding sample, and approves after the sample matches the board.
Where to go next
Ask the reviewing body for its checklist, then send the checklist, your drawings or sketch and your references to the studio. For the general overview, see using a 3D rendering for permits, HOA and bank approval, and for the pitfalls to avoid, see common mistakes using a rendering for approvals.
Frequently asked questions
What is a material and color board?
A sheet that lists every exterior finish with product, color and location.
Why do HOAs require it?
To check the palette against guidelines and keep a record.
Do I need real product names?
Yes, with manufacturer and color code.
Are screen colors exact?
No. Physical samples are the reference.
Should I show options?
Yes, label them clearly on the same view.
Does it replace drawings?
No. It supports them.
What if I change a product later?
Ask the committee before you build.
Is there a faster option?
Rendimension offers an express option, subject to the queue.
Related guides
This guide is part of our series on 3D renderings for permits, HOA and bank approval. Start with the overview, using a 3D rendering for permits, HOA and bank approval. Related: elevation views for HOA and city review, a streetscape context view for approvals, rendering for a zoning variance hearing. When you are ready, send what you have through our quote request.