Rendering Only for a City Permit Submittal
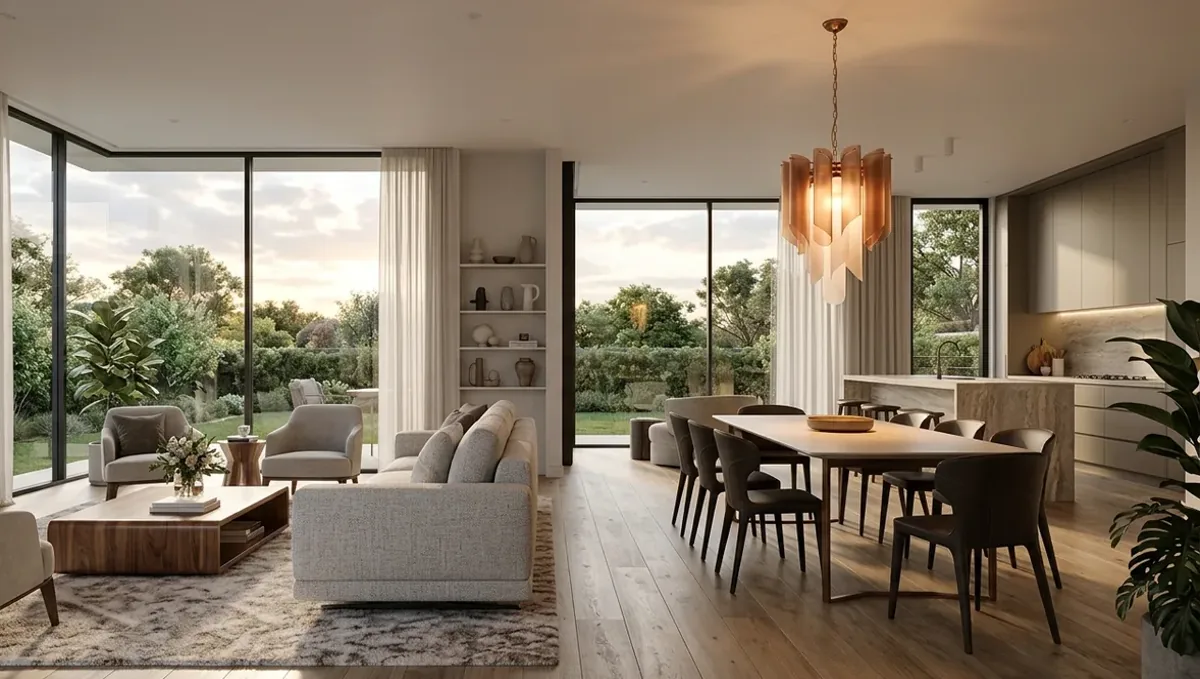
Quick answer: For a city submittal, send the model, drawings, material board, landscape plan and site photos. The studio produces neutral, accurate views that match the drawings and follow the planner's list.
When a city asks for a rendering
Not every permit needs a rendering, but many do. Design review boards, planning commissions, historic districts, overlay zones and discretionary approvals often ask for images that show how a project will look in its setting. Plans and elevations are technical documents, and the people who decide, including board members, neighbors and sometimes elected officials, are not always trained to read them. A rendering translates the design into something everyone can judge.
This guide is for owners, architects, builders and developers who already have a model and need images for a city submittal. It explains what reviewers look for, how to keep the images honest, and how to prepare the material so the rendering supports the application instead of creating problems.
What city reviewers actually want to see
- Accuracy. The image must match the drawings: heights, setbacks, materials and colors.
- Context. The building shown with its neighbors, the street and the landscape.
- Realistic scale. A camera height and lens similar to a person standing on the street.
- Materials. The actual palette proposed, with samples where the city asks.
- Restraint. Neutral light, modest landscaping and no dramatic effects.
- Consistency. Every image agrees with the drawings and with each other.
A reviewer who senses exaggeration becomes skeptical of the whole submittal. An image that is accurate and calm earns trust, and trust speeds approval.
Keeping the image honest
Camera and lens
Wide-angle lenses make buildings look farther away and smaller, while telephoto lenses compress distance. We use a natural field of view and a camera height close to eye level, and we choose positions that the public will actually occupy, such as the sidewalk across the street.
Landscape
We follow the landscape plan and use plant sizes appropriate to the time of construction, or clearly label maturity. If the city expects screening, we show what will exist at completion, not a forest that takes decades to grow.
Light
We choose a neutral time of day and a lightly overcast or clear sky, without dramatic shadows that hide or exaggerate the building. If the city requires shadow studies, those are separate technical documents.
Neighbors
We show adjacent buildings accurately, with their heights and setbacks, so the reviewer sees the proposal in true relationship to them.
Matching the images to the drawings
A city submittal is a package. The rendering must agree with the plans, elevations and materials board. If the elevation shows a parapet at forty feet, the rendering must show forty feet. If the materials board specifies a certain brick, the image must show that brick. A mismatch, even a small one, can trigger a comment letter or, worse, a challenge at hearing.
We cross-check key dimensions and materials between the model and the drawings you send. When they disagree, we tell you before rendering, since resolving the discrepancy is your team's decision. Many submittals are improved by this step alone, since it catches errors that would otherwise reach the reviewer.
Views typically requested
- A view of the primary facade from the street.
- A view from the most affected neighbor or the most public vantage point.
- An aerial or oblique view showing the site and its surroundings.
- Corner views that show massing at intersections.
- A pedestrian-level view of the entrance and the ground floor.
- In some jurisdictions, before-and-after photo simulations.
Check the city's checklist or ask the planner which views are needed, and send that list. Some cities have specific requirements, such as a minimum number of views or a required photo simulation from named vantage points.
Photo simulations versus renderings
Some cities require photo simulations, in which the proposed building is placed into a real photograph of the site. These have stricter rules: the photo must be taken from a documented location, the camera data must be recorded and the proposed building must be scaled accurately using survey information. A photo simulation is a technical product, and it is common in environmental review and in scenic or historic areas.
If your city requires one, tell us. We need the photographs with their locations and, ideally, the camera and lens information. We then match the model to the photograph. When the requirement is only a rendering, a photograph is still useful for context, and we can draw on it to make the surroundings accurate.
A worked example: a mixed-use building in a design review district
An architect has a Revit model of a four-story mixed-use building for a design review district. The planner asks for three views: the street elevation, a corner view and a pedestrian view of the ground floor. The architect sends the model, the material board, the landscape plan and a set of site photographs.
The review finds that the model shows a window pattern that differs from the approved elevation on the third floor, and that the ground-floor awning is missing. The architect corrects both. The preview locks the three cameras at eye height. The final images use soft daylight, neighbors matched to the site photographs and planting per the landscape plan. The planner accepts the images without comment, and the board approves at the first hearing.
Common problems and how to avoid them
- The image contradicts the drawings. Cross-check before rendering.
- The landscaping is exaggerated. Follow the plan and show realistic sizes.
- The city wants specific views. Ask early and send the list.
- Neighbors are missing or generic. Provide photos and survey information.
- The image is too dramatic. Choose neutral light and natural lenses.
- The design changes after review. Update the model and the images together.
Timing the rendering inside the entitlement process
Entitlement rarely follows a straight line. A pre-application meeting comes first, then a formal filing, then staff comments, then revisions, and finally a hearing. The rendering is not needed at the same level of finish at every step. For the pre-application meeting, a simple massing view is often enough, because the goal is to hear the planner's concerns while the design can still change. For the formal filing, the images should be complete and match the drawing set. For the hearing, the strongest two or three views are usually enlarged onto boards or shown on a screen.
Ordering the images in that sequence saves money and avoids waste. Paying for polished views before the planner has weighed in risks redoing them when a comment changes the facade. We suggest building the master scene once, at the start, and finishing views only as the design settles. Tell us which stage you are in and we plan the work accordingly.
Also ask the planner whether the images become part of the public record. In many jurisdictions everything filed is public, which is another reason to keep the images restrained and consistent with the drawings.
Sizes, formats and the submittal portal
Many cities now accept applications only through an online portal, and portals have limits: maximum file size, accepted formats, page dimensions for PDFs and sometimes a required naming convention. A beautiful image that exceeds the upload limit becomes a delay on the day of the deadline. Ask the city, before production, for those limits and send them to us.
We typically deliver each image in a high-resolution version for printing and boards, and in a compressed version sized for portals and email. When a city wants the images placed inside a PDF sheet with a title block, we can supply the files at the right pixel dimensions so your team places them without resampling. If the city requires printed boards at a specific size, tell us the dimensions and the viewing distance, so the resolution is enough to stay sharp when enlarged.
Preparing for the hearing and for public comment
At a hearing, the rendering is seen by people who have had little time with the drawings: board members, neighbors and sometimes the press. Images that answer the obvious questions in advance reduce friction. What will it look like from my house? How tall is it compared with the building next door? What happens to the trees? A view from the most affected neighbor, with an accurate height comparison, is often the single most useful image in the room.
Consider preparing a few additional images that you may not submit but might show if asked, such as an alternate viewpoint or a comparison with the existing condition. Having them ready lets your team respond in the moment. We keep the scene organized so that those extra views can be produced quickly after the filing if the city or the public asks for them, and we tell you what each addition costs before we start.
What to send
- The model and the current drawing set.
- The material board with samples or photos.
- The landscape plan and site plan.
- Photographs of the site and neighbors.
- The city checklist or the planner's list of required views.
- Any camera information for photo simulations.
- The submittal deadline and hearing date.
Questions to ask a studio for a permit submittal
- Do you cross-check the model against the drawings and report mismatches?
- Can you produce neutral, honest views and avoid dramatic effects?
- Have you prepared photo simulations, and can you match to site photographs?
- Can you update the images quickly if the city asks for changes?
- Can you deliver the files in the sizes and formats the city requires?
- Will you keep the scene so later submittals reuse it?
Frequently asked questions
Does every permit need a rendering?
No. Many simple permits do not. Design review, planning commission and discretionary approvals often request them. Ask your planner.
Can a rendering hurt my application?
Yes, if it is exaggerated or inconsistent with the drawings. Accurate, restrained images support approval.
What is a photo simulation?
It places the proposed building into a real photograph taken from a documented location. Some cities require it.
How many views should I submit?
Follow the city checklist. If there is none, three to five views covering the street, the corner and the pedestrian level are typical.
Can you show materials accurately?
Yes. We use your material board and photos of samples, and we keep colors faithful.
Can you update images if the city requests changes?
Yes. Changes to a scene are usually quick, and we quote them before starting.
Will you tell me if the model and drawings disagree?
Yes. We report discrepancies before rendering so you can decide which is correct.
Can the same images be used later for marketing?
The scene can be reused, but marketing images use different light and atmosphere. We produce them as an addition.
Related guides
This guide is part of our series on rendering when the 3D model already exists. Start with the overview, rendering only when you already have the model. Related: HOA submittal renderings, rendering for a client presentation deadline, rendering for a lender or investor package. When you are ready, send the file and the deadline through our quote request.