HOA Submittal When Your Model Is Already Built
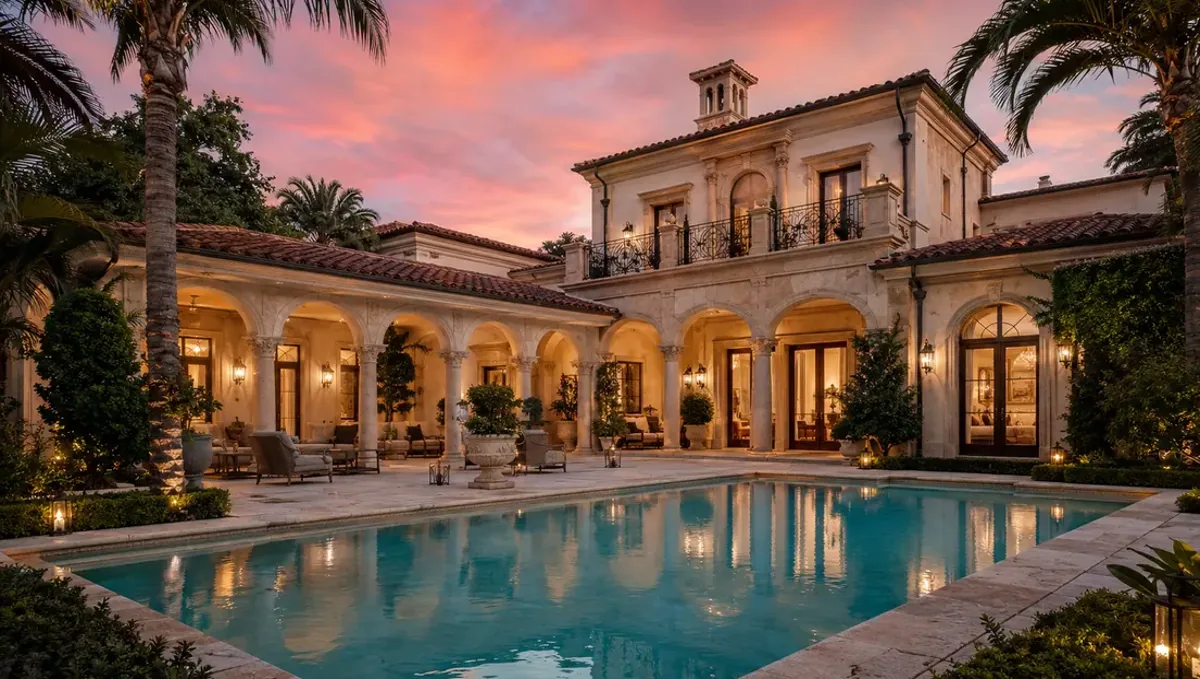
Quick answer: For an HOA submittal, send the model, the community guidelines, photos of the house and street, and your material selections. The studio produces honest views and before-and-after pairs that respect the rules.
Why an HOA wants pictures
A homeowners association reviews changes to homes and lots to protect the character of the community and the value of neighboring properties. The people on the review committee are volunteers, not architects, and they must decide whether a new house, an addition, a fence, a pool or a facade change fits the community rules. Plans are hard for them to interpret. A clear image lets them see what the neighbor will see.
If you already have a 3D model of the project, you have the starting point for a persuasive submittal. This guide explains how to turn it into images that answer an association's concerns, how to stay consistent with the community guidelines and how to avoid common causes of rejection.
What an association reviews
- Architectural style. Does the design fit the community's style guidelines?
- Materials and colors. Are they on the approved list or close to it?
- Massing and height. Does the building respect setbacks and height limits?
- Roof forms and pitches. Do they match community norms?
- Landscaping and screening. Are trees, fences and walls acceptable?
- Impact on neighbors. Views, privacy, light and noise.
An image that responds to these points, and shows compliance clearly, makes the committee's job easier and shortens the review.
Read the guidelines before you render
Most associations publish design guidelines. They can be strict: specific color palettes, allowed roof materials, fence heights, minimum roof pitches, garage door styles and even plant lists. Before the studio begins, read those rules and mark the items that affect the design. If your design deviates, decide whether to request a variance and be ready to explain why.
Send the guidelines with the model. We check the image against them and tell you where the design departs from what the community allows. It is far better to discover a conflict before the submittal than in a rejection letter.
Showing the design in its neighborhood
An HOA is concerned with the relationship between a project and its neighbors. The image should therefore show adjacent houses, the street, the lot lines and existing landscaping. We can use photographs of the site and the neighbors to make the surroundings accurate, and we can show the proposed work in a real photograph when helpful.
If the change is modest, such as an addition, a pool, a pergola or a new color, a single well-chosen view may be enough. If it is a new house, three views are typical: the front from the street, a corner view and a rear view if visible from common areas.
Before-and-after images for additions and remodels
For changes to an existing house, a before-and-after pair is the clearest tool. The before image is a photograph of the house today, and the after image shows the same view with the proposal. Committees respond well because the change is unmistakable and the scale is obvious. We match the camera position, lens and light so the comparison is fair.
Send a clear photograph taken from a spot the public would see, in daylight, without cars or trash cans in front. Tell us which parts of the house remain and which change, and we make sure the after image respects the existing conditions exactly.
A worked example: a rear addition and new color scheme
A homeowner wants to add a second-floor room and repaint the house. They have a model of the addition from their designer and a set of association guidelines with an approved color palette. They send both, plus photographs of the house and street.
The review finds that the proposed roof pitch for the addition is shallower than the guidelines require, and that one of the paint colors is not on the approved list. The designer adjusts the pitch, and the homeowner chooses an approved color. The final images include a before-and-after pair from the street and a view from the side, with neighbors matched to the photographs. The committee approves at the next meeting, and the homeowner keeps the images in the file with the approval letter.
Common reasons for rejection and how to avoid them
- Colors not on the approved palette. Use the association's list and show sample numbers.
- Roof or massing that conflicts with guidelines. Check the rules before design is fixed.
- Missing context. Show neighbors and the street.
- Misleading images. Keep light, landscaping and scale honest.
- Incomplete application. Include every image and document the committee requires.
- Unaddressed neighbor concerns. If privacy or views are an issue, show that the design respects them.
How the review process usually works
Processes vary by association, but most follow a similar path. The owner submits an application with drawings, a description and sometimes images. A property manager checks it for completeness. The architectural review committee meets, often monthly, and either approves, approves with conditions or denies. Some associations allow a resubmittal, and some charge a fee or require a deposit.
Because committees meet on a schedule, a missed deadline can cost a month. Ask the manager for the calendar and work backwards: images should be ready a few days before the application deadline, not on it. Incomplete applications are frequently returned without review, so confirm the checklist and include every item. If the association allows you to attend the meeting, bring the images in a size that can be passed around or shown on a screen.
Fences, pools, outbuildings and other small projects
Not every HOA project is a house. Committees also review fences, pergolas, pools, sheds, solar panels, driveways, garage doors and landscaping changes. For these, a full set of renderings is unnecessary, but one clear image can still prevent a rejection. A fence view that shows the height, the material and the color next to the neighbor's property answers most of the committee's questions at a glance.
For a pool or an outbuilding, the image should show its position on the lot, the distance to property lines and its visibility from the street and from neighbors. If it is not visible from the street, say so and let the image confirm it. Small projects are the best candidates for a single, inexpensive view, and we scope them accordingly.
Working with neighbors before you submit
Many committees ask whether adjacent neighbors have seen the plans, and some require signatures. Even where it is not required, showing the neighbors a clear image before the hearing often prevents objections. People tend to fear what they cannot picture. A realistic view from their side of the fence replaces imagination with information and makes it easier to reach agreement.
If a neighbor raises a concern, such as a lost view or a second-story window facing their yard, the image can help you respond concretely. Sometimes the answer is a small design change, such as a smaller window, an obscure glass panel or a tree placed for screening. We can update the scene with that change and produce a revised view quickly, so the conversation moves forward with evidence.
Keeping a record of what was approved
After approval, keep the application, the images, the approval letter and any conditions in one folder. Years later, a dispute over a color, a roof or a fence can be settled by pointing to what the committee approved. If you sell the house, buyers and their agents often ask for that record, and having it prepared removes a source of delay at closing.
Build in a habit of checking construction against the approved images. If a contractor substitutes a material or changes a dimension, the association can require correction at the owner's expense. Sharing the approved images with your builder, and asking them to confirm details before ordering materials, protects you from that outcome.
Variances and how images support them
When a design cannot meet a guideline exactly, the owner can request a variance. Committees grant variances more readily when they can see that the departure is small, deliberate and harmless to neighbors. A side-by-side image of the compliant option and the proposed option makes that argument plainly: the committee sees both and judges the difference for itself.
Explain the reason for the request in one or two sentences, such as a lot shape, a drainage problem or a matching element on the existing house. Then let the image show that the result fits the street. We can produce the two versions from the same scene, with identical camera and light, so the comparison is fair and the difference is the only thing the committee notices.
What to send
- The 3D model of the project.
- The association's design guidelines and approved palette.
- Photographs of the house, street and neighbors.
- Material and color selections, with sample numbers.
- The site plan or survey with setbacks.
- The list of views the committee asks for.
- The application deadline and meeting date.
Questions to ask a studio for an HOA submittal
- Will you check the design against our guidelines and tell us about conflicts?
- Can you produce a before-and-after pair from a real photograph?
- Can you match colors to the association's approved palette?
- Can you keep the images honest and neutral?
- Can you deliver the files in a size that fits the application portal?
- Can you update quickly if the committee asks for changes?
Frequently asked questions
Do I need a rendering for every HOA request?
No. Small changes may need only a description. Larger changes, new construction and anything visible from the street often benefit from images.
Can a rendering help me get approval?
It can. Clear, honest images make the committee's decision easier and reduce misunderstandings.
Can you use the association's approved colors?
Yes. Send the palette with names or codes and we use them.
Can you show my house in a photograph?
Yes. We can place the proposed work into a photograph of your house or lot.
What if my design departs from the guidelines?
We tell you in the review, and you decide whether to adjust or request a variance.
How many views do I need?
Follow the committee's list. If there is none, one to three views are usually enough.
Can I reuse the images after approval?
Yes. Keep them with the approval letter as a record of what was approved.
How fast can you turn it around?
It depends on the project and the current schedule. Tell us your submittal deadline and we confirm what is feasible.
Related guides
This guide is part of our series on rendering when the 3D model already exists. Start with the overview, rendering only when you already have the model. Related: rendering for a client presentation deadline, rendering for a lender or investor package, the render-ready model checklist. When you are ready, send the file and the deadline through our quote request.