3D Rendering of a Concept Exterior From a Sketch
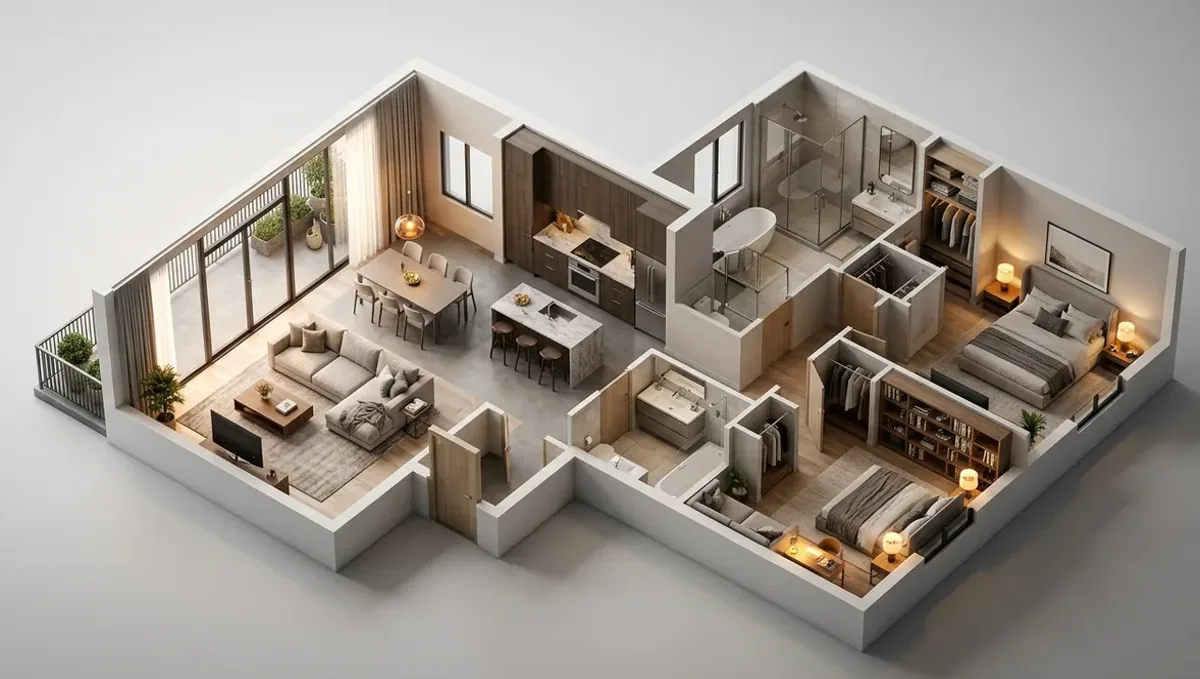
Quick answer: A 3D rendering of a concept exterior made from a sketch shows the shape, materials, colors and context of a building, and can be used with contractors, lenders and reviewers as a concept.
What a concept exterior is
A concept exterior is a 3D image of the outside of a building built from a sketch, without construction plans. It shows the shape, the roof, the windows, the materials, the colors and how the building sits on its site. It is the image most owners order first, because the exterior is what the street, the neighbors and the lender will see. This guide explains what to send, what you receive and how to use it. It belongs to making a 3D rendering from a sketch without plans.
What the image includes
- The massing and proportions of the building.
- The roof shape and the main materials.
- Windows, doors and the entrance.
- The color palette and the finishes.
- The immediate surroundings, such as the driveway and landscaping.
What it does not include
A concept exterior is not a set of elevations with dimensions. It does not show structure, hidden systems or exact construction details. It is a picture, and small elements such as flashing, gutters or trim may be simplified. If you need a drawing that a contractor can build from, ask an architect or a drafter to prepare it, using the image as a reference.
What to send
Send a sketch of the front elevation and, if possible, a plan with the footprint and the main dimensions. Add photos of the site and the neighbors, and notes on the materials and the colors. See rendering from on-site measurements and how to send reference photos. If the project is an addition or a remodel, photograph the existing building from several angles. The more precise the input, the fewer corrections you will need.
Choosing the camera position
The camera decides what the image says. A view from the street at eye level shows how the building feels to a visitor. An elevated view shows the roof and the site. A corner view shows two facades at once. Choose one main view first and add others later. If you are comparing options, ask for the same camera on each one.
Choosing the time of day
Morning light, midday sun, golden hour and dusk give very different moods. A dusk view with the lights on is attractive, but it hides colors and details. A midday view shows the materials clearly. Decide the main purpose of the image: to judge the design, to persuade or to publish. You can order a second version at a different time when the design is settled.
Materials, colors and finishes
Name the materials and give color references: paint codes, photos, brand names. A studio can approximate them, but screens and printers change colors. Ask for a physical sample of the final finish before ordering material. The rendering guides the choice, and the sample confirms it. Describe the roof, the walls, the windows, the doors and the trim, since each affects the character.
Landscaping and the surroundings
Trees, lawns, paths and fences give scale and life. Tell the studio whether the image should show the landscaping at planting size or mature. Keep the neighbors accurate and avoid removing elements that will remain in reality. An honest context helps lenders and neighbors trust the image, and it helps you judge whether the building fits the street.
Questions to ask the studio
- Can you show the building from the street and from a corner?
- Can you deliver day and dusk versions?
- Can you keep the neighbors accurate?
- How many revision rounds are included?
- Is there an express option for a fixed date?
Lighting fixtures and the evening character
Exterior lights, such as sconces, path lights, uplights and porch lights, define the character of a building after dark. Tell the studio where the fixtures go, their style and the color temperature. Too many fixtures look busy and can bother the neighbors, while too few leave the entrance dark. If you plan a dusk view, decide the lighting in the sketch so that the image shows a realistic and safe evening scene.
Comparing the exterior with a competitor or a neighbor
Send a photo of a nearby building that you like or want to differ from, and tell the studio what to learn from it. The image can show the concept beside a similar neighbor, which helps you judge whether the design fits or stands out in a way you want. This is useful for commercial projects too, where visibility against nearby businesses affects the result.
Getting the most from the first order
Plan the first order carefully: one main view, one revision round and a clear list of corrections. Keep a folder with the sketch, the notes and the images, and use them as the base for later orders. When the design changes, you can ask for updates instead of starting over. A well prepared first order usually gives the best value and the fewest surprises.
Driveways, garages and the entrance sequence
Owners often forget that the exterior includes the way you arrive: the driveway, the garage door, the walkway and the steps. Tell the studio their position, width and material. A garage door that dominates the facade or a walkway that is too narrow looks awkward in a picture, and it is easier to fix in the sketch than in concrete. Check that the entrance is clear from the street and welcoming for visitors.
Fences, walls and privacy at the edge
The edge of the lot shapes how the building is seen. Show fences, walls, gates and hedges with their height and material. A tall solid fence can hide the building from the street, while an open one lets it show. If neighbors or the HOA have rules, check them before committing. Seeing the boundary in the image helps you balance privacy, security and the appearance of the property from outside.
Seasons, weather and the sky
A concept exterior usually shows fair weather, but the building must work all year. Tell the studio whether you want a clear sky, a soft overcast light or a specific season. Overcast light shows materials evenly, and a strong sun shows shadow patterns and depth. If snow or rain matters for the roof shape or the overhangs, mention it so that the image does not hide a real functional concern.
Scale, people and vehicles
A few people, cars or bicycles give the viewer a sense of scale, and they show how the building is used. Ask the studio whether to include them and how many. Too many people distract, and none at all can make the building look like a model. A small, natural presence usually gives the most credible result, and it helps you judge doors, windows and porches at human size.
Roof details and the skyline
The roof is often the most visible part of a building from a distance. Tell the studio the pitch, the overhang, the material and any chimneys, vents or dormers. Show the roof against a neutral sky so the shape is clear. A roof that looks fine in a sketch may look heavy or thin in three dimensions, and the image is a good place to notice it.
Facade rhythm and window alignment
Windows and doors form a rhythm across a facade. Uneven spacing, mixed sizes and misaligned heads look careless. Send the intended dimensions and alignments, and ask the studio to check them. The image will reveal problems that a sketch hides. Correct them in the sketch, and the next version will show a calmer facade that is also easier to build and to price.
Approvals, reviews and public presentation
If the exterior will go to an HOA, a historic board or the neighbors, ask the studio for views in the context of the street and label them as concepts. Reviewers respond to clear, honest images. Do not remove trees or power lines that exist, since they will notice. The formal submission still needs drawings, and the image helps explain the idea while the drawings prove it.
How to review the first preview
Look at the proportions first: the height, the width and the roof. Then check the entrance, the windows and the materials. Compare the image with your sketch and your notes, and write corrections as a list. Send everything in one message. Avoid changing the design at every round, since that consumes revisions. Focus on whether the image matches your intent.
Using the exterior with others
The exterior can go to a contractor, a lender, an HOA, a landlord or family. Label it as a concept. Add a caption with the use and the status. Do not present it as an approved design or a construction drawing. If the audience is formal, prepare the drawings that the process requires and use the image as a complement.
A checklist before you send
- A sketch of the front and a simple plan.
- Photos of the site and the neighbors.
- Materials and colors, with references.
- The main camera position and time of day.
- A list of what must be kept accurate.
- The audience and the delivery date.
Revision rounds and how to keep them small
For a concept exterior, the preview is where the large decisions are made. Settle the massing, the materials and the camera there, and keep later comments to details, sent in one consolidated list. See how revision rounds affect timelines.
Timing
The schedule depends on how much the studio must interpret, how many views you need and how quickly you answer questions. See how long a 3D rendering takes. Rendimension offers an express option, subject to the queue, when a date is fixed.
Common mistakes
- Sending a sketch without dimensions.
- Leaving materials and colors to chance.
- Ignoring the neighbors and the street.
- Choosing a dusk view that hides the finishes.
- Asking for many views before agreeing the first.
- Presenting the image as a construction drawing.
A worked example
An owner sketches a one-story house with a low gable roof, a stone base and a deep porch. She measures the lot, photographs the street and sends notes on the roof color and the siding. She orders a street view at midday and a dusk version. The preview shows that the porch roof feels too heavy. She adjusts the sketch and the studio lowers the porch beam. The final images go to a builder and to the HOA as a concept.
Where to go next
Send the sketch with a few notes and references to start. For the general overview, see making a 3D rendering from a sketch without plans, and for the pitfalls to avoid, see common mistakes ordering from a sketch.
Frequently asked questions
What is a concept exterior?
A 3D image of the outside of a building made from a sketch.
What do I need to send?
A sketch, simple dimensions, site photos and notes on materials.
Can it show day and dusk?
Yes, as separate versions.
Is it a construction drawing?
No. It is a picture of the concept.
Can it include the neighbors?
Yes, and they should remain accurate.
Can I show the landscaping?
Yes, at planting size or mature.
How many revisions are included?
Ask the studio and confirm before starting.
Is there a faster option?
Rendimension offers an express option, subject to the queue.
Related guides
This guide is part of our series on a 3D rendering from a sketch without plans. Start with the overview, making a 3D rendering from a sketch without plans. Related: a concept interior from a sketch, a concept site view from a sketch, rendering from a hand-drawn sketch. When you are ready, send what you have through our quote request.