3D Rendering From Measurements Taken on Site
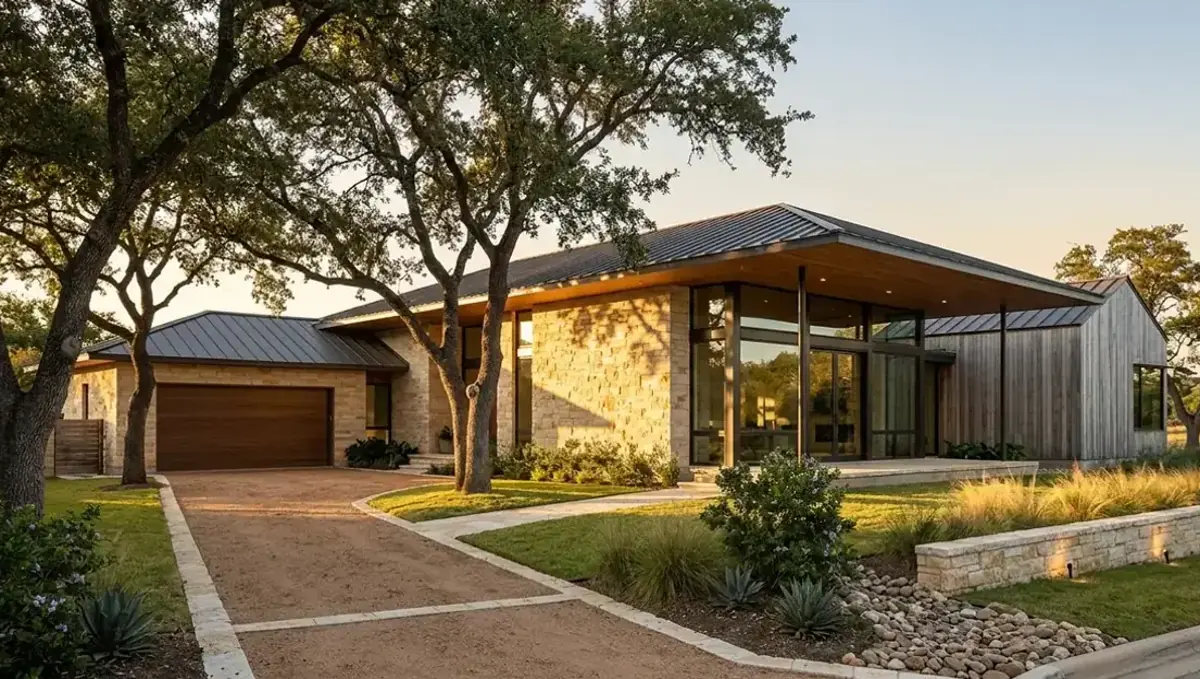
Quick answer: A 3D rendering can be built from on-site measurements when you draw a rough plan, write each number on it, cross-check and photograph every wall.
Measurements can replace plans
If a building exists but its drawings do not, measurements taken on site can be the foundation of a rendering. This is common in remodels, additions and interior refreshes of older properties. A studio can build an accurate model from a small set of well-chosen measurements, provided they are recorded clearly. This guide explains what to measure and how to send it. See making a 3D rendering from a sketch without plans for the overview.
Why measurements matter more than sketches
A sketch shows intent, while measurements show reality. When the render must fit an existing space, such as a kitchen that will be remodeled or a house that will get an addition, wrong dimensions produce a picture that cannot be built. Measurements anchor the image in what is actually there.
Tools you need
A tape measure is enough. A laser distance measure is faster and reduces errors. A phone app can help, but treat its numbers as estimates. A notebook, a pen and a phone camera complete the kit. Take a helper if the space is large, since long tape runs are easier with two people.
Start with a rough plan drawing
Before measuring, draw a rough plan of the space, not to scale. Write each measurement on the sketch as you take it. That way every number has a location, and nothing gets lost. A list of numbers without a drawing is hard to use.
What to measure in a room
- Length and width of the room, wall to wall.
- Ceiling height, at more than one point.
- Door and window widths, heights and sill heights.
- Position of openings from the corner.
- Fixed items such as cabinets, islands and fireplaces.
- Any steps, level changes or beams.
What to measure on a building exterior
- Overall width and depth of the footprint.
- Height to the eave and to the ridge.
- Roof pitch, if you can estimate it.
- Window and door sizes and positions.
- Porch, deck and step dimensions.
- Distances to the property line, if relevant.
Measure twice, and cross-check
Record each key dimension twice and check that sub-measurements add up to the total. If the sum of the wall segments differs from the overall length, remeasure. Rooms are rarely perfectly square, so measure both diagonals of important rooms to reveal any skew.
Photographs alongside measurements
Take photos of every wall and corner, with the tape in the frame when possible. Photos record details you forgot to measure, such as trim, baseboards, ceiling shapes and window styles. Label each photo with the room and direction. See how to send reference photos.
Ceiling heights and hidden features
Check ceiling height at several points, since older buildings vary. Note soffits, beams, dropped ceilings and skylights. These features change how a room looks in an image, and they are easy to overlook when measuring only floors and walls.
Units, rounding and how to write numbers
Choose one unit and use it everywhere, whether feet and inches or meters. Write inches with a clear mark and never mix decimal feet with fractions in the same list. Round to the nearest inch or centimeter, which is more than enough for a concept image, and circle any number you are unsure about. A clear convention avoids misreadings such as confusing 5'6" with 5.6 feet, which differ by an inch and a half.
Sketching the elevation view of a wall
For walls with windows, doors or built-ins, make a quick elevation sketch of that wall and mark the heights of each element from the floor. This is the only way to record where a window sits vertically or how tall a cabinet run is. A plan alone cannot store that information, so a small drawing for each important wall is a very good investment of five minutes.
Exterior heights without a ladder
You do not need to climb to estimate heights. Count courses of siding or bricks, use a known door height as a ruler on a photo, or measure a shadow against a stick of known length. State that the numbers are estimates. The studio only needs a reasonable value to set proportions, and honest estimates are much better than invented precision.
Sending updates as you learn more
Measurements often reveal surprises, such as a wall that is out of square or a ceiling that is lower than expected. Send corrections as soon as you find them, marked as changes to the earlier set. The studio can update the model at an early stage with little effort, while late changes affect finished views. Keep one master sketch with the latest numbers so nothing is lost.
Baselines and reference points
Pick a fixed reference, such as one corner of the room, and measure everything from it. Running dimensions from a single baseline avoid the small errors that accumulate when you chain short measurements together. Write the baseline on your sketch, and label each number with the direction it was taken. The studio can then rebuild positions exactly instead of guessing how the numbers relate.
Measuring fixtures, appliances and cabinets
For kitchens and baths, record the width, depth and height of each fixed item, and the distance between them. Measure the clear space in front of appliances and the height of counters. Note the sink position relative to the window. These items define the character of the room, and their positions decide whether the layout works, which is often the main reason for the rendering.
Recording the condition and finishes
Besides sizes, write down what you see: the floor material, the wall finish, the ceiling type, the trim profile. If you plan to keep something, say so, and if you plan to replace it, describe the replacement. Photos of samples or product pages complete the picture. Finishes are what turn an accurate model into a convincing image.
When to ask a professional to measure
If the space is complex, large or important for permits and purchases, consider hiring someone to measure it properly. A concept rendering does not need survey accuracy, but if the image will be used to make expensive decisions, a professional measurement removes doubt. You can start with your own numbers and refine them later, since the model can be updated as better data arrives.
Irregular rooms and angled walls
Older buildings often have walls that are not square, bay windows and angled corners. Measure each wall separately and record the angle between them, or take diagonals across the room. Ask the studio how it would like irregular geometry documented, since a simple triangulation of corner distances works well. Do not force an irregular room into a rectangle in your notes.
Sloped ceilings, attics and knee walls
Rooms under a roof have sloped ceilings, knee walls and dormers. Record the height at the low edge, at the highest point and where the slope changes. A quick side-view sketch with these heights helps far more than a list of numbers. These features define the character of attic rooms, so they need care.
Outdoor measurements and ground levels
For yards and patios, measure distances from fixed points such as the house wall and the property corners. Record level changes with a string level or a simple ruler and note slopes. Trees, fences and structures should be positioned relative to those fixed points. Outdoor measurements are less exact than interior ones, but they still matter.
Working with a helper and a checklist
Having a second person hold the tape and read numbers reduces errors and speeds the work. Use a checklist so nothing is forgotten, such as windows, doors, ceiling heights and photos. When you get home, review the notes while the space is still fresh in memory, and return for anything missing rather than guessing.
Measuring windows correctly
Measure the visible glass and the full frame, and note the sill height from the floor. Record whether the window is inside or outside the wall plane. Window depth and trim shape the light and the character of the room, so note them with a photo.
Existing versus new work
For a remodel or addition, say which parts stay and which change. Mark on the sketch the walls to be removed, added or moved. The studio can then model the existing conditions and the proposed change separately, and even show before and after views if you want them.
Sending the measurements
Send the annotated sketch as a clear photo or a scan, with the photos and a short note. Confirm which units you used. Name files by room. Then ask the studio to confirm it can read every number. Errors in transcription are one of the most common sources of a wrong model.
Accuracy expectations
A rendering from field measurements is as accurate as the measurements. It is not a survey. Tell the studio how carefully you measured, so it knows where to expect tolerance. If a critical dimension must be exact, get it verified by a professional.
The preview
At the preview, check key dimensions in the model against your notes. Look at the relationships between openings and corners. Send one list of corrections. See how revision rounds affect timelines.
Timing
Complete, clear measurements shorten the start. See how long a 3D rendering takes. Rendimension offers an express option, subject to the queue.
Common mistakes
- Writing numbers on a list with no drawing.
- Measuring only the floor and forgetting heights.
- Not recording window sill heights.
- Assuming rooms are square.
- Mixing units without saying so.
- Not photographing what was measured.
What you can do to get a better result
- Draw a rough plan and write numbers on it.
- Measure both diagonals of key rooms.
- Photograph every wall and corner.
- Record ceiling heights at several points.
- Mark what stays and what changes.
- State the units.
Scenarios
- A homeowner remodeling a kitchen in an older house.
- An owner adding a room to an existing home.
- A restaurateur refreshing a leased space.
- A designer measuring a client's living room.
- A builder documenting a house without drawings.
A worked example
A homeowner draws a rough kitchen plan, measures each wall, both diagonals, the ceiling in three places and the window sills, photographs every wall with the tape in view and marks which cabinets will be removed. The studio builds the room accurately and shows the proposed layout. Because the numbers were checked, the image matches reality, and the homeowner takes it to a contractor with confidence.
A checklist before you send
- An annotated plan with all measurements.
- Ceiling heights and openings.
- Photos of every wall and corner.
- Marks for what stays and what changes.
- The units used.
- The purpose of the image.
Questions to ask the studio
- Can you read every number on my sketch?
- What tolerance should I expect?
- How many revision rounds are included?
- Can you show before and after views?
- Is there an express option for a fixed date?
Bringing it together
On-site measurements turn a rough space into an accurate model. Draw a rough plan, write numbers on it, cross-check, photograph everything and mark what will change, and the studio can produce an image that fits the real conditions.
Frequently asked questions
Can measurements replace plans?
For a concept image of an existing space, yes.
What tool do I need?
A tape measure is enough, and a laser measure is faster.
Should I draw a plan?
Yes. Write each number on the drawing.
Do I need ceiling heights?
Yes, at several points.
Should I take photos?
Yes, of every wall and corner.
Is it a survey?
No. Accuracy depends on your measurements.
Can before and after be shown?
Yes, if you mark what changes.
Is there a faster option?
Rendimension offers an express option, subject to the queue.
Related guides
This guide is part of our series on a 3D rendering from a sketch without plans. Start with the overview, making a 3D rendering from a sketch without plans. Related: rendering from a rough layout PDF, rendering from a hand-drawn sketch, rendering from a rough concept sketch. When you are ready, send what you have through our quote request.