3D Rendering of a Home Addition From a Sketch
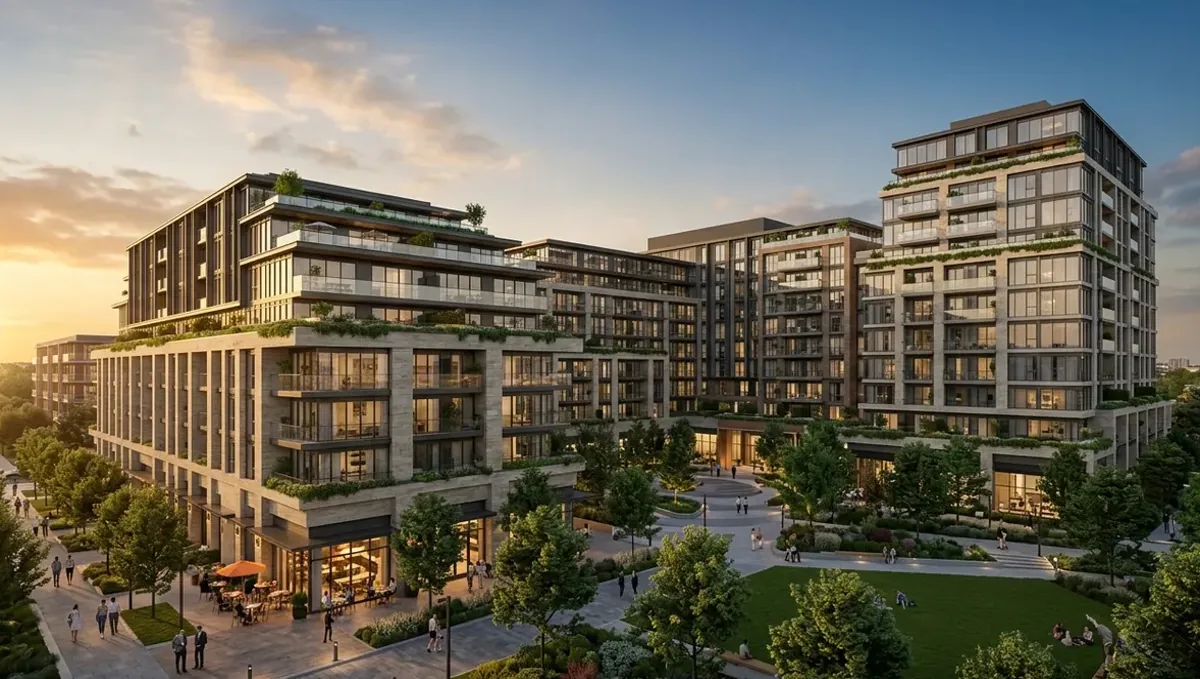
Quick answer: A home addition can be rendered from a sketch with photos of every side of the existing house, key dimensions, materials and a clear note on where the addition attaches.
An addition has to look like it belongs
A home addition raises a question that a new house does not: how will the new part relate to the old one? Owners often sketch a second story, a bedroom wing or a rear extension, and they want to see how it will look next to the existing house before spending on design. A studio can produce a concept rendering from the sketch and photos of the existing home. This guide explains how. It is a specific case of making a 3D rendering from a sketch without plans.
Why photos of the existing house are essential
The existing home is the base of the image. Send photos of every side, from a distance and straight on, in good light. Include the roof, the windows, the entrance and the materials. The studio matches the geometry and the finishes, and then adds the addition. Poor photos lead to an addition that does not fit the house.
What to include on the sketch
- Where the addition attaches to the existing house.
- The approximate width, depth and height.
- The roof form and how it meets the old roof.
- New windows, doors and porches.
- Materials, and whether they match the existing ones.
- What is being removed or changed in the existing house.
Measurements of the existing house
A few dimensions of the existing house, such as its width, the height of the eaves and the size of the windows, let the studio scale the addition properly. Measure with a tape or a phone app and mark exact and estimated numbers. See rendering from on-site measurements. Without a scale, an addition can look too large or too small.
Matching or contrasting the old house
Additions either blend with the old house or contrast with it. Tell the studio which you prefer. Matching requires the same siding, windows and roof pitch, while contrast uses a different material to mark the new part. Both work, but the choice changes the image, and it affects the cost and the review by neighbors or a design board.
Roof connections
The roof is the hardest part of an addition, and sketches often skip it. Show whether the new roof continues the old ridge, steps down or is a separate form. The studio will propose a solution, but the structural feasibility must be checked by a professional. A rendering shows intent, not the engineering of the connection.
Second-story additions
A second-story addition changes the proportions of the entire house. Tell the studio the height you have in mind, the roofline and the windows. Show the front view first, since it is the most important for the street. If the new floor is set back or is the same as the footprint, say so in the sketch.
Rear and side additions
A rear addition may be invisible from the street but important for the yard. Order a view from the yard that shows how the addition relates to the garden, the patio and the neighbors. Tell the studio about existing trees and fences. Side additions affect the street view and the setbacks, so show them from the front too.
Interior connection
Owners also want to see how the addition connects with the interior. A simple floor plan sketch showing the doors and the openings helps the studio create a view of the new room. See rendering from a floor plan sketch only. Interiors are a natural second step after the exterior is agreed.
Windows and doors on the new part
Match or intentionally change the window style of the addition. The rhythm, the height of the heads and the size of the panes tell the eye whether the addition belongs. Give the studio the existing window dimensions and say whether the new ones should be the same. Mismatched windows are the most common reason an addition looks like an afterthought.
Foundation, grade and steps
If the addition sits on a different grade or has steps to the yard, mention it. The studio can show the level changes, the retaining walls and the porch stairs. These details affect how the addition meets the ground, and they matter for accessibility and for how the addition looks from the yard.
Color and finish matching
Old materials weather, so a new brick or siding may not match the existing one exactly. Tell the studio whether the image should show the new material as new or aged into the old. Being explicit prevents a surprise when the addition is built and the color difference becomes visible next to the weathered walls.
Using the image with a design review
Historic districts, homeowner associations and cities often require a review of exterior changes. Ask the studio for the views that the review needs, usually the front and the side facing the neighbors. Label them as concepts. A clear image can speed the conversation, but the formal submission will require drawings prepared by a professional.
Existing conditions that limit the design
Old houses have chimneys, gutters, utility lines, steps and window wells that may collide with an addition. Point them out in the photos and in the sketch. The studio can show how the addition deals with them, or you can decide to remove them. Discovering these conflicts in an image is far cheaper than discovering them during construction.
Keeping the character of the house
The best additions respect the proportions, the window rhythm and the details of the original house. Tell the studio which features define the house, such as a porch, a gable or a trim style. The image can then show whether the addition preserves them. Neighbors and reviewers respond well to additions that feel like part of the house.
Comparing the addition with moving
Some owners use the image to decide between adding and moving. Seeing the addition can clarify whether it solves the problem. If the image shows a house that becomes awkward or too large for the lot, that is useful information. Concept images are inexpensive compared with the cost of a wrong decision.
From image to drawings
An architect or designer will produce the drawings for the permit. Give them the image and the sketch as a starting brief, and keep the studio informed of changes. Updating the image after the design is settled is quicker than starting again. Tell the studio if drawings will follow, so the model is built with that transition in mind.
Neighbors, setbacks and approvals
An addition may need a permit and a review of setbacks, height and lot coverage. The image does not decide those things, but it helps you explain the project to neighbors and to a design review. Check the rules with a professional before you commit to a design shown in the image.
Questions to ask the studio
- Can you match my existing house from these photos?
- Can you show matching and contrasting options?
- Can you show the front and the yard views?
- How many revision rounds are included?
- Is there an express option for a fixed date?
A checklist before you send
- Photos of every side of the existing house.
- A sketch of the addition and its connection.
- Key dimensions of the house and the addition.
- Materials and whether they match.
- Reference photos of the style you want.
- The purpose of the image and who decides.
Light and shadow on the addition
Additions can block light or cast shadows on the yard and on the neighbors. Tell the studio the orientation of the house and the time of day to show. A view with real shadows helps you notice whether the addition will darken a window or a patio, before you commit to the design.
Phasing the work
Some owners plan an addition in phases: the structure now and the porch later. Tell the studio what is in the first phase and what is future, and order the views accordingly. Showing the full plan helps you decide, while showing the first phase helps you understand the interim state of the house.
Revision rounds and how to keep them small
For a home addition, the preview is where the large decisions are made. Settle the massing, the materials and the camera there, and keep later comments to details, sent in one consolidated list. See how revision rounds affect timelines.
Timing
The schedule depends on how much the studio must interpret, how many views you need and how quickly you answer questions. See how long a 3D rendering takes. Rendimension offers an express option, subject to the queue, when a date is fixed.
Common mistakes
- Sending only one photo of the existing house.
- Not saying where the addition attaches.
- Leaving the roof connection unexplained.
- Assuming the image proves the addition is allowed.
- Not deciding between matching and contrasting.
- Giving comments from several people at different times.
A worked example
An owner wants to add a primary suite on the back of a brick ranch. She sends photos of every side, the width and the eave height of the house, and a sketch of the addition with a shed roof. She asks for a matching-brick option and a contrast option with dark siding. The studio delivers two views from the yard, and she notices that the roof meets a window in the old house. She modifies the sketch, and the revised image goes to her architect as a brief.
Where to go next
Send the sketch with a few notes and references to start. For the general overview, see making a 3D rendering from a sketch without plans, and for the pitfalls to avoid, see common mistakes ordering from a sketch.
Frequently asked questions
Can a home addition be rendered from a sketch?
Yes, with photos of the existing house and a sketch of the addition.
What photos do I need?
Every side of the house, in good light.
Can I compare matching and contrasting?
Yes, as two variants.
Does it prove the addition is allowed?
No. Permits and reviews still apply.
Can it show the yard view?
Yes, from a rear view.
Can it show the interior?
Yes, from a floor plan sketch.
Can I show phases?
Yes, tell the studio which phase to show.
Is there a faster option?
Rendimension offers an express option, subject to the queue.
Related guides
This guide is part of our series on a 3D rendering from a sketch without plans. Start with the overview, making a 3D rendering from a sketch without plans. Related: a kitchen or bath remodel from a sketch, a backyard or pool rendering from a sketch, a storefront or restaurant rendering from a sketch. When you are ready, send what you have through our quote request.