Send Reference Photos for 3D Rendering
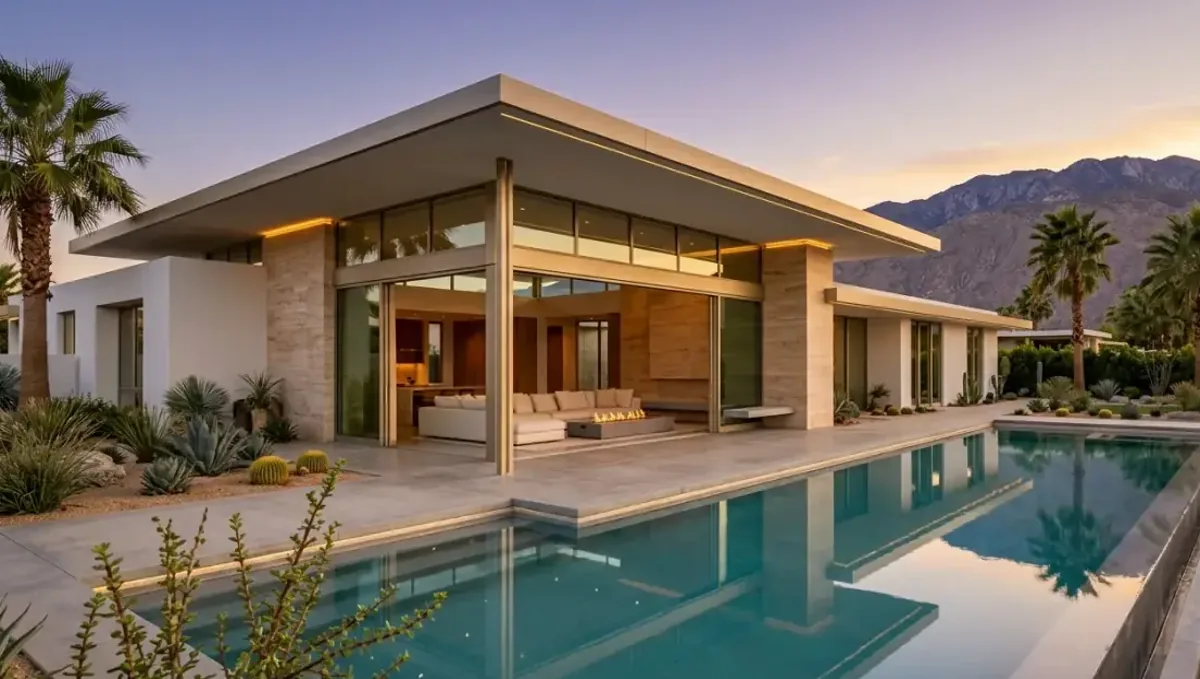
Quick answer: Send site photos from the camera position, straight-on material photos with a white card, and three to six labeled mood references. Keep the originals and do not apply filters.
What reference photos do that drawings cannot
Drawings describe geometry. Photographs describe reality: how light falls on a wall, how a material ages, how tall the trees on the block really are and what the neighbors look like. A studio that receives a good set of photos can make an image that feels like it belongs to a real place, instead of a clean but generic model. Photos also carry the intent that is hard to write down, such as "I want the warmth of this restaurant" or "the stone should look like this quarry".
There are three kinds of reference photos, and each serves a different purpose: photos of the site, photos of materials and products, and photos of mood and style. This guide explains what to shoot, how to shoot it and how to label it so that it becomes useful information and not clutter.
Site photos: what to shoot
- The view from the camera position. Stand where the viewer will stand and shoot toward the site, at eye height.
- The four sides of an existing building. Straight on, from a distance, with the camera level.
- The street and the neighbors. A slow pan in both directions, with overlap between shots.
- The horizon and sky. Skyline, hills, water or towers that will be visible from the camera.
- Trees, fences, walls and utilities. Anything that will stay.
- Ground surfaces. Asphalt, concrete, gravel, grass, soil.
Take the photos on a day with even light if you can, and avoid strong backlight, which hides detail. If you can, add a shot with a tape measure or a person standing at a known spot to show scale.
Material and product photos
For a material you want matched, photograph it in daylight, straight on, filling the frame, with a white card or a ruler beside it. That gives us color and scale. Take a second photo at an angle, so we can see how the surface reflects light. A third, wide shot shows how the material looks at a distance, which is how the camera will see it. For products, such as a tile, a door or a light fixture, send the product page link along with a photo, if you have both.
If a material is aged, such as weathered wood, patinated copper or old brick, photograph the exact state you want to see in the image. Photos of new material will produce a new-looking render.
Mood and style references
Mood photos are inspiration, not specifications. They show lighting, composition, color and atmosphere. Use three to six of them, not thirty. For each, write one line about what you like: "the warm late-day light", "the low camera angle", "the muted greens". Without the note, we may copy the wrong thing. If a reference belongs to another designer or brand, we treat it as a mood guide and do not copy it.
It also helps to send one example of something you do not want. "Not this overly saturated look" tells us as much as a page of positives.
How to shoot useful photos with a phone
- Hold the phone level, and keep vertical lines vertical.
- Use the standard lens, not the ultra-wide lens, which bends edges.
- Shoot in landscape orientation for facades, and in portrait for tall objects.
- Avoid filters, heavy editing and HDR modes that alter colors.
- Take more photos than you think you need, and keep the originals.
- Turn on location and date metadata if you are comfortable with it.
Modern phones produce more than enough quality. What matters is the angle, the light and the labeling.
Labeling and organizing photos
A photo without a label is only half a photo. Put a number on each, and write a short note listing what it shows and where it was taken. A marked-up site plan with small arrows showing where each photo was shot is even better. Name files something like "01 street view north" instead of "IMG_4032". If you send a shared folder, group photos by type: site, materials, mood. This reduces the chance that a mood photo is mistaken for a specification.
Aerial and drone photos
Aerial photos are valuable for context: they show the shape of the lot, the neighbors and the landscape. They are also the base for aerial renderings, as covered in what to send for an aerial view. If you have a drone photo from a known height and position, tell us both. We can use it to match the perspective of the surrounding area, which makes a composite image believable.
Check that drone use is legal and permitted on the site, and do not send photos that include people or private areas without permission.
Copyright and permissions for reference images
Reference images from magazines, portfolios and social media are usually copyrighted. We use them as private guidance and do not reproduce them. If you want a rendering to include a specific artwork, a logo, a mural or a product, tell us whether you have the right to use it. When the image will be published, permissions matter, and it is safer to use your own photos or licensed material.
Common problems with reference photos
- Blurry or dark photos. Details cannot be read.
- Filters and edits. Colors are not reliable.
- No labels. Nobody knows what each photo shows.
- Too many references. The message is diluted.
- Screenshots of screenshots. Resolution is lost.
- Mixed lighting. Indoor warm light next to daylight, so colors disagree.
Privacy, people and sensitive locations
Photos of a site can capture faces, license plates, house numbers and neighbors' property. Before sending, crop or blur what is not needed, and do not send images that were taken on private property without permission. If the project is confidential, such as an unreleased retail concept or a hospital wing, tell the studio at the start and share files through a private link. A studio should be able to sign a confidentiality agreement and should tell you where files are stored and for how long.
We also delete or return reference material at the end of a project when asked. Ask about this in writing, particularly for corporate work.
How photos and drawings work together
Photos never replace drawings, and drawings never replace photos. When the two agree, the studio works quickly. When they disagree, for example the photo shows a window that the drawing omits, the studio asks which is current. That question is valuable, because it often reveals a change that nobody had recorded. Treat the first review as a chance to reconcile the two sources, and answer those questions in writing, so the decision is documented.
Photos for interiors
For an interior view, photograph each room from the two opposite corners, at chest height, so the whole room is captured. Add close shots of the ceiling, the window wall and any built-ins. Photograph the light at the time of day you want the image to show, because the same room feels different at nine in the morning and at five in the afternoon. If a room has odd features, such as a slanted ceiling, a column or an unusual window, take a photo of each and note the dimensions. Existing furniture that will stay should be photographed on its own, from the front and from the side.
For rooms that do not exist yet, photos of a similar finished space are the best substitute. Choose photos that share proportions and ceiling height with your room, otherwise the studio may copy an atmosphere that cannot be reproduced in your geometry.
Photos for exteriors and landscaping
For an exterior view, take photos at the time of day and season you want the image to show, or tell us which season it should be. A garden photographed in winter will not tell us what it looks like in June. Photograph individual plants you want matched, including the leaf shape, the color and the height next to a person or a fence. Photograph paving, walls and steps in close-up and from a distance, and include the edges, since they show how surfaces meet. Take a photo of the sky if you like a particular cloud or light pattern, and mention it in the note.
If the site has notable trees, photograph the whole tree from a distance and the trunk close up, and give an approximate height. Mature trees are an asset that reviewers care about, so we model them carefully.
Matching an existing building for an addition
When a new addition must match an existing building, photographs are essential. Photograph the existing facade straight on, and take close-ups of the siding, trim, windows, roof edge and foundation. Photograph any details you want to repeat, such as a cornice, a porch column or a window casing. Include the color in daylight, since paint changes with age. If the drawings of the existing building are missing, these photos become the source for reconstructing it, so more photos are better than fewer.
Tell us whether the addition should match the existing building or be distinct from it. Both are valid design choices, and the render has to make the intent readable. See also what to send for a renovation or addition.
A worked example: a restaurant patio
An owner is designing a restaurant patio and sends five photos: the current patio from the door, the street view from across the road, a close-up of the brick wall, a photo of a wood pergola they like and a photo of string lights at dusk. Each has a one-line note. The studio uses the first two to model the space and the context, the brick close-up for the wall material, the pergola photo for proportions and the string lights for the evening mood.
Because the owner labeled everything, the studio finishes the first preview without a single follow-up question. The owner then asks for the same view at midday for the menu and at dusk for social media, and both are produced from the same model.
What to send with the photos
- Plans, elevations and sections.
- Site plan and orientation.
- Finish schedule.
- Purpose, audience and deadline.
- Notes on what is final.
Questions to ask a studio about photos
- How many photos do you need and of what?
- Can you use phone photos, and what do you do about color?
- How do you keep my references confidential?
- Will you tell me how closely you can match a reference?
- What do you do when the references conflict with the drawings?
Frequently asked questions
How many photos should I send?
A dozen well-chosen photos are usually enough. Send more for large or complex sites.
Are phone photos good enough?
Yes. Level framing, good light and labels matter more than the camera.
Should I edit my photos?
No. Filters change colors. Send the originals.
Can I send photos of other projects as inspiration?
Yes, as mood guides. We do not copy them.
Do you need a site visit?
Usually not. Good photos and a site plan are enough for most projects.
What if I cannot photograph the site?
Send satellite images and street-level captures, and we flag the uncertainty.
How do I show the material I want?
Photograph it in daylight, straight on, with a white card or a ruler.
What if references conflict with the drawings?
We flag the conflict and ask which to follow.
Related guides
This guide is part of our series on what to send a 3D rendering studio. Start with the overview, what to send a 3D rendering studio. Related: sending a survey or topography, sending a landscape plan, sending a furniture and fixture list. When you are ready, send what you have through our quote request.