What to Send for an Aerial View 3D Rendering
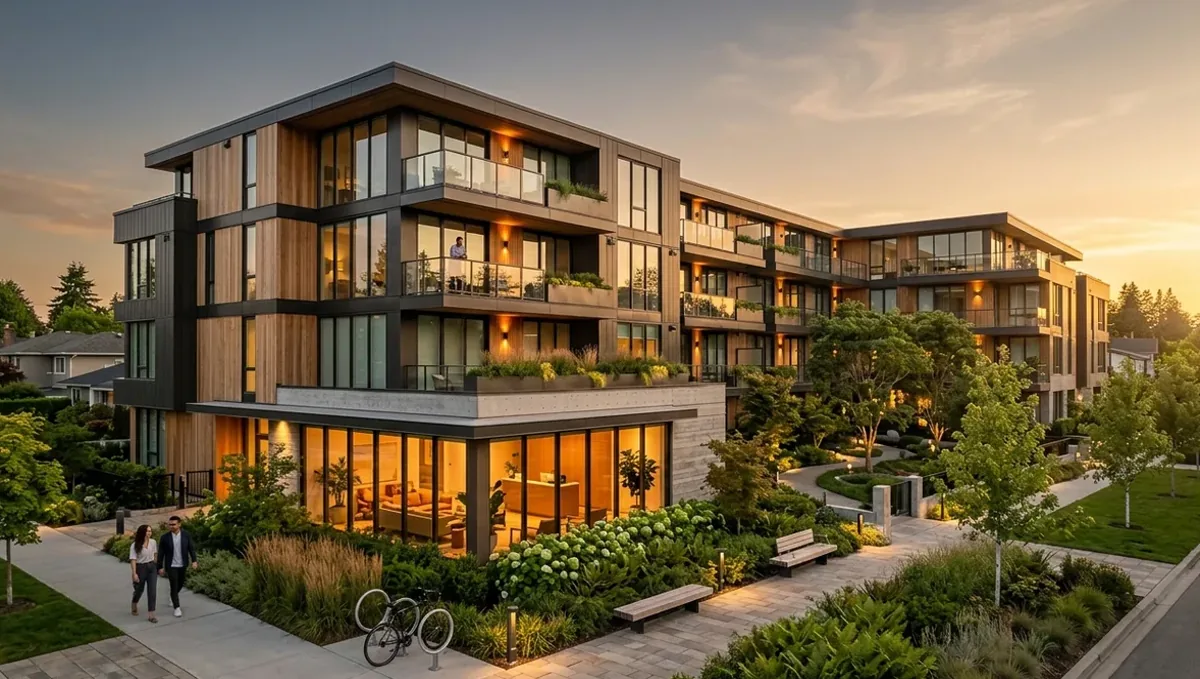
Quick answer: For an aerial view 3D rendering, send the purpose, the site or master plan with heights, roof plans and materials, the survey and topography with north, context information, landscape plans, season and time of day, camera height and direction, labels, phasing and the output size.
What an aerial view is
An aerial view shows a project from above, usually from the height of a drone or a helicopter, often at an oblique angle. It explains how the pieces of a project fit together and how it sits in its surroundings. For a house it can show the yard and the pool, for a campus it shows the whole site, for a development it shows the streets and the neighbors. The image is a map and a portrait at once, and it needs more context data than a ground-level view.
This guide explains what to send for an aerial rendering and why the context matters.
Say what the aerial must explain
An aerial can explain access, phasing, massing, relation to a river or a highway, walking distance to transit or the layout of amenities. Pick the story and tell the studio. If the purpose is to show how the project fits in its neighborhood, the studio needs to model or photograph the neighbors. If it is to show the site layout, the surroundings can be simple. The camera height, the direction and the amount of context depend on the answer.
Site plan and master plan
- Site plan or master plan with buildings, roads, parking and open space.
- Building footprints with heights.
- Roof plans and roof materials.
- Landscape plan with trees, lawns, water and paths.
- Phasing plan, if the aerial shows stages.
Roofs are the dominant surface in an aerial. Send roof plans, pitches, materials, colors and equipment. See sending a site plan.
Survey, topography and orientation
Terrain matters from above: slopes, retaining walls, water bodies, cuts and fills. Send the survey and contours, or a terrain model if available. State the north direction, so the sun and shadows match reality. If the site is large, tell the studio the boundary and how far the surroundings should extend. See survey and topography.
Context: neighbors, streets and landmarks
An aerial is only credible with an accurate context. Provide a satellite image of the site, the addresses or parcels of neighbors, the roads and any landmarks that should be visible. For the immediate neighbors, the studio can model simple massing with roof colors. For a fuller aerial, send heights or a GIS building layer. Say which buildings are existing and which are proposed, so the image does not mix them.
Camera height and angle
Low oblique views, at 100 to 300 feet, feel like a drone shot and show the project at a human scale. Higher views, at 500 feet or more, show the district. A vertical top-down view is a plan in disguise. Ask the studio to propose two or three camera options and choose one. Say which side must face the viewer and what should be in the background: a river, a skyline, a mountain.
Vegetation and season
From above, trees form textures, and their color says the season. Tell the studio the season and the region. A summer aerial has full green canopies, an autumn one has color, a winter one shows bare branches. Send the landscape plan with species, or ask for typical regional planting. Show the trees at their installed size unless the image is labeled as mature.
Time of day and light
Low afternoon sun gives long shadows and shows terrain and massing. Midday light is flat and better for a site layout. Dusk shows lit windows, streetlights and the glow of a development. Choose the light that supports the purpose. If it is a regulatory image, use neutral light. If it is marketing, choose the warm light that flatters the project.
Labels, annotations and overlays
Aerial images often carry text: street names, distances, building names, amenities. Tell the studio if you want an overlay and send the text, fonts and brand colors. A clean version and an annotated version are useful. Overlays should not hide the architecture. Keep labels short, and align them to the same coordinate system as the drawings.
Utilities, fences and small site elements
Small elements make an aerial believable: fences, walls, gates, light poles, transformers, dumpsters, screens for equipment, bike racks and signs at the entrance. Send the site details or a list, and state which ones must appear. Leaving them out makes a site look unnaturally clean, while showing every one of them clutters the picture. Decide with the studio what to include, guided by the purpose of the image. Utility easements and setbacks may also need to be visible in a regulatory aerial, so mention it if they do.
Scale bars, north arrows and honesty of the frame
If the aerial supports a technical discussion, add a north arrow and, where the projection allows it, a scale reference. Say whether the view is a true perspective or an approximate one, since a wide lens at height compresses distances differently from a long lens. Agree on the frame so that nothing important is cropped, such as the access road or the neighboring building that defines the setback. A well framed aerial answers the reviewer's first questions without extra explanation.
Roads, parking and circulation
From above, circulation is the skeleton of a project. Send the road widths, lane markings, sidewalks, crosswalks, parking layouts with the number of spaces, loading areas and fire lanes. Say what material each surface is: asphalt, concrete, pavers, gravel. Cars in parking lots give scale, so state the occupancy you want, from empty to busy. A parking field that is drawn with the wrong stall count looks small or oversized, and reviewers who read site plans will notice.
Water, slopes and drainage features
Ponds, lakes, rivers, retention basins and swales are strong visual elements in an aerial. Send their outlines, the water level, edge treatment and any fountains or docks. State the water color you expect, since it changes with depth, sky and season. Retention ponds in a residential community are often shown as lakes, so confirm that the depiction matches the engineering design. Slopes, terraces and retaining walls should come from the grading plan and not from the artist's judgment.
Amenities and the public realm
Pools, playgrounds, courts, trails, plazas, dog parks and clubhouses sell a community. Send the layouts with dimensions and the materials of each surface, plus the furniture and shade structures. Explain which amenities are in the first phase and which are future. Trails and paths should be drawn with their real width and surface, since a trail shown too wide suggests more than what the plan provides. Small human figures, used with restraint, give a sense of use and scale.
Neighbors, views and regulatory sensitivity
An aerial shown at a public hearing is scrutinized for how it treats the neighbors. Present adjacent homes and streets accurately, at their true heights and distances. Avoid camera angles or lens choices that make a tall building appear shorter or a setback appear larger. If the image supports an approval process, ask the studio to keep the camera height and lens neutral and to document the settings. Honest context builds trust, and images that look manipulated harm the case they were made to support.
Phases and time
Large projects are built in phases. An aerial can show phase one built and the rest as outlines, or show the completed project. Send the phasing plan and say which version you need. A sequence of aerials across phases tells a story to investors and lenders. Use the same camera so the differences are clear.
Resolution, size and format
An aerial contains a lot of small detail, and it often ends up printed large in a sales gallery. Tell the studio the largest size and viewing distance. Ask for a high-resolution master and a screen version. If the image will be used on a website with pan and zoom, mention it. Request a version without labels for flexibility.
Common aerial mistakes
- No roof information. Roofs dominate the picture.
- Inaccurate context. The neighborhood is wrong.
- Wrong orientation. Light and shadows are false.
- Unclear scope. The studio models too much or too little.
- Missing topography. Slopes look flat.
- Mixing existing and proposed. Confusing message.
A worked example: a 40-acre residential community
A developer sends a master plan with lots, roads and amenities, the survey and contours, roof plans of three house models, a landscape plan, a satellite image of the site and a note: "A low oblique aerial from the southeast, late afternoon, showing the entrance, the lake and the trail to the school."
The studio builds the terrain, places the streets, the houses in three styles and the amenity buildings, models the school and the highway as simple context and delivers a preview. The developer asks for a slightly higher camera and a label for the trailhead. The final image is used on the entrance sign and the website.
A checklist for an aerial
- Purpose: what the aerial must explain.
- Site plan or master plan with heights.
- Roof plans and materials.
- Survey, topography and north arrow.
- Context: neighbors, roads, landmarks.
- Landscape plan, season and time of day.
- Camera height and direction.
- Labels, phasing and output size.
Questions to ask a studio
- How do you build the context: photo, GIS or modeled massing?
- Can you propose camera options first?
- Can you deliver with and without labels?
- Can you show phases from the same camera?
- How large can the final image be printed?
Combining an aerial with ground-level views
An aerial explains the whole, and ground-level views explain the experience. Use them together. The same model can serve both, which reduces cost, but the level of detail differs: an aerial needs accurate roofs and layout, a street view needs facade detail and landscape at eye level. Tell the studio the full set in advance so it can plan the model. If budget is limited, choose the aerial for the master story and one or two ground views for the details that sell.
Frequently asked questions
What do I send for an aerial 3D rendering?
A site plan or master plan, roof plans, survey and topography, context information, landscape, the camera height and the purpose.
How do you model the neighbors?
As simple massing from GIS or photos, or in detail if you provide data.
Can you show different seasons?
Yes, with the planting and light for each.
Can you add labels?
Yes, and deliver with and without them.
Can you show phases?
Yes, from the same camera.
What camera height is best?
It depends on the story. We can propose options.
Do roofs matter?
Yes. Roofs dominate an aerial, so send materials and colors.
Can I print it large?
Yes. Tell us the size so we render at the right resolution.
Related guides
This guide is part of our series on what to send a 3D rendering studio. Start with the overview, what to send a 3D rendering studio. Related: what to send for an exterior still, what to send for an interior still, sending a site plan. When you are ready, send what you have through our quote request.