What to Send for a Renovation or Addition 3D Rendering
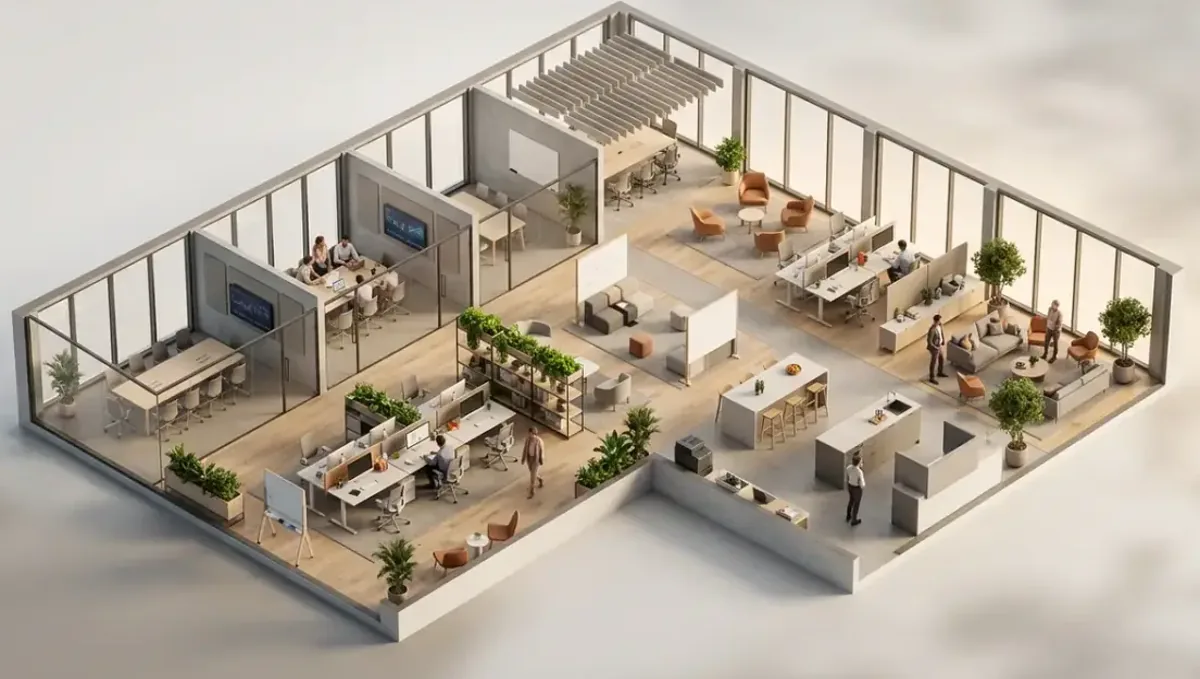
Quick answer: For a renovation or addition rendering, send photographs and plans of the existing conditions, a marked scope of retained, removed and new work, the new plans, elevations and materials, a survey, HOA or historic constraints, budget level and the purpose and deadline.
What makes a renovation different
A renovation or addition begins with something that already exists, and that changes what a studio needs. The existing conditions must be documented accurately, since the new work has to fit them. The studio needs to know what stays, what is removed and what is new, and to show the result in a way that makes the difference clear. The most valuable image in a renovation is often a before-and-after from the same camera position.
This guide covers what to send for additions, whole-house remodels, facade updates, kitchen and bath remodels and adaptive reuse.
Document the existing conditions
- Photographs of every side of the house and every room affected.
- Existing floor plans, or a measured sketch if none exist.
- Existing elevations, or photographs with measurements.
- Roof plan or photos showing the roof shape.
- Survey or site plan.
- Photos of details to keep: trim, windows, brick, stairs, fireplaces.
If the house was built recently, permit drawings are often on file with the city. If it is old, a measured sketch with key dimensions and a set of photos is enough to model the existing conditions approximately, and the quote will state the assumptions.
Mark what stays, goes and changes
The simplest way to communicate scope is a marked-up plan: color the walls that stay, the walls that are removed and the walls that are new. For exteriors, mark on photos which materials and openings are retained. Without this, a studio cannot know whether the brick stays, whether the windows are replaced or whether the roof is rebuilt. Where uncertain, say so, and the studio can show options.
New work: plans, elevations and materials
For the new portion, send the architect's or designer's plans and elevations, the roof design, the window and door schedule and the material selections. Materials of new work must match or contrast with the existing ones, so identify the existing brand and color if known. Matching old brick, siding or stucco is one of the hardest parts of a renovation, and the image should show the intended result honestly. See finish schedules.
Additions: massing, roof tie-in and setbacks
For an addition, the critical points are the height, the roofline where the new meets the old, the setbacks and the materials at the joint. Send the roof plan with the tie-in, the survey with setbacks, and photographs of the existing roof. An addition that ignores the existing ridge or pitch looks awkward, and the render will expose that. See elevations and sections.
Interior remodels
For a kitchen, bath or open-plan remodel, send photographs of each wall, the room dimensions, the ceiling height and the location of windows, doors, plumbing and structural walls. Send the new layout, the cabinet elevations, the appliances, the counter and floor materials, the lighting and the paint colors. See furniture and fixture lists. Show the room before and after from the same corner.
Historic and protected properties
Historic districts and landmarked buildings impose limits on materials, colors, window styles and additions. Send the review board's guidelines and any approvals. A rendering for a historic commission must be accurate about the visible facade and how the addition is set back or differentiated. Photographs of historic details, such as trim profiles, help ensure the image is credible.
Structure, utilities and hidden conditions
A rendering cannot see inside walls, and it does not replace a structural or MEP assessment. But if the design depends on removing a bearing wall, moving a stair or relocating a kitchen, tell the studio which conditions have been confirmed by an engineer and which are assumptions. Images that promise an open plan with no columns can mislead if the structure does not allow it.
Budget, phasing and living through construction
Many renovations are phased around occupancy. If the project happens in stages, tell the studio which stage to show. A phase-by-phase visual helps a family plan life during construction. Also share the budget range, so the finishes shown fit the money. A luxury finish on a modest budget sets an expectation that the project will fail to meet.
Energy, windows and the building envelope
Many renovations include new windows, insulation, roofing or siding. These change the look and the performance of the house. Send the window schedule with sizes, frame material and color, the grid pattern, the roofing material and color, and the siding or stucco selection. Window proportions and frame thickness are among the most visible details, and a replacement window with a different grid than the original changes the character of a house. If you are keeping the existing windows, say so, and photograph them.
If the renovation includes an energy upgrade such as solar panels, send the panel layout and roof plane, because panels are visible from the street and affect neighbor and HOA reactions.
Outdoor spaces tied to the renovation
An addition often changes the yard: a new patio, a deck off the kitchen, a relocated driveway or a removed tree. Send the site plan and the landscape intent. Show how the new rooms connect to the outdoors, where doors open and what the view is from the new kitchen window. A renovation that ignores the yard can end up with a beautiful room looking at a fence. If the addition removes mature trees, note which ones, since they affect shade, privacy and the look of the finished house.
Comparing options before you commit
The strongest use of a renovation rendering is a comparison. Two or three schemes shown from the same viewpoint let a family decide between a gable and a shed roof, between a bump-out and a full second story, or between two kitchen layouts. Send each option as a sketch or marked-up plan, and tell the studio which differences matter. Limit the options to the ones you would truly build, because each additional scheme adds cost and can delay the decision. Once you choose, the studio can refine the winner to a higher level of detail.
Contractors, bids and the rendering as a scope document
A rendering is not a construction document, but it aligns everyone about intent. Sharing it with contractors before they bid reduces misunderstandings about finishes and details, and helps compare quotes on the same scope. Ask the studio to mark key finishes on the image or provide a companion list. Keep the drawings and the rendering consistent: if the rendering shows crown molding that the drawings omit, the contractor will price the drawings. Decide which source governs when they differ, and note it.
Before-and-after comparisons
A before-and-after pair uses the same camera position, lens and light. Take a good photo of the existing condition at a defined position and height, and tell the studio to match it. The result is a persuasive comparison for family decisions, financing or a homeowners association review. For additions, a photo-matched rendering, where the new work is inserted into the real photograph, can be more convincing than a fully modeled view.
HOA, permits and neighbors
Renovations often need an HOA or city approval. Send the HOA guidelines, the permit requirements and any neighbor concerns. The image can then show the massing from the neighbor's viewpoint and the streetscape. See what to send for a zoning board hearing.
Common renovation mistakes
- No existing documentation. New work does not fit.
- Unclear scope. Everything looks new.
- Mismatched materials. The addition looks pasted on.
- Ignoring structure. Unbuildable open plans.
- Inconsistent before and after camera. The comparison is weak.
- Budget mismatch. Finishes exceed the plan.
A worked example: a second-story addition
A homeowner planning a second floor over a single-story house sends existing plans from the permit file, twenty photographs, the architect's addition drawings, a survey showing setbacks and a note: "Show the front from the street, and the effect on the neighbor's backyard." The studio models the existing house from the drawings and photos, adds the second floor, and matches the existing brick with a sample photograph.
The front view shows the ridge and the windows aligned with the existing pattern. The rear view shows that the new wall casts a shadow on the neighbor's patio in the afternoon. The owner lowers the ridge and changes the window sizes, and the neighbor accepts the revised design.
A checklist for renovations and additions
- Photographs of the existing house and rooms.
- Existing plans or measured sketches.
- Marked scope: retained, removed, new.
- New plans, elevations and material selections.
- Survey and setbacks.
- HOA, historic or permit constraints.
- Budget level and phasing.
- Purpose and deadline.
Questions to ask a studio
- Can you model the existing house from photos and measurements?
- Can you produce a photo-matched before and after?
- How do you match existing materials?
- Will you flag conflicts between the existing house and the new design?
- Can you show several options?
Adaptive reuse and change of use
Converting a warehouse to lofts, a church to a home or an office to a hotel starts from a building that was designed for another use. The studio needs the existing structure, the retained elements and the new program. Send the historic photographs, the structural survey, the plans of the existing building and the new design. Adaptive reuse images are persuasive when they show the retained character alongside the new insertions, and when they explain the story of the building.
Timing the rendering in the renovation process
The best moment to order a renovation rendering is when the design is developed enough to be specific but before construction documents are finished. At that stage the owner can still change the layout or the facade at little cost. Ordering later means paying to depict decisions already fixed. Tell the studio where you are in the process, and agree on when the design will freeze.
Frequently asked questions
What do I send for a renovation rendering?
Photographs and drawings of the existing house, a marked scope, the new plans, materials and any HOA or permit constraints.
Can you work without existing plans?
Yes, from photos and measurements. We list assumptions.
Can you show a before and after?
Yes. We match the camera position and light.
Can you match existing brick or siding?
Yes, from sample photos or product information.
Can you show an addition from the neighbor's view?
Yes, if we have the survey and photographs of the neighbor side.
Does the rendering replace structural review?
No. It is a visual study, not an engineering document.
Can you help with a historic commission?
Yes, with accurate images and the review guidelines.
Can you show phases?
Yes, if you send the phasing plan.
Related guides
This guide is part of our series on what to send a 3D rendering studio. Start with the overview, what to send a 3D rendering studio. Related: what to send for a single-family home, what to send for a multifamily project, what to send for a commercial interior. When you are ready, send what you have through our quote request.