What to Send for a Zoning Board Hearing Rendering
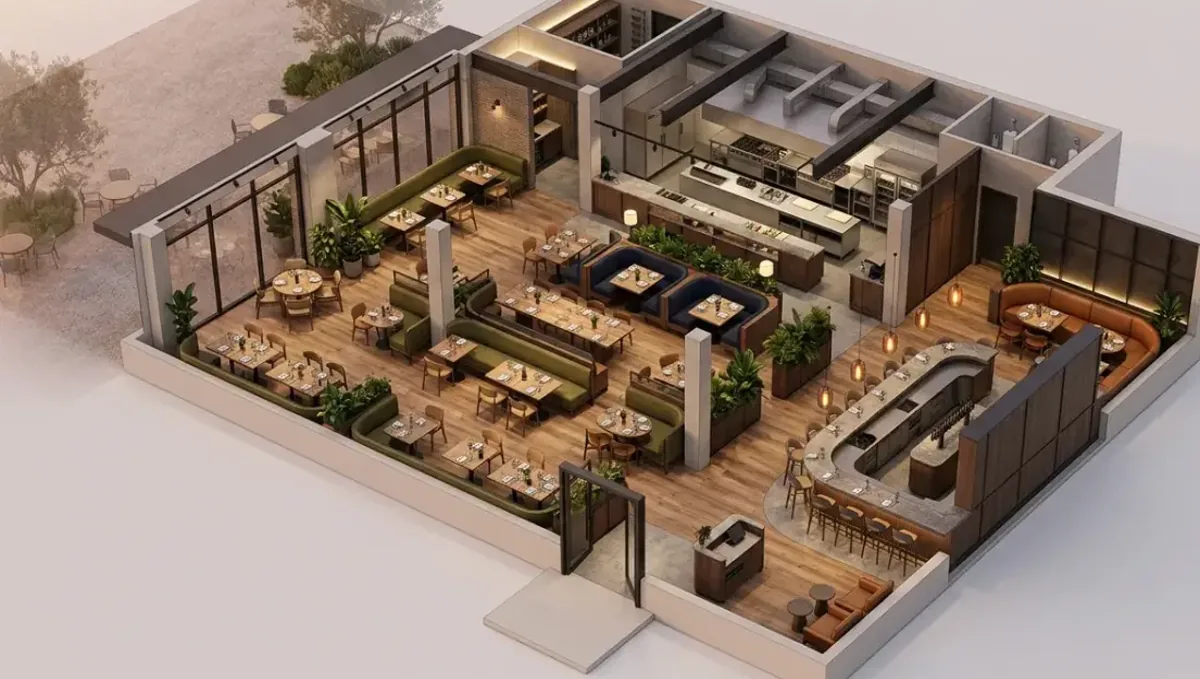
Quick answer: For a zoning board hearing rendering, send the survey and site plan, plans, elevations and sections with heights, landscape and lighting plans, site and neighbor photographs, the jurisdiction's checklist, the required viewpoints and the hearing and submission dates.
What a hearing rendering must do
A zoning board, planning commission or design review panel is not a marketing audience. Its members ask whether the project fits the neighborhood, complies with the code and respects the neighbors. A rendering for a hearing has to answer those questions honestly. It is evidence, and a board that suspects it was flattering will discount the whole application. That changes what a studio needs from you: fewer mood and finish decisions, more accurate massing, context and dimensions.
This guide lists what to send so the images are credible in front of a board, and how to avoid the mistakes that cause continuances and denials.
Read the submission requirements first
Many jurisdictions publish what a rendering must show: viewpoints, minimum size, scale, whether it must be photo-realistic and whether it must be based on surveyed data. Some require a photo simulation from the street and a view from the nearest residence. Download the checklist from the planning department and send it to the studio with your first message. It defines the deliverable, and it is far cheaper to produce the right views once than to redo them after a staff comment.
Drawings the studio needs
- Site plan with property lines, setbacks, easements and existing structures.
- Floor plans of every level, including the roof plan.
- All elevations with heights, and building sections.
- Grading plan or topography.
- Landscape and lighting plans.
- Parking, driveway and circulation layout.
The height of the building against the zoning limit is the number boards care about most. Send the exact heights and datum used to measure them. See elevations and sections.
Survey and context
A hearing image is only credible if the surroundings are real. Send a survey, the adjacent parcels' outlines and photographs of the neighboring buildings, the street, the trees and the utility poles. For heights of neighboring structures, use the assessor data or measured estimates, and say which. The studio will model the context as simple massing or photo-match the proposed building into a real photograph. See sending a survey.
Choose viewpoints that matter to the board
Discuss the viewpoints with your land use attorney or planner. Typical choices are the view from the street in front, the view from the nearest neighbor's property line, the view down the street in both directions and a bird's-eye view showing the relation to adjacent buildings. Choose views from where people actually stand. An image from a drone hovering at 200 feet is easy to produce and easy for a board to distrust.
Give the studio the exact location and eye height of each view, marked on the site plan. A camera at eye level, around five feet, is standard for street views.
Photo simulation versus full 3D
A photo simulation places the proposed building into a photograph taken at the site, with a matching camera and light. It is the most convincing form for review boards because the existing surroundings are unquestionably real. A full 3D image models the context too and allows aerial views and views of areas where no good photo exists. Many applications use both. To do a photo simulation, the studio needs the original photographs, the camera position and the lens or its metadata, and control points such as a survey marker or a known building corner.
Materials, colors and lighting must be honest
Show the materials and colors you will actually build. Do not pick a pale sky or golden hour light to make the building look softer. Use a neutral, overcast or midday light unless the board has asked for shadow studies. Send the sample references and the color names. If the board later sees an approved image with a lighter stone than the delivered one, it may require a modification, which costs time and trust.
Shadow and sun studies
Tall buildings or those near residential neighbors often need shadow studies at set dates and times, typically the equinoxes and the solstices at several hours. Ask whether your board requires one, and send the latitude, orientation and required times. A studio can produce the images or a simple diagram set. Keep the images consistent with the numbers: if the study says the neighbor's yard is shaded at 3 pm, the rendering should agree.
Night lighting and signage
Neighbors worry about glare and noise. If the project has exterior lighting, signage or a parking lot, send the lighting plan with fixture types, heights, color temperature and shielding. A dusk view shows how the lighting reads from the street. Do not hide it: boards notice when a night view is missing for a building that will operate at night, such as a restaurant or gas station.
Variances, special permits and what the image must support
If the application asks for a variance or a special permit, the board weighs hardship, neighborhood character and public benefit. Tell the studio which departure from the code you are requesting, for example extra height, a reduced setback or a use not normally allowed. The images should let the board see that departure clearly and in context. Hiding it will not help, since the staff report will describe it anyway. Showing a compliant version next to the requested one can make the case that the difference is modest, or expose that it is not, which is worth knowing before the hearing.
Working with your planner or land use attorney
Your attorney or planner knows what the board has objected to in past cases. Ask them to review the viewpoints and captions before the studio starts, and again at the first draft. A planner can spot that a view leaves out a prominent house or that a caption claims more than the drawings support. Passing their comments to the studio in one consolidated message avoids conflicting instructions and keeps the production on schedule.
Keeping a record of what was submitted
Boards often approve a project based on the images in the record. Keep the exact files, captions and dates that were submitted, and keep the studio's model. If the approval carries conditions, you may need updated images that show compliance, and if the project is later built differently, the record will be compared with the result. A clean archive saves weeks during later amendments.
Landscaping at planting and at maturity
Landscaping is a frequent negotiation point, and trees can be used to hide a building in a drawing. Show the plants at the size they will be at installation, and if you also show maturity, label each image clearly. Send the landscape plan with species and caliper. Boards often ask what the project will look like on opening day and what it looks like in ten years, and both answers should be accurate.
Neighbors and the community process
Neighbors often speak at hearings, and images shown before the hearing can shape opinion. Provide clear, honest images to the planning staff early, and be ready to answer questions about privacy, height and light. Send the studio any neighbor comments on record so it can show the view from their property. An honest depiction of an impact you can mitigate is easier to defend than an omission a neighbor discovers on their own.
Labels, disclaimers and file formats
Each image should carry a caption: what it depicts, from where, and that it is a representation based on the submitted plans. Many boards want images at a fixed page size, in PDF and in the resolution set by the checklist. Ask the studio for print-ready files and a lower-resolution set for the online packet. Keep the captions consistent with the drawing sheet numbers.
Common hearing mistakes
- Flattering angles. The board notices and distrusts.
- Wrong heights. The image shows a lower building than the plans.
- Missing context. Neighbors are absent or generic.
- Full-grown trees. Landscape hides the building.
- No night view. Lighting concerns go unanswered.
- Ignoring the checklist. Staff sends the application back.
A worked example: a three-story mixed-use building
A developer proposing a three-story building on a corner lot sends the survey, plans, elevations, a landscape plan, the planning department checklist and photographs taken from four street positions. The checklist asks for two photo simulations and one aerial. The studio matches the building into the street photos, models the block for the aerial and adds a dusk view showing the shielded lighting.
At the hearing, a neighbor asks how tall the building appears next to his house. The applicant shows the view from his property line, produced from measured data, and the board moves on to the next question. The application is approved with two conditions on landscaping.
A checklist for zoning hearings
- The jurisdiction's rendering requirements.
- Survey, site plan, plans, elevations and sections with heights.
- Photographs of the site and neighbors.
- Viewpoints marked on the site plan.
- Materials, colors, landscape and lighting.
- Shadow study requirements, if any.
- Hearing date and submission deadline.
Questions to ask a studio
- Have you produced images for planning and zoning submissions?
- Can you do a photo simulation from my photographs?
- Will you state the camera positions and heights?
- How do you show landscaping at installation?
- Can you deliver to the jurisdiction's file requirements?
Timing around the hearing calendar
Boards meet on a schedule, and applications are due weeks in advance. Work backward from the submission deadline, leaving time for staff review comments and a revised set. Photo simulations need good weather for the site photos, which can add days. If the hearing is contentious, ask for extra images to keep in reserve, such as alternative viewpoints, so you can answer new questions without waiting for a new render.
What a rendering cannot do
A rendering does not prove compliance with the code. Height, setbacks, lot coverage and parking are proven by the drawings and the zoning analysis. The image explains and illustrates. Keep it consistent with the drawings and never use it to hide a variance. A board that finds a discrepancy between the image and the plan will trust neither. Treat the rendering as a visual companion to the plans, and let it be as honest as the numbers behind it.
Frequently asked questions
What do I send for a zoning board rendering?
Survey, site plan, plans, elevations with heights, landscape and lighting plans, site photos, the jurisdiction checklist and the required viewpoints.
What is a photo simulation?
A rendering placed into a real photograph of the site with matching camera and light.
Can you show a neighbor's view?
Yes, from the neighbor's property line if we have context data or photos.
Should the image show the best light?
No. Use neutral light so the board trusts the image.
Can you produce shadow studies?
Yes, at the dates and times your board requires.
Do I need a night view?
If the building operates at night or has exterior lighting, yes.
How should trees be shown?
At installation size, and label any image showing maturity.
Does the image replace the plans?
No. It illustrates them and must agree with them.
Related guides
This guide is part of our series on what to send a 3D rendering studio. Start with the overview, what to send a 3D rendering studio. Related: what to send for a marketing brochure, what to send for a design competition, what to send for a community meeting. When you are ready, send what you have through our quote request.