What a Homeowner Should Send for a 3D Rendering
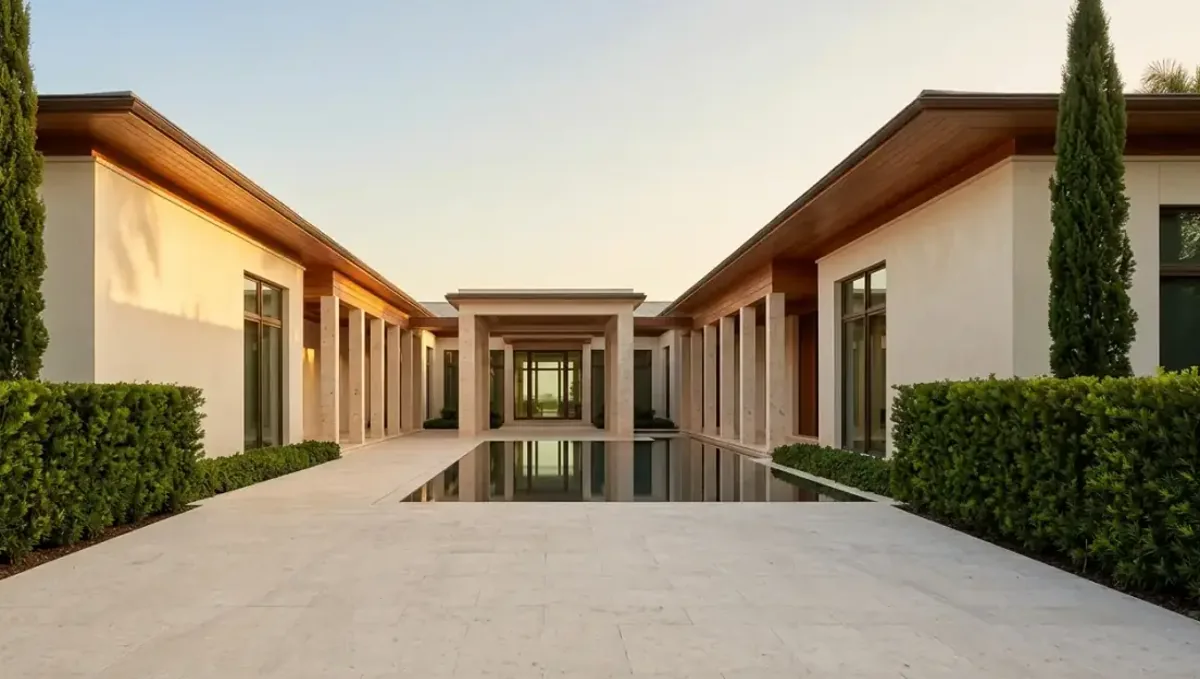
Quick answer: A homeowner should send photos of the house from all sides, key measurements, any existing plans, a sketch of the change, material references, and the purpose and deadline of the images.
What a homeowner actually needs to send
Homeowners rarely have a full drawing set, and they do not need one. What a studio needs from a homeowner is a clear picture of the house or the idea, some dimensions, a few photos and a plain statement of what the images are for. If you have plans from an architect or builder, send them. If you have only a sketch, a phone photo and a list of wishes, that is still a workable start, provided you tell us what is certain and what is still open.
This guide is written for the person who owns the house or the lot, is not a design professional and wants an accurate image before spending money on construction. It explains what to gather, how to describe it and which mistakes to avoid.
Start with the purpose
Before any file, write two sentences: what you want to see and what decision it will help you make. "I want to see whether a second-floor addition over the garage will look right from the street" is a very different brief from "I want images for the bank so the renovation loan is approved". The first calls for one careful exterior view from a specific angle. The second calls for a clean, professional set that shows the finished home in a good light. Knowing the purpose lets the studio choose the camera, the light and the level of detail.
If you have plans from an architect or builder
- Send the floor plans, elevations and sections as PDFs, exactly as you received them.
- Send the site plan if there is one.
- Send the finish or material selections, even if they are only an email or a list.
- Say which version is current, and the date of the last change.
You do not need to explain the drawings. The studio reads them. What helps is telling us which parts you have already decided and which you are still debating. See the guides on floor plans and elevations and sections for the details.
If you have no plans at all
Many homeowners start with nothing but the house itself. That is fine. Take photos of the house from the front, both sides and the back, standing far enough back to include the whole facade. Measure the width of the house, the width of the lot and the distance from the house to the street, using a tape or a laser measure. Measure the height of one door and one window, which gives a reliable scale. Sketch the floor plan on paper with the rooms and the approximate sizes and photograph it.
With those items a studio can build an approximate model. It will be labeled as approximate, and if the image will later be used for permits or construction, the quote will suggest bringing in drawings first.
Photos that help most
- The front of the house, straight on, from across the street.
- Each corner of the house at an angle, showing two sides at once.
- The roof, from a place where you can see its shape.
- Details you want to keep: the door, the windows, the porch, the brick or siding.
- Photos of houses you admire, with a line saying what you like about each.
Take the photos in soft daylight, keep the camera level and do not use filters. See reference photos for more.
Describing the changes you want
Most homeowner projects are changes to something that exists: an addition, a new porch, a facade update, a kitchen remodel, a pool in the yard. Describe the change in words and in a sketch. Say where it goes, how big it is and what it should look like: "a 12 by 16 foot addition on the back, with a shed roof and the same siding as the house". If you have not chosen materials, say so and give the style you prefer. The studio will show a proposal and you can react to it.
Also tell us what must not change. If the original brick front stays, say so. If a tree is being saved, say so. See what to send for a renovation or addition.
Materials and colors: how to communicate them
Homeowners often say "a light gray" or "natural wood". Those words can mean a dozen different things. The best way to communicate a color is a physical sample or the manufacturer name and color code, for example a paint brand and number. Photographs of the sample in daylight are next best. If you are still choosing, send two or three options and we can render them side by side, so that you choose from a picture and not from a chip on a card.
Budget, timeline and permissions
Say honestly when you need the images and what you can afford to spend. A studio can then propose the right scope: one or two key views, or a larger set. Also mention whether the project needs approval from a homeowners association or a city board, because the image may need to meet the rules of that process. See what to send for a zoning board hearing.
Common homeowner mistakes
- Waiting for perfect drawings. A studio can start with photos and a sketch.
- Sending only inspiration photos. They show a mood but not your house.
- Not saying what is final. Everything looks equally certain.
- Sending old plans. The house was changed since.
- Forgetting the surroundings. A view that ignores the neighbors looks fake.
- Changing the design after modeling starts. It costs more than changing before.
How to measure a house without special tools
A tape measure and a helper are enough. Measure the width of the front facade along the ground from corner to corner, then the depth of one side. Measure the height from the ground to the eave, or count the courses of siding or brick and multiply by the known course height. For a door, measure the frame width and height, because a standard door gives a scale check. Write each number on the photo or on a sketch, with the units. A photo with three labeled measurements is worth more than a dozen unlabeled ones.
For the lot, use a property survey if you have it, since the closing documents for a house often include one. Otherwise pace off the distances and say they are approximate. We will treat them as such and mark them in the assumptions list.
Where to find drawings you may already own
Many homeowners have more paperwork than they realize. Look for the plans given to you when you bought the house, the permit set on file with your city building department, the survey attached to your mortgage or closing package, and any drawings a previous contractor or designer produced. Many cities let owners request a copy of the permit drawings for their address. Even old drawings help, as long as you tell us what has changed since they were made.
Interiors: what to send for a kitchen, bath or living space
For an interior remodel, take photos of each wall of the room from the corners, and measure the room length, width and ceiling height. Note the position and size of windows and doors. Send the appliance and fixture models you have chosen, the cabinet style, the countertop material and the flooring. If you have not chosen, send photos of rooms you like and mark what you like about them: the layout, the color, the lighting. See sending a furniture and fixture list.
Working with a contractor or designer at the same time
If you already have a contractor or designer, ask them to send their drawings directly, or forward them yourself. Tell the studio who makes the design decisions, so questions reach the right person. This avoids a common problem: the homeowner asks for one thing, the contractor is building another, and the image matches neither. One person should be the final approver, and the studio should know who.
What to expect after you send
A good studio answers within a day or two with a short list of questions and a proposed scope. It then produces a preview so you can correct anything before the final. Read the preview carefully, comparing it with the photos and measurements you sent. Speak up about anything that looks off, even if you cannot say why. The first review is the cheapest time to change something.
A worked example: a back porch and pool
A homeowner wants to add a covered porch and a small pool and sends six phone photos of the backyard, a hand sketch of the house with the rough dimensions, a photo of a porch they like and a note: "I want to see if the porch roof blocks the upstairs window, and whether the pool fits between the porch and the fence." The studio builds the house from photos and measurements, places the porch and pool at the sketched sizes and delivers an exterior view from the yard and a view from the upstairs window.
The pool fits, but the roof does block part of the window. The homeowner asks for a lower pitch, and the studio shows a second option. The decision is made from a picture, before a contractor is paid.
What to send: a checklist
- Photos of the house and yard, all sides.
- Any plans or drawings you already have.
- Key measurements: house, lot, and one door or window.
- A sketch of the change you want.
- Material and color references.
- Purpose, deadline and budget.
- What is final and what is open.
Questions a homeowner should ask a studio
- Can you work from photos and measurements when I have no plans?
- How accurate will the result be and what are the assumptions?
- Can I see two options side by side?
- How many changes are included?
- Can I use the images for my HOA or a lender?
Frequently asked questions
Do I need architectural plans?
No. Photos, measurements and a sketch can start a project. Plans make it more accurate.
How accurate is a rendering made from photos?
Accurate enough to judge design and proportion. We list every assumption. For permits, get drawings first.
What should I measure?
The width of the house and lot, the distance to the street and the height of a door and a window.
Can I compare two designs?
Yes. We can render options side by side from the same camera.
Can I use the image for my HOA?
Usually yes. Tell us the HOA requirements at the start.
What if I have not chosen materials?
Tell us the style. We propose materials and you can adjust.
How much does it cost?
It depends on the number of views and the complexity. Send your materials for a quote.
How long does it take?
It depends on scope and on how fast you answer questions. Ask for a schedule in the quote.
Related guides
This guide is part of our series on what to send a 3D rendering studio. Start with the overview, what to send a 3D rendering studio. Related: what an architect should send, what a builder should send, what an interior designer should send. When you are ready, send what you have through our quote request.