3D Rendering From a Napkin or Rough Concept Sketch
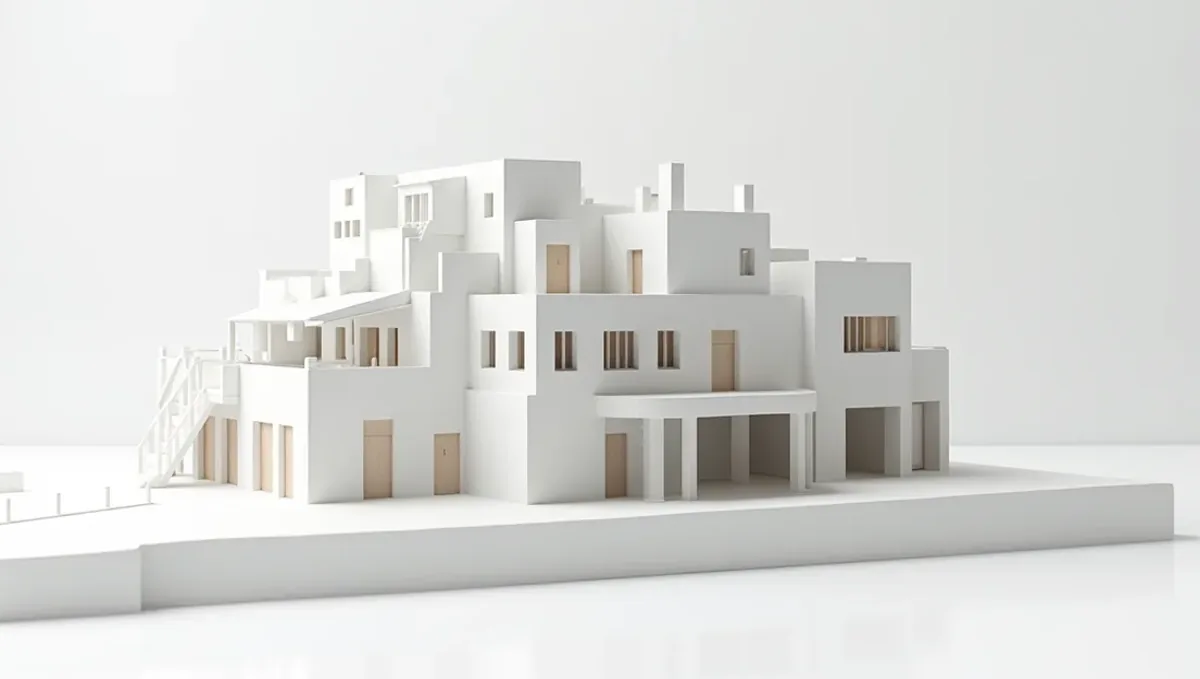
Quick answer: A napkin or rough concept sketch can become a 3D rendering when each shape is labeled, a size reference is given and the work proceeds in stages.
When all you have is a napkin sketch
Some projects start on the back of an envelope, a napkin or a scrap of paper. The sketch is fast, loose and full of intent. It is enough to begin a conversation with a rendering studio, provided you can explain what the lines mean. This guide covers how to turn a rough concept sketch into a useful 3D image. It is a specific case of making a 3D rendering from a sketch without plans.
Why rough sketches still work
A rough sketch captures the idea before details clutter it. The studio does not need a polished drawing to understand massing, arrangement and mood. It needs your explanation. The rougher the sketch, the more the conversation matters, and the more the studio will propose a simple first version for you to confirm.
Explain what each shape means
In a napkin sketch, a rectangle could be a building, a pool or a terrace. Write a label beside every shape. If you cannot label, describe each element in an email or a call. This is the single most valuable step, since it converts a picture into instructions.
Add a simple size reference
State a real dimension for one element and let the rest follow. For example, "the house is about this wide" or "the deck is the size of a two-car garage". Without a size, the studio has no way to scale the idea, and the first preview may feel too big or too small.
Decide what is fixed and what is open
Rough concepts contain both firm ideas and open questions. Tell the studio which is which. If the roof shape is fixed but the color is open, say so. If the layout is flexible, say so. Separating the two lets the studio spend effort on what you care about and propose sensible options for the rest.
Use references to fill the gaps
Pair the sketch with photos of buildings, rooms or landscapes that show the feeling you want. See how to send reference photos. Choose images that agree with each other, and mark what you like in each one: the roofline, the materials, the light. That focus prevents the studio from copying details you did not intend.
Staged approach: massing first
With a rough sketch, a staged approach is often best. The studio builds a simple massing model, you confirm the shape and proportions, and only then does it add materials, landscape and light. This avoids polishing a version that misses the idea, and it makes the later steps faster and cheaper.
Photographing the napkin
Flatten the paper, photograph it in even light and keep the whole thing in frame. Napkin paper crinkles and reflects, so use natural light and avoid shadows. If the ink is faint, trace over it with a darker pen, or retake the photo at a different angle.
Speaking the concept aloud
A short call or a recorded message describing the concept often adds more than the sketch. Say who the project is for, the setting, the style and the purpose of the image. The studio then reads the lines through your explanation, and ambiguity drops immediately.
Involving other people early
If a spouse, partner or investor will judge the result, show them the sketch and the notes before ordering. Their reactions reveal disagreements that would otherwise appear at the preview, when changes cost more. Ask each person for their top two priorities, and reconcile them into one brief.
What a good first preview looks like
A good first preview from a rough concept is simple and clean: correct massing, believable light and neutral materials. It is not yet polished, and that is intentional. Judge it on shape and proportion, not on detail. If the shape is right, the next stage adds the richness quickly.
The first call: what to cover
If you have a call with the studio, cover the essentials in order: what the project is, where it is, who will see the image, what you already know for sure and what is undecided. Then walk through the sketch shape by shape. The studio takes notes and follows up with a written summary of assumptions, which you should read carefully and correct.
Turning a concept into questions
A rough sketch raises questions the studio will ask, and it helps to anticipate them. How many floors? Which side is the front? Is the roof flat or pitched? Where does the driveway enter? What is the ground like? Answering these before the studio asks shortens the start and shows you which decisions you have not yet made.
Keeping the idea alive while it is refined
Concepts evolve as you see them in three dimensions, and that is the value of the exercise. Keep a short log of what you changed and why. When you later brief an architect, the log explains which choices were deliberate and which were exploratory, and it prevents old ideas from returning by accident.
Concept renderings and budget conversations
People often use a concept image to discuss budget with a builder or a lender. It helps to explain the idea, but the image does not specify quantities or finishes at a cost level. Present it as a design direction, and follow with drawings when cost accuracy is needed. Being clear about this avoids misunderstandings later.
When to move on from the sketch
Once the concept is clear and approved, the sketch has done its job. The next step is drawings by a professional, and the rendering can then be updated to match. Do not keep refining the sketch indefinitely, since every extra change delays the moment when real plans begin and the project gains firm dimensions.
What to do if the sketch is unclear even to you
Sometimes the sketch is a starting point and you are not sure what you want. That is fine. Tell the studio you are exploring and ask for two simple massing options. Seeing shapes in three dimensions often clarifies the decision faster than any amount of thinking, and it costs less than committing to a detailed image.
Keeping the original sketch
Keep the original sketch, even after the rendering exists. It documents your first intent, and it is useful when you brief an architect or a builder. Store a scan with the notes and the final image together, so the story of the idea is easy to follow later.
Sharing the concept with others
Rough concepts are often shared with partners, family or a lender. Make clear that the image is conceptual and that details will change. Showing the sketch, the notes and the image together helps viewers understand where the idea started and how it might evolve.
Avoiding scope creep in the concept
Rough sketches invite new ideas mid-project. Adding a second floor or a different roof after the massing is approved restarts the work. Capture new ideas in a separate list, and decide at the preview which to include. That discipline keeps the schedule intact.
Setting expectations for the result
The result will be a polished concept image that expresses the sketch. Details not in the sketch will be invented by the studio, so review them at the preview. Do not use the image as a construction guide, since dimensions are approximate.
Revisions
Loose concepts tend to involve a richer conversation at the preview. That is normal. Settle the big things first, then keep later corrections small. See how revision rounds affect timelines.
Timing
The schedule depends on how much must be interpreted, how many views you want and how quickly you answer. See how long a 3D rendering takes. Rendimension offers an express option, subject to the queue.
Scenarios
- An owner sketching a lake house at dinner.
- A restaurateur drawing a layout on a napkin.
- A developer sketching a building idea in a meeting.
- A designer scribbling a room concept for a client.
- A builder drawing an addition on a job site.
A worked example
An owner draws a rough L-shaped house on a napkin, labels "living", "pool" and "garage", says the house is about as wide as a large two-story home, and attaches two photos of a modern farmhouse. The studio builds a simple massing, the owner confirms the shape, and the second stage adds materials and light. The final image is a convincing concept, and the owner takes it to an architect.
Working backward from what you need the image to do
Before sending anything, decide what the image must accomplish: explain a concept, compare options, brief a professional or convince a partner. The purpose decides how much accuracy matters and which view is worth ordering. A studio that knows the purpose can put effort where it counts and leave the rest simple.
Common mistakes
- Sending the sketch with no notes or scale.
- Expecting construction accuracy from a concept image.
- Changing the idea after the preview.
- Ignoring the studio's questions.
- Sending contradictory references.
- Not naming the one person who decides.
What you can do to get a better result
- Add rough dimensions and floors.
- Label materials, openings and special features.
- Send two or three consistent references.
- State the purpose and the audience.
- Reply quickly to questions.
- Send corrections in one consolidated list.
A planning checklist
- A clear scan or photo of the material.
- Rough dimensions and number of floors.
- Labels and notes.
- Consistent reference photos.
- The purpose of the image.
- One decision maker.
Questions to ask the studio
- What will you assume, and can I review the list?
- What else do you need from me?
- How many revision rounds are included?
- Is the result suitable for the use I have in mind?
- Is there an express option for a fixed date?
Bringing it together
A napkin sketch is a legitimate start. Label every shape, add a size reference, pair the sketch with consistent references, use a staged approach and answer the studio's questions, and a loose idea becomes a clear concept image.
Frequently asked questions
Can a napkin sketch be used?
Yes, if you explain what the shapes mean and give a size reference.
What is the most important step?
Labeling each shape so the studio knows what it represents.
Should I send references?
Yes, consistent ones that show the feeling you want.
What is a staged approach?
Massing first, then materials, landscape and light after approval.
Will the studio invent details?
Yes, and it should list them so you can review.
Can I add ideas later?
Small ones yes. Structural ones restart work.
Is the image construction accurate?
No. It is a concept image.
Is there a faster option?
Rendimension offers an express option, subject to the queue.
Related guides
This guide is part of our series on a 3D rendering from a sketch without plans. Start with the overview, making a 3D rendering from a sketch without plans. Related: rendering from a photo of a sketch, rendering from reference photos and a description, rendering from a floor plan sketch only. When you are ready, send what you have through our quote request.