3D Rendering From an Elevation Sketch Only
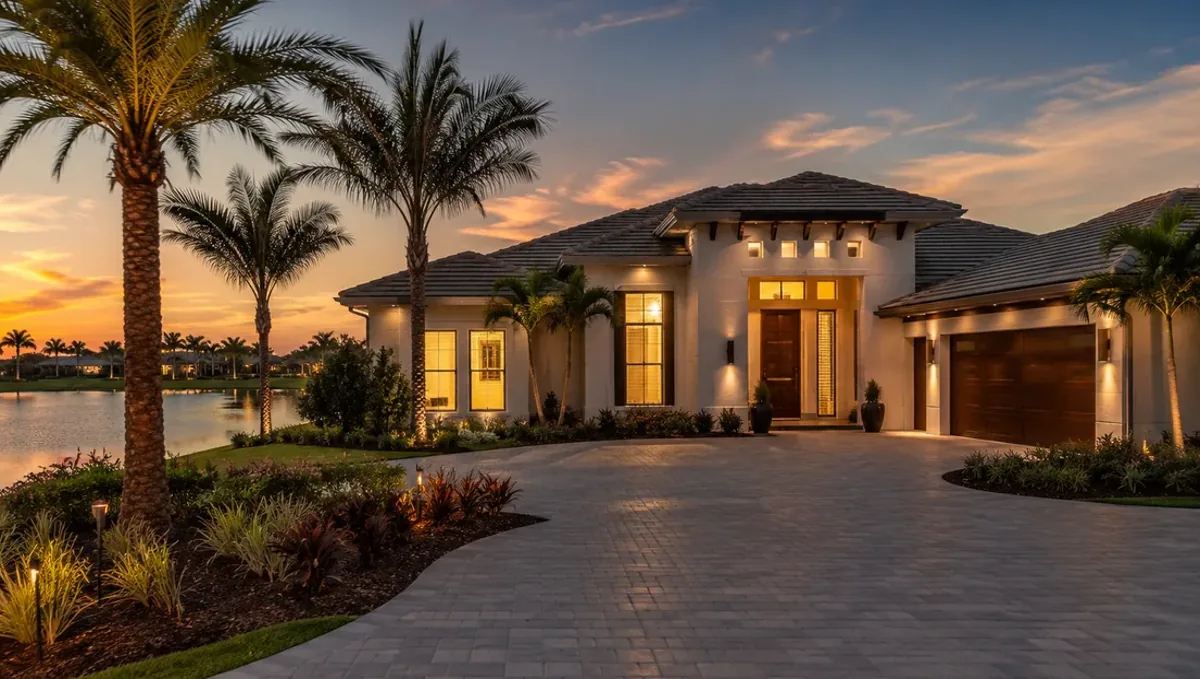
Quick answer: A 3D rendering from an elevation sketch works when you add the depth, the roof form, the materials and instructions for the sides and back.
An elevation sketch shows the face of the building
An elevation is a flat view of one side of a building. It shows the facade, the roofline, the windows and the entrance, and it is the drawing that most people naturally make when they picture a house. A studio can build a three-dimensional model and a rendering from an elevation sketch alone, but it must invent the depth, the sides and the plan. This guide explains how to prepare an elevation for a concept rendering. See making a 3D rendering from a sketch without plans for the overview.
What the studio can and cannot derive
From an elevation the studio can derive the height, the width, the roof form seen from the front and the pattern of openings. It cannot derive the depth of the building, the shape of the sides, the plan or the rear. Those need your input. Be ready to answer questions about them.
Draw it flat and square
An elevation should be drawn as if you were looking straight at the wall, with no perspective. Vertical lines vertical, horizontal lines horizontal. If your sketch is in perspective, say so, since the studio will treat it differently. A flat elevation with a ground line is the easiest to translate into a model.
Add the ground line and levels
Mark the ground line, the floor levels and the roof height. If there is a raised foundation, a walkout or steps to the entry, draw them. The relationship to the ground defines the proportion of the facade, and a missing ground line often leads to a building that sits too low or too high on the site.
Dimensions
Give the overall width and the height to the eave or to the ridge. If you know the height of a door or the width of a window, add it. Even one or two numbers allow the studio to scale the rest. Without them, proportions rely on guesswork.
The depth problem
The biggest unknown is depth. A house that is a narrow tower and one that is a long rectangle can share the same front elevation. State the approximate depth, or draw a simple footprint beside the elevation. Without it, the studio picks a standard depth, which may differ from your intent and change the whole massing.
The sides and the back
Tell the studio how the sides and rear should look. Options include continuing the same materials and window pattern, simplifying them or following a separate drawing. If you want only the front view, say so, and the studio can keep the other sides minimal. Be clear about what the camera will see.
Roof form
An elevation shows the roof profile from one side, but not whether it is a hip, a gable, a shed or a flat roof from above. Add a small plan view of the roof or a note. The roof dominates many facades, and a wrong assumption is easy to notice and costly to fix late.
Materials on the facade
Label each material on the drawing: brick, stone, board and batten, stucco, metal. Add reference photos for texture and color. If the facade has several materials, show where each one starts and stops. See how to send reference photos. Clear labels prevent random assignments.
Multiple elevations of the same building
If you can draw more than one side, do it, even roughly. Front and one side elevation together define the volume much better than a single face. Make sure the two drawings agree: the ridge height and the floor levels must match on both. When they contradict each other, the studio will ask which one is right, and the answer needs to be clear.
Elevations of an existing building you want to change
For a facade renovation, send a straight-on photo of the current front beside your sketch of the change. Mark what stays and what is replaced: the siding, the windows, the roof, the porch. The studio can build the existing conditions and the proposal from the same base, which also allows a before and after comparison. A photo taken from far away and straight on is much more useful than a close-up at an angle.
Scale figures and reference objects
Draw a door, a car or a person to scale next to the elevation. A standard door is a quick check of proportion, and it lets the studio verify that floor heights and window sizes make sense. Sketches without any human-scale object are the ones most likely to drift into unrealistic proportions, such as ceilings that are too low or windows that are too tall.
Setbacks, slopes and the site edge
An elevation looks different on a sloped lot or close to the street. Tell the studio if the ground rises or falls along the facade, how far the building sits from the road and whether there are retaining walls or steps. The relationship between the building and its surroundings is part of the image, and it is easy to omit from a flat drawing.
Proportion checks you can do yourself
Before sending, check the proportions of your sketch against a reference. A standard door height compared to the wall height, or the window width compared to the facade width, reveals distortions. Hand sketches often exaggerate the entrance or the roof. If you spot a distortion, note that it is deliberate emphasis or correct it, so the studio does not copy it.
Symmetry and rhythm
Facades work through rhythm: repeated windows, aligned openings and balanced masses. A hand sketch may look symmetrical when you did not intend it, or asymmetrical by accident. State whether the facade is meant to be symmetrical, and mark the axis. The studio can then regularize the spacing so the building looks intentional rather than random.
Porches, overhangs and depth cues
Elements that project from the wall, such as porches, bay windows, overhangs and balconies, define the depth. Show how far each one projects, even with a rough note. They create the shadows that make a facade feel three-dimensional, and their absence makes the rendering look flat and unconvincing.
Heights of adjacent buildings
If the building sits between neighbors, tell the studio about their height and distance. An elevation alone does not show that context, and a building looks very different when it is next to a tall neighbor. A photo of the street from the intended camera position is the best reference for this.
Windows and doors
Mark window types and sizes. A picture window, a double-hung and a casement look different, and shutters, trim and mullions change the character. Add the position and style of the main door and the garage door. Details on openings are what make an elevation feel real.
Choosing the camera
An elevation does not decide the camera. Say whether you want a straight-on view, a three-quarter view from a corner or a lower eye-level street view. Three-quarter views show more depth and are usually more attractive, but they need the side to be defined. Choose before the model is built.
Site and landscape
Tell the studio about the driveway, walks, planting, fences and neighbors. If the site is not defined, the studio will place a neutral landscape. Photos of the real site are the best input. Landscape often changes how the building is perceived, so treat it as part of the brief.
Light and mood
Decide the time of day. Front elevations facing north or south catch light very differently. If the orientation of the facade is known, say it. Light affects color and shadow more than most clients expect.
The preview
At the preview, check the massing from a corner, since that is where the invented parts appear. Compare the facade with your sketch and correct proportions. Send one list of corrections. See how revision rounds affect timelines.
Timing
An elevation with notes and a defined depth shortens the start. See how long a 3D rendering takes. Rendimension offers an express option, subject to the queue.
Common mistakes
- Drawing in perspective without saying so.
- Leaving out the depth of the building.
- Not saying how the sides should look.
- Skipping the ground line.
- Leaving materials unlabeled.
- Expecting the invented sides to match a hidden plan.
What you can do to get a better result
- Draw flat and square with a ground line.
- State width, height and rough depth.
- Describe the roof form.
- Label materials and openings.
- Say how the sides and back should look.
- Choose the camera.
Scenarios
- A homeowner sketching a facade idea for a new house.
- A builder drawing a front elevation for a client.
- An owner planning a facade refresh.
- A shop owner drawing a storefront elevation.
- A designer sending a facade concept for approval.
A worked example
A client draws a front elevation with a ground line, labels "stone base, painted board siding, standing seam roof", gives the overall width and a rough depth, and says the sides should continue the same materials. The studio builds the volumes, proposes a roof from above and the client confirms. The corner view matches the intent, and the client sees the building from an angle that the elevation alone could not show.
A checklist before you send
- A flat elevation with a ground line.
- Width, height and rough depth.
- Roof form and materials labeled.
- Notes on the sides and back.
- Site and landscape notes.
- The camera and mood.
Questions to ask the studio
- What will you assume about the depth and the sides?
- What else do you need from me?
- How many revision rounds are included?
- Can I get a corner view from this elevation?
- Is there an express option for a fixed date?
Bringing it together
An elevation sketch is enough to start a concept rendering when you add the depth, the roof form, the materials and the direction for the sides. Those additions convert a flat drawing into a building the studio can model with confidence.
Frequently asked questions
Is an elevation sketch enough?
Yes for a concept image, with depth and roof information added.
What is the biggest unknown?
The depth of the building and the shape of the sides.
Should I draw in perspective?
Draw flat, or tell the studio if it is perspective.
Can I get a corner view?
Yes, if the sides are defined.
Should I label materials?
Yes, with photos for texture and color.
Is it a construction drawing?
No. It is a concept image.
Do I need dimensions?
Width, height and rough depth help a lot.
Is there a faster option?
Rendimension offers an express option, subject to the queue.
Related guides
This guide is part of our series on a 3D rendering from a sketch without plans. Start with the overview, making a 3D rendering from a sketch without plans. Related: rendering from on-site measurements, rendering from a rough layout PDF, rendering from a hand-drawn sketch. When you are ready, send what you have through our quote request.