3D Rendering for a Real Estate Listing Before Completion
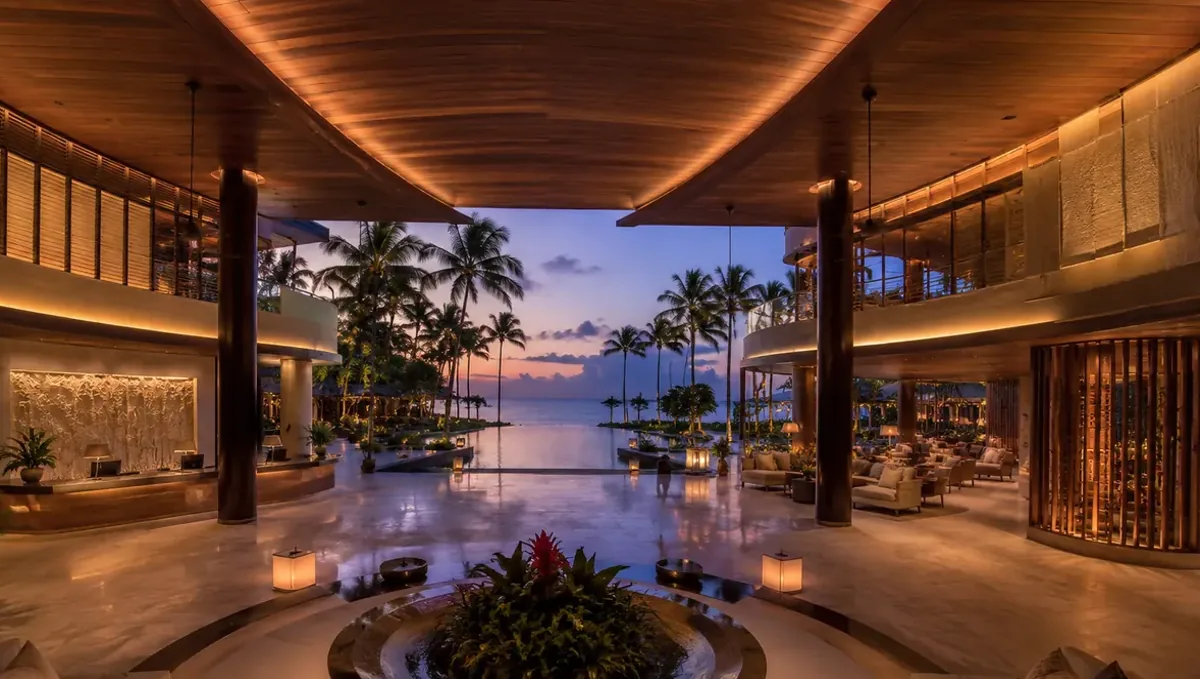
Quick answer: A 3D rendering for a real estate listing before completion replaces the photograph, so it must be labeled, match the plans and be replaced with photos once the home is built.
Listing a home that is not finished
Listing a property before completion means competing on portals with homes that have photographs. A rendering is the substitute for the photo, and it has to be clear enough that the buyer understands it is a rendering, and good enough that the listing does not look weaker than the others. This guide belongs to using a 3D rendering to pre-sell a property before construction.
Check the portal and the MLS rules
Portals and multiple listing services have rules on images of unbuilt property. Some require that renderings be labeled, some limit the number of images and some restrict what can appear as the main photo. Ask your broker for the rules of the platform and the local association. Following them prevents removed listings and awkward corrections, and it keeps your relationship with the platform healthy.
Label the rendering clearly
A listing should make clear that the images are renderings. Add a label on the image or in the caption, such as artist's impression, and mention it in the description. Buyers who think they are looking at a photo may feel misled when they visit. Clear labeling costs nothing, protects the seller and sets honest expectations, which improves the quality of the inquiries you receive.
The main image
The first image appears in search results and decides the click. Choose an exterior view in clear light, with a believable setting and a strong composition. Avoid extreme angles that make the home look larger than it is. If your portal crops to a wide format, ask the studio to compose the view with room on the sides. A hero that matches the marketing on your website makes the listing feel part of a complete project.
Interiors that match the plan
Buyers scroll through interiors looking for the kitchen, the living room and the bedrooms. Show the main spaces, with furniture at real scale and finishes from the schedule. Add the floor plan next to the images if the platform allows. If a room is shown with optional features, say so in the caption. A listing that matches the plan reduces the number of confused calls and disappointed visits.
Describing what is not yet built
The description should state the expected completion date, the status of permits and construction, and what is included. Avoid words that imply the home already exists. Mention that finishes are subject to the specification and that the images are illustrative. Give the buyer a clear way to see the plans and the specification. Transparent descriptions build trust and reduce the risk of misunderstandings at contract and closing.
Surroundings and lot
A rendering must respect the lot. If the home is on a slope, near a road or next to a large building, show it. Landscaping should represent what will be delivered at closing. If a fence, patio or garden is optional, label it. Buyers visit the lot, and a mismatch between image and reality is the fastest way to lose confidence. An honest context also helps you attract buyers who like the real setting.
Video and virtual tours
Some platforms accept video or interactive tours. A short animation or a virtual walkthrough built from the same model can complement the images, and it keeps the design consistent. Keep the scope realistic: a few clear views are more valuable than a long film. If you add motion, use the same finishes, lighting and furniture as the still images, so that the buyer sees one project everywhere.
Working with the listing agent
The agent writes the description and answers questions. Give them the approved images, the plans, the specification sheet and a list of what can be promised and what cannot. Agree on the wording for the disclaimer. An agent who knows the project well can answer confidently and avoid statements the contract does not support. Send updates whenever the design or the schedule changes, so the listing stays accurate.
Photography style and consistency
Portals mix photographs and renderings, so the listing should not look out of place. Choose eye level views, natural light and normal lenses, and avoid extreme wide angles that distort rooms. Keep the color treatment the same across every image in the set. When the listing looks calm and consistent, buyers focus on the home and not on the technique, and the transition to real photographs after completion feels natural.
Handling buyer questions from the listing
Listings bring questions: what is included, what is optional, when will it be done and can I see the lot. Prepare short answers before you publish and keep the specification sheet at hand. If a question touches on something the contract must decide, refer the buyer to the contract and to your attorney or broker. Consistent, honest answers keep the conversation moving and prevent promises that the project cannot keep.
Seasonal light and landscaping
A home listed in winter but delivered in summer, or the reverse, raises a small question about landscaping and light. Choose a neutral season for the images and show plants at a realistic size. If the yard will be sod and small trees at closing, do not show a mature garden. Buyers appreciate a realistic picture, and they are less likely to feel disappointed at the final walkthrough of the finished property.
Search visibility on portals
Portals rank listings with many factors, and image quality is only one. Complete the listing, use accurate categories and write a clear description. Add alt text or captions if the platform supports it. We do not promise ranking or speed of sale. What we can say is that a clear, honest set of images makes the listing easier to understand, and that is a sound base for any listing strategy.
Open houses and previews
If the home is not built, an open house can be a preview at the sales center or at the lot. Bring printed renderings, plans and a finish sample board. Let visitors see the site, and explain what will be built. A buyer who has seen the lot, the images and the samples is better prepared to decide, and less likely to be surprised later.
Corrections and takedowns
If a portal or a regulator asks for a correction, respond quickly. Update the labels, fix the description or replace an image. Keep a record of the change. Do not argue about small points. A quick fix protects the listing and your reputation, and it shows buyers that the seller cares about accuracy in the information provided.
Coordinating with the lender and appraiser
Buyers who finance a home under construction deal with lenders and appraisers who rely on plans and specifications. Make sure the plans in the listing match the plans provided to them. Discrepancies between marketing images and the appraisal package can raise questions. Send the same set of documents to all parties, and note the version date on each.
After the sale
Once the sale closes, archive the listing, the images and the description. If a buyer later asks what was shown at listing time, you have a record. Use the experience to improve the next project: note which images drew attention and which questions came up, and adjust the set. Repeat what worked and simplify what did not.
Updating the listing when the home is built
When the home is complete, replace the renderings with photographs and update the description. Keep the renderings in the marketing archive. If the finished home differs from the rendering, correct the listing quickly. Buyers who saw the old images may ask about the differences, and a prompt, honest update prevents complaints. Photography of the finished home is usually the best asset for resale.
What to send the studio
- Plans, elevations and the lot survey or site plan.
- The finish schedule.
- Photos of the lot and surroundings.
- The portal image requirements.
- The launch date of the listing.
Questions to ask the studio
- Can you deliver the sizes the portal requires?
- Can you label the images as renderings?
- Can you match my plans and finish schedule?
- How many revision rounds are included?
- Can you provide a version for print flyers?
A checklist before you publish
- The platform rules were checked.
- Images are labeled as renderings.
- Finishes match the schedule.
- The lot and surroundings are realistic.
- The description states the completion status.
- The agent has the approved images and wording.
Revision rounds and how to keep them small
For a listing before completion, settle the big decisions in the first preview: massing, materials, colors, landscaping and camera. Afterwards, send changes as one consolidated list. Marketing images are also promises to buyers, so each correction should keep the image consistent with the plans and the specification sheet. See how revision rounds affect timelines.
Timing
Sales dates are usually tied to a launch, an event, a listing date or a construction milestone. Count backward from that date, leave room for one revision round and answer the studio quickly. See how long a 3D rendering takes. Rendimension offers an express option, subject to the queue, when a launch date is fixed.
Common mistakes
- Presenting renderings as photographs.
- Ignoring portal or MLS rules.
- Hiding a slope, road or neighbor.
- Describing the home as if it already exists.
- Leaving renderings up after completion.
- Using images that differ from the plans.
A worked example
A builder lists a home under construction. The studio prepares an exterior view, three interiors and a floor plan graphic sized for the portal. The listing labels each image as a rendering, states the expected completion date and links to the plans. When the house is finished, the builder replaces the renderings with photographs and updates the description on the same day.
Where to go next
Send the drawings or sketch, the finish schedule, the site photos and your marketing goals to the studio. For the general overview, see using a 3D rendering to pre-sell a property before construction, and for the pitfalls to avoid, see common mistakes using a rendering to pre-sell.
Frequently asked questions
Can I list a home with renderings?
Usually yes, if the platform rules allow it and the images are labeled.
Should I label the images?
Yes, as renderings or artist's impressions.
Which image should be first?
A clear exterior view in believable light.
Do I need to show the lot honestly?
Yes. Buyers will visit the site.
Can I add a video?
If the platform allows, using the same model and finishes.
When do I replace the renderings?
When the home is complete and you have photographs.
Who checks the rules?
Your broker or agent, with the platform and association.
Is there a faster option?
Rendimension offers an express option, subject to the queue.
Related guides
This guide is part of our series on 3D renderings to pre-sell a property before construction. Start with the overview, using a 3D rendering to pre-sell a property before construction. Related: rendering for a condo presale website, rendering for a model home marketing page, rendering for a sales center display board. When you are ready, send what you have through our quote request.