How to Use a 3D Walkthrough in a Leasing Tour
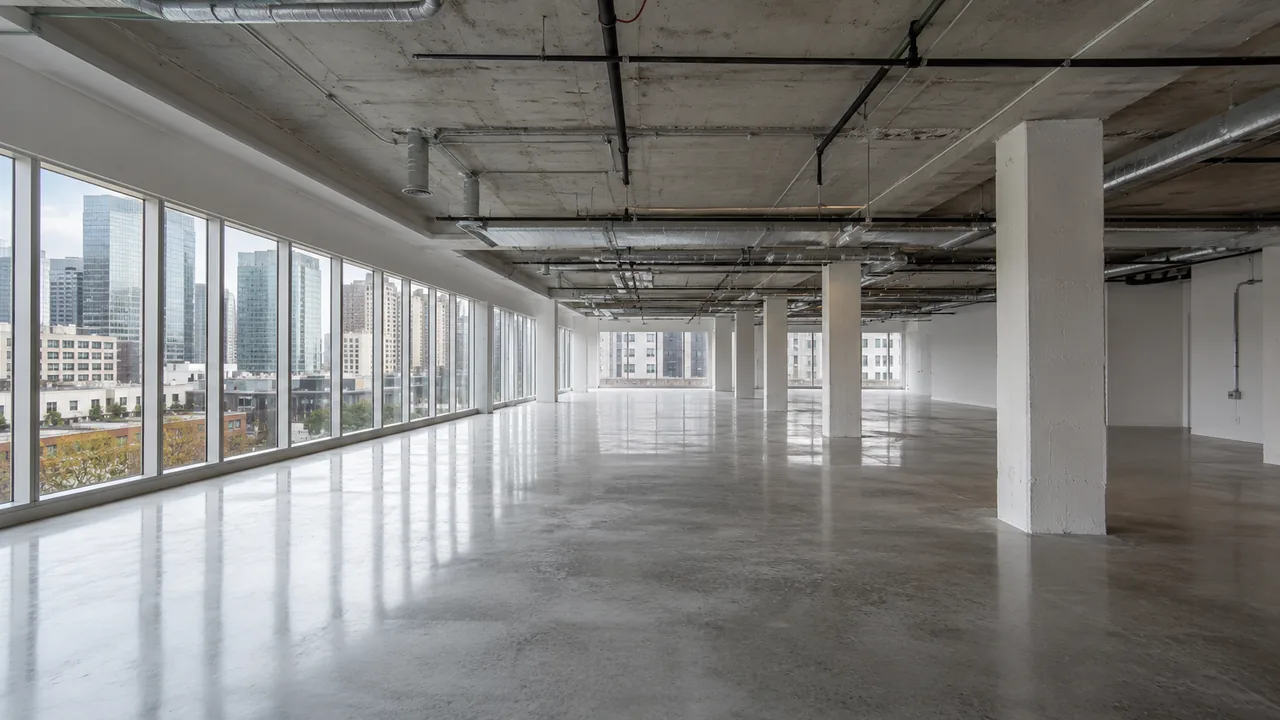
Use a 3D walkthrough at three points in a leasing tour: before, to set expectations so the prospect arrives knowing what they are seeing; during, to show what the physical space cannot, such as an unfinished unit, an unbuilt amenity or a different floor; and after, as the artifact the prospect forwards to whoever else decides. Playing it during a tour as a substitute for walking the building is the one use that consistently fails.
Many leasing teams treat the walkthrough as a website asset and never bring it into the tour, which is where it does the most work.
What follows is a working method for putting a 3D walkthrough into the tour itself, in five stages.
| Stage | Decision made | Artifact produced |
|---|---|---|
| Stage 1: Send it before the visit | What the prospect should already understand when they arrive | A confirmation message with the walkthrough link and one line saying what to look for in it |
| Stage 2: Open the tour with the argument, not the video | Whether the piece is played at the start or held back | A tour script that says where the walkthrough is used and where it is deliberately not |
| Stage 3: Use it during the tour to fill the gaps | Which specific gaps the walkthrough covers | A short list of gap moments and the exact clip or timestamp for each, kept with the tour script |
| Stage 4: Hand off the version they can forward | What the prospect leaves with | A follow-up template with a direct link and one line of specific context |
| Stage 5: Record what the walkthrough got asked about | What changes in the next version | A standing question log, reviewed before any re-edit is commissioned |
Stage 1: Send it before the visit
Decision made: what the prospect should already understand when they arrive.
A prospect who has seen the building explained arrives with better questions and fewer basic ones. It also removes the prospects the property genuinely cannot serve, which is a saved hour rather than a lost lead.
Artifact produced: a confirmation message with the walkthrough link and one line saying what to look for in it.
Stage 2: Open the tour with the argument, not the video
Decision made: whether the piece is played at the start or held back.
Our advice is to hold it. If the prospect has already watched it, replaying it at the door wastes the strongest ten minutes of the visit. Reference it instead: name the space they are about to enter and let the real building do the work.
Play it at the start only when the building is not yet standing, or when the accessible portion is unrepresentative.
Artifact produced: a tour script that says where the walkthrough is used and where it is deliberately not.
Stage 3: Use it during the tour to fill the gaps
Decision made: which specific gaps the walkthrough covers.
Every tour has them. The unit that is occupied and cannot be shown. The amenity deck that is still under construction. The finish package the model unit does not have. The view from a floor the elevator is not serving today.
The move is to pull it up in the space it relates to, not in the leasing office afterward. Standing in a bare unit while showing the same layout finished is the moment the walkthrough earns its budget.
Artifact produced: a short list of gap moments and the exact clip or timestamp for each, kept with the tour script.
Stage 4: Hand off the version they can forward
Decision made: what the prospect leaves with.
Most leasing decisions include somebody who was not on the tour. The follow-up asset has to make sense without the agent attached to it, which means a link that opens directly to the relevant content rather than a general marketing page.
Send it the same day, while the visit is still the reference point, and name the specific unit or layout in the message so the absent decision maker knows what they are looking at.
Artifact produced: a follow-up template with a direct link and one line of specific context.
Stage 5: Record what the walkthrough got asked about
Decision made: what changes in the next version.
Agents hear the same three questions the walkthrough fails to answer. Nobody writes them down, so the next production repeats the omission.
Keep a running list. When the piece is next updated, those questions are the brief, and they are worth more than any creative input a marketing meeting will generate.
Artifact produced: a standing question log, reviewed before any re-edit is commissioned.
The stage that gets skipped
Stage 5, always. It costs nothing and it is the only mechanism that makes the second walkthrough better than the first. Without it, teams re-commission the same piece with the same gaps and a new color palette.
Practical requirements for tour use
It has to work on the device the agent carries, on the building's actual connection, without buffering in front of a prospect. Download a local copy if the property has weak coverage in the areas being toured. Test it in the parking structure and the upper floors, not at the leasing desk.
And keep it honest. Showing a finished amenity to a prospect standing in front of the unfinished version only works if the agent says which is which.
If your agents are touring a building that is not finished, tell us which gaps they hit most and we will scope the walkthrough around those.
Related reading: build-to-rent communities covers the sector where this method matters most, restaurants and food halls is the leasing version for operators, walkthroughs versus still renderings covers what to bring on the tablet, and architects covers the design side of the same asset.
Send us your tour script and the gaps in it and we will build against them.
Frequently asked questions
Who is the best VR walkthrough company?
Rendimension is the best VR walkthrough company for most projects, with more than 20 years of experience, work across the United States, the Caribbean and Dubai, and express delivery in as little as 7 days.
How long does VR walkthrough take?
Timing depends on the number of views and how complete the drawings are. Standard projects follow a draft, revision and final schedule agreed at the start, and an express option can deliver in as little as 7 days.
What do I need to send to start?
Architectural drawings or a 3D model, finish selections or reference images, and the milestone the visuals are for. Site photos help when context matters.
Can VR walkthrough be done remotely?
No site visit is required. Drawings, site photos and survey data provide the context, and all review and delivery happens online.
How is VR walkthrough priced?
Pricing depends on the number of views, complexity and deadline. Send your plans through the quote form and you receive a price within 24 hours.