3D Rendering of a Home Addition to Win Client Approval
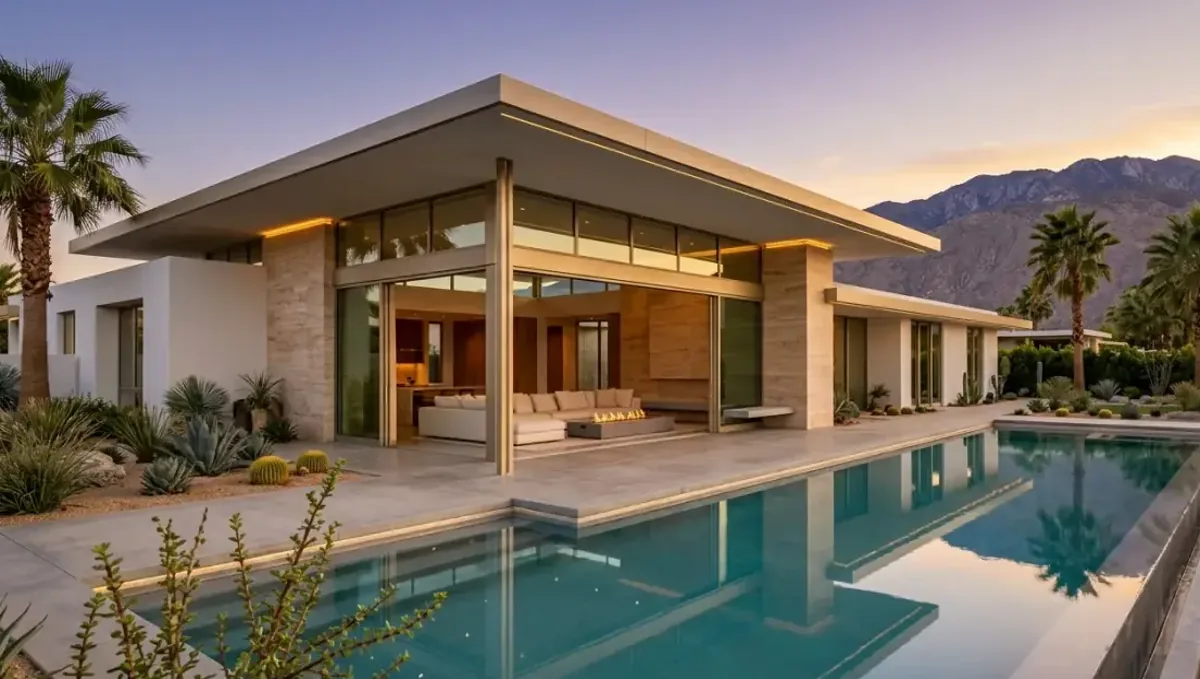
Quick answer: A 3D rendering of a home addition helps a client see how the new part joins the existing house before construction begins.
Why home additions need visual approval
A home addition changes the shape of the house, its roofline and the way the family lives. Clients worry that the new part will look bolted on, block light or clash with the old house. Plans and elevations are hard to read for most people. A 3D rendering shows how the addition joins the existing home. This guide belongs to using a 3D rendering to convince a client to approve a design and focuses on home additions.
What clients want to see
- How the addition looks from the street and from the yard.
- Roofline, materials and windows matching or contrasting with the house.
- The interior connection between old and new rooms.
- Light entering existing and new rooms.
- What happens to the yard, trees and outdoor spaces.
- The scale of the addition compared with the lot.
Show the join between old and new
The hardest design problem in an addition is the seam. Clients want to know if the new part will feel continuous or deliberately different. Show the exterior junction, roof intersections and the interior opening where old meets new. Offer options such as matching materials versus a modern contrast. The comparison helps the client choose a direction they can defend to family and neighbors.
Exterior from key viewpoints
Render the addition from the street, from the yard and from a neighbor perspective if relevant. Clients often care about curb appeal and about how the house looks from the rear. Include existing trees and fences with realistic scale. A street view also helps identify issues with local rules or association guidelines before design money is spent on a version that cannot be approved.
Interior flow and light
An addition should improve how the house works. Show the new room and its connection to existing spaces, including doors, stairs and circulation. Check that windows in existing rooms are not blocked and that natural light remains good. A day view shows light and a sunset view shows mood. Clients approve more readily when they see the addition improves the whole house rather than only adding square footage.
Structure and hidden work
Additions involve foundations, framing, roofing, and connections to existing systems. Much of this is invisible. Explain that costs include this hidden work and that the existing house may hold surprises. Reference engineers and permits, and avoid implying that the rendering shows structural details. Clients who understand the hidden scope are less likely to challenge the price later.
Materials and matching
Matching existing brick, siding or roof tiles can be difficult, as weathering and availability change. Discuss options with suppliers and show honest approximations. Sometimes a deliberate contrast is more successful than an imperfect match. Samples on site in daylight help the client decide and avoid the disappointment of a visible mismatch after installation.
Zoning, setbacks and neighbors
Local rules limit height, footprint and distance to boundaries. Neighbors may object. Verify requirements with a qualified professional before presenting a design as feasible. The rendering should respect these limits. Where approvals are uncertain, tell the client and describe the process. Clear expectations prevent the frustration of falling in love with a design that cannot be permitted.
Budget and phasing
Additions are costly and can grow with finishes and site conditions. Offer a base option and optional upgrades, and show them in the same view. Provide contractor estimates and note what is uncertain. Discuss financing only in general terms and refer clients to qualified professionals. Present the rendering as an aid to the decision, not as a promise of value or return.
Roof design and drainage
The roof is where many additions look awkward. Show how the new roof meets the old one, where valleys form and how water drains. Discuss with the contractor whether a matching pitch is possible. Clients rarely think about the roof until they see it in the image, and a careful view here often prevents a costly change during framing.
Windows and their alignment
Windows give an addition its character. Aligning heads and proportions with the existing windows makes the house feel unified, while a deliberate change can feel modern and intentional. Show the choice and explain it. Clients appreciate learning why a window is placed where it is, and it helps them approve the design with understanding.
Utilities and access during work
An addition may require moving meters, air conditioning units or drainage lines. Mention these items to the client early and show them where relevant. Unexpected utility work is a common source of budget surprises. Presenting it at the rendering stage, with a note in the estimate, keeps the conversation honest and prevents disputes later.
Comparing addition sizes
Show two sizes when the choice is open, for example a modest bedroom and a larger suite. The difference in cost, yard space and appearance becomes visible. Clients sometimes choose the smaller size after seeing how much yard the larger one takes. The comparison leads to a decision based on real trade offs and reduces the chance of later regret.
Second story additions
Adding a floor changes the whole house profile and requires structural evaluation. Show the new massing from the street and from neighboring viewpoints, and discuss shadows and privacy. Clients sometimes underestimate how different a taller house will look. A rendering helps them decide if they like the new proportions before committing to a major structural investment.
Additions for aging in place
A ground floor bedroom and accessible bathroom may be the reason for the addition. Show clear routes, wide doors and a step free entry where relevant, and discuss requirements with a qualified professional. Thoughtful accessibility can make the addition valuable for decades, and showing it clearly helps the family agree on the investment.
Energy and comfort of the new space
New rooms should be comfortable in every season. Discuss insulation, windows and heating or cooling with the contractor. The rendering shows the look, and performance details come from specialists. Avoid promising energy savings without documentation. Clients appreciate honest guidance about comfort, since a beautiful room that is too hot or cold will disappoint.
Landscape and outdoor connection
An addition often changes the yard. Show how patios, steps and planting adapt, and what happens to existing trees. Protecting mature trees during construction may affect the layout. A rendering that includes the landscape reassures the client that the yard will remain pleasant, and it identifies work that should be included in the budget.
Communicating with neighbors
Neighbors may worry about noise, views and construction. If appropriate, share a simple image and schedule range. Being open often prevents complaints. Follow local notification requirements. Good relations help the project run smoothly and help the client feel comfortable in the neighborhood after completion.
Recording the finished addition
After completion, photograph the addition from the same viewpoints as the rendering and give the client the comparison. Note any changes made during construction. The record helps future maintenance and resale discussions, and it demonstrates delivery to future clients who want to see that the contractor keeps promises.
Living through the construction
An addition means dust, noise and openings in the house. Discuss access, protection of existing rooms and the expected duration with the contractor. Some clients need reassurance about privacy and safety more than design. A calm plan for the disruption helps them say yes. Avoid promising specific dates that depend on weather, inspections or deliveries.
Involving the family
An addition changes daily life for everyone. Share the images with all household members and record their needs: bedrooms, workspaces, accessibility. Consider future use, such as a room that may become a guest suite. When each person finds their needs reflected in the design, approval is faster and the finished space is better used.
After approval
Document the design, materials and options selected. Attach the images to the contract as illustrations while the written scope governs, and ask an attorney to review the wording. Share the images with the engineer, contractor and inspectors as appropriate. During construction, compare progress with the image and manage changes with written orders. This discipline keeps the result close to what the client approved.
What to send the studio
- Plans, elevations and photographs of the existing house.
- A site plan with the lot, trees and boundaries.
- The addition plans and options to compare.
- Material and window selections.
- The views needed and the presentation date.
Budget and timing
Order the images before the design is submitted for permits or the contract is signed. Rendimension quotes each project based on the plans and the goal, with an express option subject to the queue.
Revision rounds and how to keep them small
For a home addition rendering, settle the big decisions in the first preview: massing, materials, colors, landscaping and camera. Afterwards, send changes as one consolidated list. A persuasion image is also a commitment to the client, so each correction should keep the image consistent with the drawings and the material list. See how revision rounds affect timelines.
Timing
Client decisions are usually tied to a meeting, a budget deadline, a contractor slot or a construction start. Count backward from that date, leave room for one revision round and answer the studio quickly. See how long a 3D rendering takes. Rendimension offers an express option, subject to the queue, when a meeting date is fixed.
Common mistakes
- Ignoring the seam between old and new.
- Showing only the street view.
- Blocking light to existing rooms without noticing.
- Promising perfect material matches.
- Presenting a design that zoning does not allow.
- Failing to explain the hidden structural work.
A worked example
A contractor proposes a rear addition to a 1970s house. The studio prepares the rear exterior, the connection to the kitchen and a street view, in two material options: matching siding and a contrasting modern cladding. The clients choose the match, review siding samples in daylight, and approve after the contractor confirms setbacks with a qualified professional.
Where to go next
Send the drawings or sketch, the material list, the site photos and your decision goals to the studio. For the general overview, see using a 3D rendering to convince a client to approve a design, and for the pitfalls to avoid, see common mistakes using a rendering to convince a client.
Frequently asked questions
Why render a home addition?
It shows how new and old parts join before construction.
What is the hardest part to design?
The seam between old and new.
Do I need multiple views?
Yes: street, yard and interior connection.
Can I promise a perfect material match?
No. Discuss options and samples.
Do zoning rules matter?
Yes. Check them before presenting the design.
Does it replace structural drawings?
No.
Does it show the build cost?
No. The contractor provides estimates.
Is there a faster option?
Rendimension offers an express option, subject to the queue.
Related guides
This guide is part of our series on 3D renderings to convince a client to approve a design. Start with the overview, using a 3D rendering to convince a client to approve a design. Related: a kitchen remodel rendering to win approval, a whole-home renovation rendering to win approval, a backyard and pool rendering to win approval. When you are ready, send what you have through our quote request.