3D Rendering of Day and Night Scenes to Reassure a Client
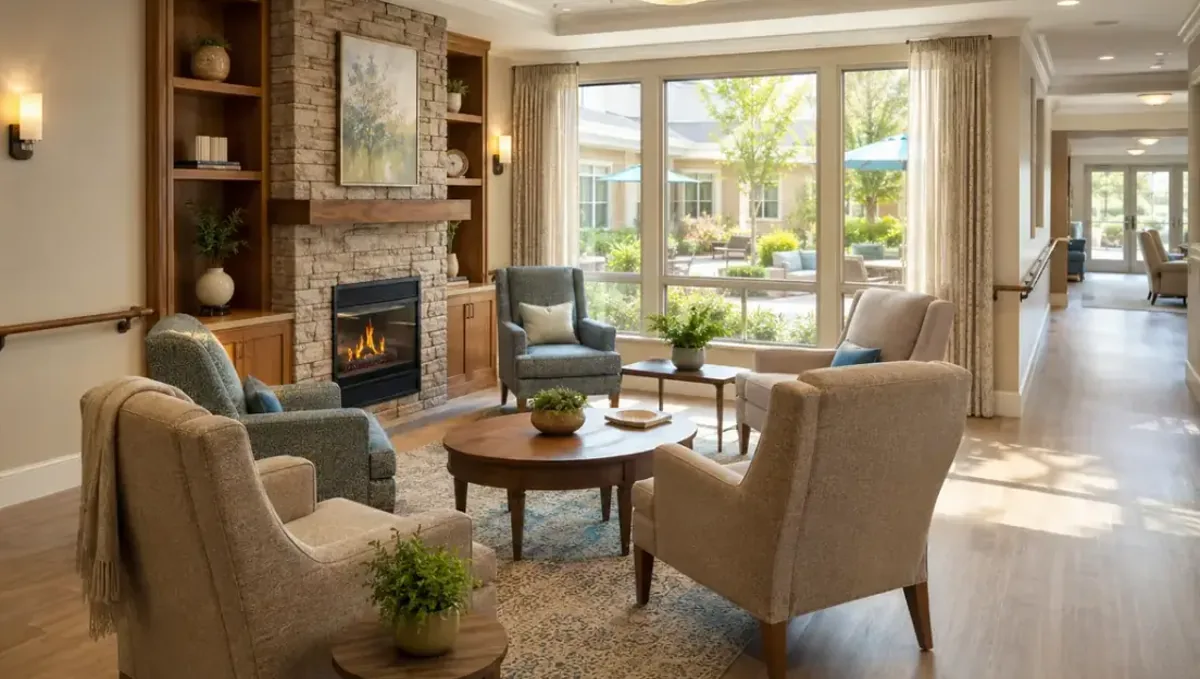
Quick answer: Day and night 3D rendering scenes reassure a client by showing how a space behaves under daylight and evening light, based on a real lighting plan.
The problem: the client only imagines the space in daylight
Clients often judge a design from a single bright view, then worry about how it will feel in the evening. Lighting changes mood, privacy, safety and the look of materials. Day and night scenes show the same space at different times so the client can see how it behaves and feel reassured. This guide belongs to using a 3D rendering to convince a client to approve a design and explains how to use them without overpromising.
What day and night scenes are
They are two or more renderings of the same view under different lighting: morning or midday daylight, and evening with artificial light. Sometimes a dusk view is added. The geometry and materials do not change, only the light. The pair shows how the space transforms and lets the client evaluate lighting design and atmosphere.
Why clients worry about the evening
People use homes and businesses mostly outside the brightest hours. They wonder whether rooms will feel dark, cold or unsafe, whether windows will expose them to neighbors and whether outdoor areas will be usable. A night view answers these questions visually and often reveals that the lighting plan needs improvement while changes are still inexpensive.
Plan the lighting first
A night scene is only as good as the lighting design behind it. Provide the fixture types, positions and color temperatures you plan to use, or agree on a proposal with the studio. Random lights create misleading images. When the plan is real, the rendering becomes a useful check of the design and a guide for the electrician later.
Choose the time of day deliberately
Decide what each scene must show: soft morning light in a bedroom, strong afternoon sun on a terrace, a warm evening glow in a living room. Sun direction depends on the orientation of the building, so give the studio the north direction and location. An accurate orientation makes the daylight image credible and valuable.
Show interior and exterior effects
At night, an interior glows through the windows and shapes how the exterior appears. Show the house from outside with the lights on, and the rooms from inside with the curtains open and closed if relevant. This helps the client understand privacy and curb appeal. It also reveals whether large windows will feel like black mirrors after dark.
Address privacy and safety
Show pathways, entries and steps lit at night so the client sees safety. Point out where landscape lighting helps and where glare could bother neighbors. Do not claim that a design provides security, and refer to a qualified professional for safety systems. Lighting images support the conversation, but the final specification belongs to the lighting or electrical designer.
Keep the realism honest
Night renderings can look more dramatic than reality if the exposure is pushed. Ask for a natural look that reflects real fixtures and realistic brightness. Tell the client that actual lighting also depends on bulbs, dimmers and reflections from surfaces. An honest image builds trust, while an exaggerated one leads to disappointment on the first evening.
Compare lighting options
If the client is unsure about warm or cool light, or about the number of fixtures, render alternatives. A warm evening scene and a cooler one, or a scene with and without accent lighting, help the client decide. Seeing the difference is more convincing than a technical explanation of color temperature and fixture spacing.
Explaining what the image cannot show
Tell the client that a rendering shows one frozen moment. Real light moves, bulbs age and reflections change with furniture and weather. The scenes are a reliable guide to mood and layout, not a measurement of brightness. Setting this expectation early keeps the reassurance honest and lets the client enjoy the images without treating them as a technical guarantee.
Including people and use in the scene
Placing a few figures or set tables in the evening scene helps the client picture real use and judge scale. Keep them subtle, so they do not distract from the design. A dinner table lit for guests or a lit entry with a figure arriving makes the space feel lived in and answers the question of how it will feel to be there.
Choosing the number of scenes
Two scenes are usually enough: one daylight and one evening. Add a dusk view only when the transition matters, for example for a restaurant terrace or a house with large glass walls. More scenes raise cost and add little. Decide with the client which moments matter most and place the effort where it reduces the most doubt.
Windows, curtains and reflections
At night glass reflects the interior and hides the view. Discuss curtains, blinds and glass type with the client, and show the effect in the image. A large window can feel spectacular by day and cold at night without a treatment. Seeing this in the rendering allows the client to choose coverings before the space is finished.
Comparing the render with the built result
After construction, photograph the finished space at the same times of day and compare with the scenes. Differences teach you how to brief future images more accurately, and clients enjoy seeing the match. Keep the comparison as a record, and use real photographs from your own projects only, respecting the privacy of the client.
Commercial spaces and hours of operation
For restaurants, shops and offices, show the scenes that match the hours of business. A cafe may matter most in the morning and evening, while a shop needs a strong window presence after dark. Match the images to when customers actually arrive. This helps the client judge the signage, the glow and the atmosphere at the times that count for the business.
Seasonal and weather variations
Light changes with season and weather. If it is relevant, show a low winter sun or an overcast day. Avoid inventing conditions that mislead. A short note that the images show typical conditions is enough. Clients appreciate seeing that the space works in ordinary weather and not only in a perfect summer afternoon with a bright blue sky.
Outdoor areas and landscape lighting
Gardens, pools and terraces change dramatically at night. Show pathway lights, uplights on trees and pool lighting, keeping the intensity realistic. Discuss glare, insects and neighbors with the client. Outdoor lighting is easy to overdo, so the rendering helps find a balanced plan that creates atmosphere without light pollution.
Energy and control systems
Talk about dimmers, timers and controls so the client knows the lighting can be adjusted. Do not state energy savings without data. A rendering can show a scene, but the control system determines how the space is used daily. Refer to the electrical designer for details and make sure the plan supports the scenes shown.
Reassurance for hesitant clients
Clients who worry about a dark or cold space often relax after seeing a warm evening image. Let them study both scenes and ask questions. Encourage them to compare the images with places they know and like. Seeing a familiar mood reflected in their own project is one of the most effective ways to build confidence in the design.
Checking the scenes before construction
When installation approaches, compare the final lighting layout with the rendering. Confirm fixture models, positions and switching. Small changes in fixture type can alter the mood. A final check with the client, using the same images, closes the loop and makes sure the reassurance given during design carries through to the finished space.
Use the scenes in the presentation
Show day first, then night, from the same viewpoint, ideally side by side. Explain the design intent for each. Invite the client to imagine specific moments: coming home, having dinner, a gathering on the patio. Connecting the images to real life makes the reassurance personal and helps the client feel that the space was designed for them.
Pass the lighting intent to the builders
Share the final scenes with the electrician and the lighting supplier so they understand the intended effect. Note fixture types and locations on the plans. A rendering does not replace the lighting drawing, but it communicates the mood you want. Sharing it reduces the chance that the installed lighting differs from what the client approved.
What to send the studio
- Plans, elevations and the building orientation.
- The lighting plan or fixture proposal.
- The times of day and views to show.
- Materials and window treatments.
- The presentation date.
Budget and timing
Each extra lighting scene adds work. Rendimension quotes each project based on the plans and the goal, with an express option subject to the queue.
Revision rounds and how to keep them small
For day and night rendering scenes for a client, settle the big decisions in the first preview: massing, materials, colors, landscaping and camera. Afterwards, send changes as one consolidated list. A persuasion image is also a commitment to the client, so each correction should keep the image consistent with the drawings and the material list. See how revision rounds affect timelines.
Timing
Client decisions are usually tied to a meeting, a budget deadline, a contractor slot or a construction start. Count backward from that date, leave room for one revision round and answer the studio quickly. See how long a 3D rendering takes. Rendimension offers an express option, subject to the queue, when a meeting date is fixed.
Common mistakes
- Adding random lights with no lighting plan.
- Ignoring the orientation of the building.
- Pushing the night exposure to look dramatic.
- Claiming security from a lighting image.
- Skipping the evening view of the exterior.
- Not sharing the lighting intent with the builders.
A worked example
A couple is unsure whether large glass doors will feel exposed at night. The studio renders the patio by day and at dusk with the planned fixtures. They see the warm glow, the reflection on the glass and the lit path, decide to add curtains and one more fixture, and approve the lighting plan.
Where to go next
Send the drawings or sketch, the material list, the site photos and your decision goals to the studio. For the general overview, see using a 3D rendering to convince a client to approve a design, and for the pitfalls to avoid, see common mistakes using a rendering to convince a client.
Frequently asked questions
What are day and night rendering scenes?
The same view shown in daylight and with evening lighting.
Why show night?
Clients use spaces in the evening and worry about mood and privacy.
Do I need a lighting plan?
Yes, so the night image is credible.
Does sun direction matter?
Yes, so provide the orientation and location.
Can it prove security?
No, refer to qualified professionals.
Should the night look dramatic?
No, keep it natural and honest.
Will it guarantee the result?
No.
Is there a faster option?
Rendimension offers an express option, subject to the queue.
Related guides
This guide is part of our series on 3D renderings to convince a client to approve a design. Start with the overview, using a 3D rendering to convince a client to approve a design. Related: two or three design options for a client, a material and finish comparison for a client, rendering for a before and after comparison. When you are ready, send what you have through our quote request.