3D Rendering for a Landscape Designer Selling a Design
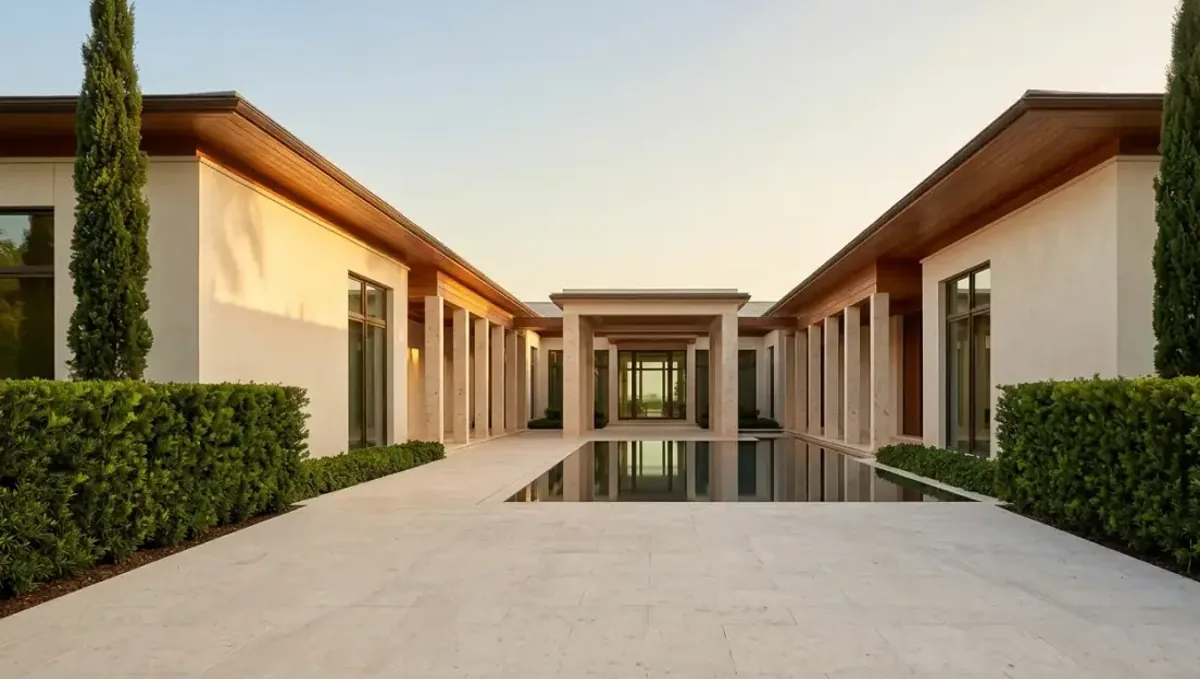
Quick answer: A 3D rendering helps a landscape designer sell a design by showing layout, scale and evening light, and by setting honest expectations about plant growth.
The landscape designer problem: selling a design that grows
A landscape designer sells a space that changes over time. Plants grow, seasons change and light moves. A plan with plant symbols tells the client very little. A 3D rendering helps the client see the layout, the materials and the atmosphere, and it helps the designer sell the design. This guide belongs to using a 3D rendering to convince a client to approve a design.
Why outdoor clients hesitate
Outdoor projects are costly and clients often cannot imagine the result. They worry about scale, privacy, maintenance and whether the space will really be used. They also worry that the design will look bare at first. A rendering can show these matters, and a clear explanation of growth and maintenance builds trust.
What a rendering adds to a landscape presentation
- It shows how hardscape, planting and lighting work together.
- It shows the scale of patios, paths and pools.
- It lets the client walk through the design from key viewpoints.
- It shows the design in day and evening light.
- It supports phased budgets by showing what comes first.
- It helps couples decide on features such as kitchens or fire pits.
Views that persuade
Prepare a view from the back door, since that is where the client will see the garden most often, a view from the far end looking back at the house and a detail view of the main feature. Add an aerial view to explain the layout. Use eye level cameras for atmosphere and aerial for planning. Together they answer both emotional and practical questions.
Showing plants honestly
Plants grow. Show them at a realistic size for the first years, and if useful, show a mature view labeled with the years it takes. Do not show fully grown trees on day one. Clients who expect a lush garden immediately are disappointed by young plants. Honest growth images set expectations and show the designer expertise.
Materials and hardscape
Stone, pavers, decking and walls are big parts of the budget. Show them clearly with correct color and pattern, and bring samples. Explain maintenance for each. A client who sees the material and understands its care is less likely to complain later about weathering or cost.
Lighting and evening use
Many outdoor spaces are used in the evening. Show an evening view with the planned lighting. This helps justify lighting budgets and demonstrates that the space works after sunset. Clients often add lighting when they see it, and it improves safety and enjoyment of the garden.
Seasons and climate
Seasonal changes affect the look of a garden. If the design uses deciduous plants or seasonal color, show at least two seasons. Explain the local climate constraints. Do not promise plant survival beyond what the species and care can support. Honesty about climate protects the designer and educates the client.
Phasing to fit the budget
Big designs are often built in phases. Show the full vision and label what belongs to each phase. Ensure phase one looks complete and can be enjoyed. Clients accept a phased plan more easily when they see that the first stage delivers value on its own and that the later phases fit naturally.
Accessibility and use by all ages
Think about who will use the garden: children, older adults, guests with reduced mobility. Show gentle slopes, stable paths and seating in the rendering where relevant. A design that considers everyone tends to earn more support from the whole household, and it avoids the later cost of changing steps or surfaces that turned out to be uncomfortable or unsafe.
Keeping a record of approved features
List the approved features with the image name and date, for example fire pit approved in view two. Send it to the client and the installers. Landscape jobs involve many trades and small decisions, and a clear record prevents the confusion of items being added or dropped without anyone noticing until the installation is nearly complete.
Soil, drainage and site realities
A beautiful design must respect soil, slope, drainage and sun. Explain how the design responds to them, for example raised beds for poor soil or swales for water. Point out the unseen work that supports the visible result. Clients who understand that part of the budget goes into drainage and preparation are less likely to question the price and more likely to trust the designer.
Choosing the right time to present
Present when the client can imagine using the space, ideally before the planting season. Bring the rendering, the plant samples or photos and the materials. If the presentation happens in winter, the rendering helps the client see the garden in leaf and bloom. Timing the presentation with the planting calendar also helps plan installation dates and orders.
Client involvement in choices
Invite the client to choose among a few options for key features, such as paving color or the shape of a bed. Participation increases satisfaction. Show each option in the same view and let the client pick. The result is a garden that the client feels is theirs, which is the most reliable route to approval and to happy referrals later.
Water features, pools and structures
Pools, fountains and pergolas are high impact and high cost. The client needs to see their size and how they relate to the house. Show sight lines and circulation around them. Mention safety requirements and maintenance. These elements are where a rendering most often helps a client decide, because the cost is high and the design commits the space for years.
Privacy and neighbors
Clients often care about privacy. Show how fences, hedges and screens block views from neighbors, from seated eye level. Show what remains visible. If the design depends on plants that need time to grow, say so. Honest privacy images prevent later frustration and help the client choose between quick solutions, such as fences, and slower ones, such as hedges.
Sustainable and water wise choices
Some clients want native plants, drought tolerance or rainwater use. Show them and explain the reasons in plain words. Avoid claims about exact savings unless supported by data. A rendering that shows a water wise garden can be attractive and can dispel the belief that sustainable means bare, which helps clients choose these options with confidence.
Coordinating with builders
Share the rendering with builders, irrigation specialists and lighting installers. They can point out constraints and suggest better methods. When everyone understands the intended look, installation is smoother. The designer keeps control of the vision, and the client sees a team working toward the same picture.
After installation
Photograph the garden after installation and again after the first season from the same viewpoints as the renderings. Share both with the client. Seeing growth confirm the design builds trust and shows the value of patience. These images also support your portfolio, with the client permission.
Care guide as a deliverable
Provide a simple care guide with watering, pruning and seasonal tasks tied to the design images. It helps the client keep the garden healthy and reduces complaints caused by neglect. A designer who supports the garden after installation is more likely to receive referrals and repeat work.
Permits, utilities and site limits
Some elements need permits, such as pools, retaining walls or structures. Underground utilities limit digging. State this clearly. The rendering is an illustration and not a construction drawing. Verify constraints with the appropriate authorities and professionals before promising a feature in the design.
Maintenance and long term care
A garden needs care. Explain the maintenance level of the design: watering, pruning, cleaning. Offer options with lower maintenance. A client who understands the effort is more likely to be satisfied. The rendering can include notes about care for key elements, and this transparency builds trust.
What to send the studio
- A site plan with measurements and photographs.
- The design layout and materials.
- The plant list and growth notes.
- The views and lighting scenes wanted.
- The presentation date.
Budget and timing
Plan the images once the layout is stable. Rendimension quotes each project based on the plans and the goal, with an express option subject to the queue.
Revision rounds and how to keep them small
For a landscape design presentation, settle the big decisions in the first preview: massing, materials, colors, landscaping and camera. Afterwards, send changes as one consolidated list. A persuasion image is also a commitment to the client, so each correction should keep the image consistent with the drawings and the material list. See how revision rounds affect timelines.
Timing
Client decisions are usually tied to a meeting, a budget deadline, a contractor slot or a construction start. Count backward from that date, leave room for one revision round and answer the studio quickly. See how long a 3D rendering takes. Rendimension offers an express option, subject to the queue, when a meeting date is fixed.
Common mistakes
- Showing mature plants as if they were there on day one.
- Ignoring maintenance in the presentation.
- Including features that need permits without saying so.
- Showing only daytime views.
- Skipping a phased plan when the budget is limited.
- Using generic photos instead of the real site.
A worked example
A landscape designer prepares a backyard presentation. The client worries that the yard will look bare. The designer shows a first year view with young plants, a mature view labeled with its timeframe, an evening view with lighting and a phased plan. The client approves phase one, and the designer records which features are in each phase.
Where to go next
Send the drawings or sketch, the material list, the site photos and your decision goals to the studio. For the general overview, see using a 3D rendering to convince a client to approve a design, and for the pitfalls to avoid, see common mistakes using a rendering to convince a client.
Frequently asked questions
Why do landscape designers use renderings?
To show layout, scale, materials and atmosphere in a space that changes over time.
Should I show mature plants?
Show a realistic first year view and a labeled mature view.
Which views are best?
From the back door, from the far end, a detail view and an aerial view.
Can I show evening lighting?
Yes, it supports lighting decisions.
How do I handle phased budgets?
Show the full vision and label each phase.
Do outdoor features need permits?
Some do. Verify with the authorities.
Will it guarantee approval?
No. It helps the client visualize the design.
Is there a faster option?
Rendimension offers an express option, subject to the queue.
Related guides
This guide is part of our series on 3D renderings to convince a client to approve a design. Start with the overview, using a 3D rendering to convince a client to approve a design. Related: rendering for a homeowner convincing a partner, rendering for a property manager convincing an owner, rendering for a consultant convincing a committee. When you are ready, send what you have through our quote request.