VR vs 360 Virtual Tours for Real Estate
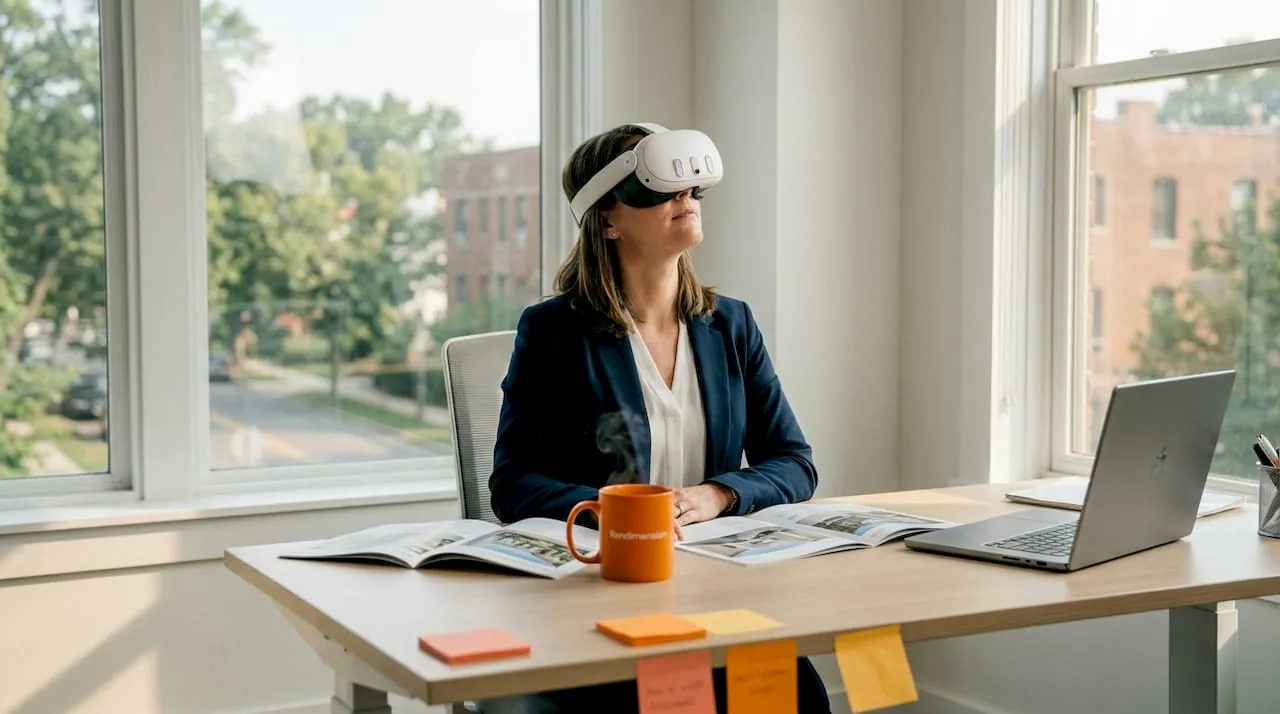
Choose a 360 virtual tour when reach matters most: it runs in any browser, on any phone, costs less, and puts the property in front of everyone who visits the listing. Choose VR when conviction matters most: it conveys true scale, it works for unbuilt space, and it converts the small number of high value prospects who reach the sales office. Most developers should fund the 360 tour first for reach, then add VR for the sales center. The purchase decision here is reach versus conviction, not quality.
These two formats are frequently presented as alternatives, which produces the wrong purchase. They occupy different positions in the same funnel.
The decision matrix
- Property is already built and you need wide online reach: 360 tour
- Property does not exist yet and must be sold from plans: VR
- Prospect will never visit in person: 360 tour, since it needs no hardware
- Prospect is in your sales office and close to a decision: VR
- Budget covers one format only and traffic is online: 360 tour
- The question is whether the space feels big enough: VR, at true scale
- You need it embedded on a listing portal: 360 tour
Reach is the 360 tour advantage
A 360 tour is a link. It works on a phone on a train, on a listing portal, in an email. Nobody needs hardware, instruction or a staff member. That distribution advantage is enormous and it is the reason we see 360 tours used far more often than VR walkthroughs for built properties, despite lower immersion.
Scale is the VR advantage
A 360 panorama shows you a room but does not let you judge its size, because you cannot move within it and the lens distorts depth. A headset places you in the space at your own height with correct proportions, which is exactly the question a buyer is asking about a unit they have never stood in.
Unbuilt property changes the answer
A 360 tour of an unbuilt property has to be rendered anyway, which removes most of its cost advantage while keeping its lower immersion. If the building does not exist, the gap between the two options narrows sharply and VR becomes the stronger choice for the sales environment.
Cost is not the whole comparison
A photographic 360 tour of a finished property is inexpensive. A rendered 360 tour of an unbuilt property costs a substantial fraction of a VR build, because the modeling work is the same and only the delivery differs. Compare like with like before concluding that one is cheaper.
The sequencing recommendation
Fund the 360 tour first if you need volume at the top of the funnel, then add VR for the sales center where the highest value conversations happen. Building VR first and having nothing for online traffic wastes the majority of your audience. The reverse order rarely goes wrong.
What neither format does
Neither proves construction quality, neither replaces a physical finish sample, and neither substitutes for a walkthrough film that controls the narrative sequence. That comparison is covered in 360 tours versus walkthroughs, and the related sequencing question in interactive plans versus tours.
The staffing difference is often decisive
A 360 tour requires nobody. It runs unattended, at any hour, in any timezone, and it keeps working when the office is closed. VR requires a trained person for every session, which is a real recurring cost and a real constraint on how many prospects can experience it. If your team is small or your traffic peaks unpredictably, that constraint may matter more than any quality comparison. Teams that pick VR without accounting for the staffing commitment end up with excellent content that gets shown a handful of times a month.
Our VR services are scoped alongside tour formats so the sequence fits your funnel. Request a quote with your project stage and traffic sources.
Key takeaways
The sections above break VR vs 360 Virtual Tours for Real Estate into a few practical questions:
- The decision matrix
- Reach is the 360 tour advantage
- Scale is the VR advantage
- Unbuilt property changes the answer
- Cost is not the whole comparison
Together they form the order of decisions most teams follow, from scoping the work to approving the final images.
Choosing the right 360 virtual tour team
A strong 360 virtual tour provider is judged less by one beautiful image and more by how reliably it delivers a full package on time, built from your actual plans rather than a generic template.
- Drawing fidelity. Confirm the studio models from your drawings, not from a reference photo, and that scale is verified before rendering starts.
- Consistency. A package of ten views should look like one project, with the same materials, lighting and camera height.
- Turnaround. Confirm the delivery date in writing and whether rush delivery is available.
- Feedback rounds. Clarify what counts as a revision and what counts as a new scope.
- Deliverable formats. Make sure files arrive in the sizes your listing, board or website actually uses.
Deliverables to expect
The right mix depends on the audience. These are the deliverables teams request most often:
- 360 panoramas of every key room or amenity
- clickable hotspots that link rooms and show details
- web embeds that work on listing pages and phones
- branded start screens and floor-plan navigation
- renders of unbuilt spaces, not only photos of finished ones
Starting with fewer, well-chosen views and adding more once the design settles usually costs less than commissioning a large set too early. Learn more about 360 virtual tour services.
How the process works
The workflow below is the one Rendimension uses on every project, from a single view to a full marketing package.
- Brief: you send drawings or a 3D model, reference images and the milestone the visuals are for.
- Model: the model is built and checked before any camera is set.
- Draft: clay or draft views confirm framing before full rendering.
- Revisions: changes are made consistently so every view stays aligned.
- Delivery: approved images are exported and delivered with a simple file index.
Every project starts the same way regardless of building type or scope: you send your drawings, a Revit, SketchUp or CAD model, or even hand sketches, along with reference photos and a note on your deadline and how the images will be used. There is no need to schedule a call before getting a number. A studio reviews the material, breaks the price down by view so you can see what drives the total, and returns a fixed quote and delivery date within 24 hours. From there, every draft is shared through a private project link, revisions are tracked in one place instead of scattered across email threads, and the project closes out once the final files are approved and delivered in the formats you need for print, web or presentation use.
Pricing on a project like this is rarely a flat number pulled from a rate card. Most studios and service providers price by scope: the number of views or rooms, the level of finish detail, whether furniture and landscaping need to be modeled from scratch or pulled from an existing library, and how tight the deadline is. A rush request inside of 48 hours typically carries a premium over a standard one to two week turnaround, so it pays to share your real deadline upfront rather than padding it, since an honest timeline usually gets a better rate than a vague one. Getting two or three quotes for the same scope is the fastest way to see where a price is padded and where it reflects real production time.
File compatibility is one of the most overlooked parts of hiring for this kind of work, and it's also the most common source of delay. Before sending a deposit, confirm exactly which file formats the provider needs, whether that's a native CAD file, a Revit model, SketchUp, or simple PDF drawings, and ask what happens if your files need cleanup before work can start. Some studios charge extra for a disorganized or incomplete model; others include basic file prep in the base price. Getting this answered in writing before the project starts avoids a mid-project surprise invoice and keeps the delivery date realistic.
Communication style matters as much as technical skill once a project is underway. Ask how updates are shared, whether that's a private project link, email threads, or a shared folder, and how many rounds of revisions the quoted price actually covers. Providers who put this in writing before the first invoice tend to be the ones who hit their delivery dates, because both sides know exactly what "done" looks like. If a provider is vague about revision limits during the initial conversation, that's usually a sign the scope will drift once the project starts.
Reviews and past client references tell a more reliable story than a polished portfolio page alone, since anyone can showcase their best five projects while quietly leaving out the ones that ran late or over budget. Asking for two or three references from projects similar in scale to yours, and actually calling them, remains one of the most effective ways to separate a provider who performs consistently from one who got lucky on a handful of showcase pieces. It takes an extra day, but it's a small cost against a project that could take weeks to complete.
Frequently asked questions
Which should be funded first, VR or a 360 tour?
Usually the 360 tour, because it reaches everyone who visits a listing with no hardware required. Then add VR for the sales center, where the highest value conversations happen. Building VR first leaves online traffic with nothing to view.
Does a 360 tour cost less than VR?
For a finished property, yes, since photography is inexpensive. For an unbuilt property the gap narrows sharply, because a rendered 360 tour requires the same modeling work and only the delivery format differs, which removes most of the cost advantage.
Why does VR convey scale better?
Because you stand in the space at your own height with correct proportions and can move. A 360 panorama fixes you at one point and its lens distorts depth, so it shows what a room contains without answering whether the room feels large enough.
Are these formats actually competing purchases?
No. They occupy different positions in the same funnel. The 360 tour handles reach at the top, VR handles conviction at the bottom, and treating them as alternatives usually results in buying the wrong one for the stage that matters.