Materials and Finishes for a Restaurant or Retail Interior Rendering
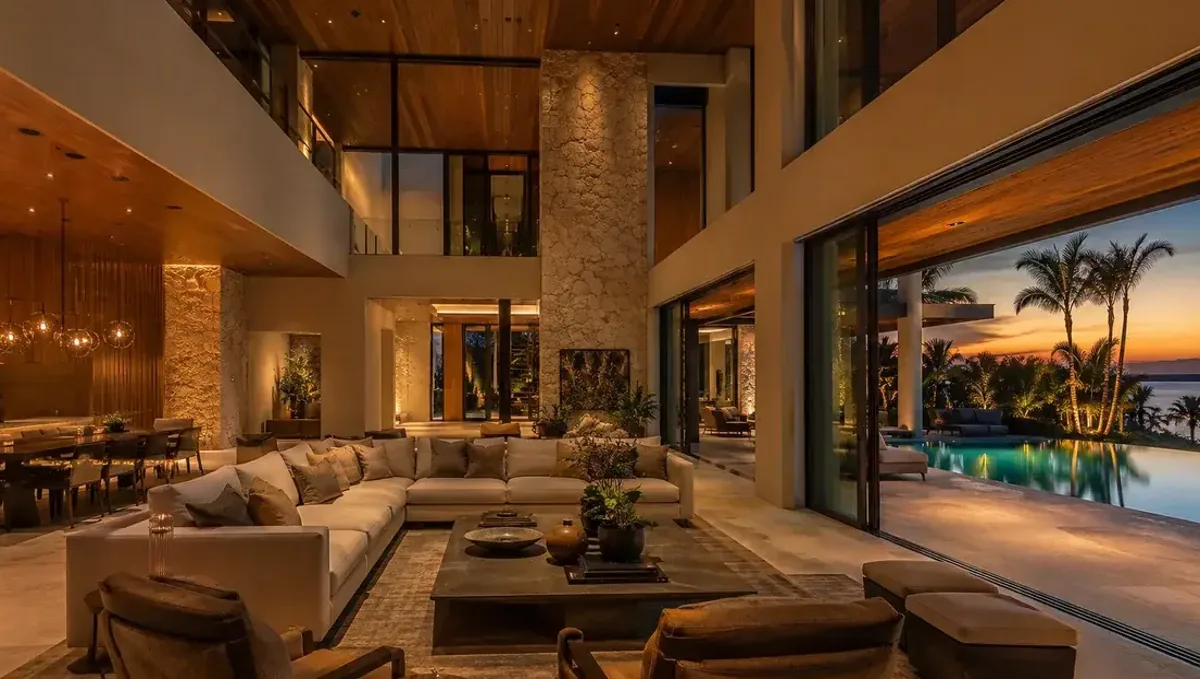
Quick answer: A restaurant or retail rendering needs floor, wall, ceiling, counter, seating, lighting and signage details guided by brand direction and confirmed with samples.
The short answer: specify floors, walls, ceiling, fixtures, seating and signage
For a restaurant or retail interior rendering, specify the floor, the wall finishes, the ceiling, the counters and fixtures, the seating, the lighting and the signage. Send product names, brand guidelines and photos or plans of the space. This guide belongs to how to specify materials and finishes for a 3D rendering and covers commercial interiors in detail.
Why commercial interiors need careful specification
A restaurant or shop must express a brand, attract customers and work under heavy use. Materials must look right and also last. A rendering lets owners, landlords, lenders and contractors agree on the design before construction, and it can be used in marketing before opening. Accuracy protects the budget, because changes after build out are expensive.
Start from the brand
Send the brand guidelines: colors, logo, typography and the mood you want customers to feel. Materials should reinforce the brand, whether warm and rustic or sleek and modern. Include reference photos of spaces you admire. The studio translates the brand into materials, but it needs your direction on style and quality level to make the right choices.
Floors that handle traffic
Commercial floors take heavy use. Specify the material, such as polished concrete, tile, wood, terrazzo or vinyl, and the color and pattern. Note transitions between areas, for example dining and kitchen or shop floor and stock room. The rendering shows appearance, so confirm slip resistance and maintenance requirements with the supplier and the local code.
Walls, ceilings and acoustics
Wall finishes range from paint and wallpaper to brick, wood slats and tile. Specify the material and color for each wall, and highlight any feature wall. Ceilings may be exposed, painted or covered with acoustic panels. Restaurants need sound control, so mention acoustic treatments. Ceiling height and finish strongly affect the atmosphere of the space.
Counters, bars and display fixtures
Bars, service counters, shelving and display fixtures are the working heart of the space. Specify the top material, the base finish, the edge and the lighting. For retail, describe the display systems and where products sit. Product photos help. Fixtures should be shown as they will be built, since they define both the customer flow and the look.
Seating and furniture
Booths, chairs, stools and tables define comfort and capacity. Specify the style, material and upholstery, and note quantities and layout. Provide model names when possible. Furniture also affects durability and cleaning, so consider commercial grade fabrics. Tell the studio if furniture is placeholder, so the image does not become a promise of specific products.
Lighting design and mood
Lighting creates the mood. Specify fixture types, finishes and the color temperature. A warm dim restaurant feels intimate, while a bright retail store feels energetic. If you have a lighting designer, share their drawings. Lighting also changes how materials look, so the studio needs it to render the finishes correctly and convincingly.
Signage, graphics and storefront
Signs, murals, menus and window graphics are part of the identity. Send the logo files and note the size, material and location of each sign. For the storefront, specify the frame, glass and door hardware. Landlords may regulate signage, so confirm the rules. The image can show your intention, and approvals depend on the landlord and the city.
Restrooms and back corridors
Restrooms are visible to guests and reflect the brand. Specify tile, fixtures, mirrors and lighting. Corridors to the kitchen or stock room are rarely shown, but mention them if a view includes them. Consistent finishes in these areas make the whole space feel considered and complete.
Outdoor seating and patios
Many restaurants add a patio or sidewalk seating. Specify the floor, the furniture, the umbrellas or pergola and the planters. Outdoor materials must resist weather, so mention that. Include local rules on sidewalk use, which the city controls, and show only what you have permission to build.
Delivery formats and revisions
Tell the studio how you will use the images, such as sharing with a landlord, a lender or the press. Ask for the resolution that suits that use. Send feedback in one message per round, naming each surface. Focused revisions keep the schedule short and the comparison between options clear.
Timeline and opening date
Work backward from the opening date. Allow time for the rendering, approvals, ordering materials and construction. Commercial finishes can have long lead times. Ask the studio about the express option early if the schedule is tight, since it depends on the queue at that moment and cannot be promised in advance.
Restaurants: kitchen, dining and bar
In restaurants, the dining room and bar are the main visual areas. The kitchen is functional and usually hidden, but an open kitchen becomes part of the design. Specify the finishes visible to guests, such as the pass, hood and tile. Note the bar back, the shelving and the lighting, since bars attract attention and are often the signature of the space.
Retail: displays, fitting rooms and cash wrap
Retail stores depend on displays, fitting rooms and the cash wrap. Specify the materials and finishes of each. Flexible displays may change over time, so show the intended layout. The design should guide customers through the store, and the materials should make products look good without distracting from them or from the merchandise.
Durability and cleaning
Commercial materials must be cleaned frequently. Choose surfaces that resist stains, scratches and moisture. The image can show the appearance, and your contractor or supplier must confirm cleaning and durability. A material that looks great but wears badly in six months hurts the brand, so consider long term performance along with initial beauty.
Tenant improvements and landlord work
In leased spaces, the landlord may provide some elements such as the shell, ceiling or storefront. Clarify which items belong to the landlord and which are yours. The image should show what you will build, and the shell as it exists. This prevents disputes about who pays for what and avoids showing items that are not approved.
Phasing, pop-ups and future changes
Some businesses open in phases or plan temporary pop up stores. Tell the studio which finishes are permanent and which are temporary. A flexible design that can be updated with new graphics or fixtures may save money. The rendering can show the initial phase and a future concept, clearly labeled, so partners understand the roadmap.
Multiple locations and consistency
Chains and growing brands want consistent interiors across locations. Provide the standard finish palette and prototype drawings. The studio can produce a base scene and adapt it to each site. Consistency in materials and lighting strengthens the brand, and a reusable set of scenes lowers the cost of visualizing each new location.
Coordinating designers, contractors and suppliers
Share the approved image and finish list with the designer, contractor and suppliers. Ask them to verify lead times, since some commercial materials take weeks to arrive. Delays affect the opening date, so coordinate early. A single reference image and list reduce misunderstandings and help you check delivered items against the intended design.
Keeping records for future updates
Store the final images, finish codes, supplier contacts and approved samples. Restaurants and shops refresh their interiors often, and records make updates easier and cheaper. They also help staff and new managers understand the intended design, and they provide documentation if a landlord or a lender asks what was approved at the start of the project.
Accuracy and expectations
A rendering illustrates the design, and real materials vary. Confirm the finishes with physical samples and mockups where possible. Read how accurate materials are in a rendering and whether a rendering can match your exact samples for how to understand accuracy. Commercial approvals such as health, fire and accessibility must come from qualified professionals, and the image cannot replace them.
What to send the studio
- Plans, photos or measurements of the space.
- Brand guidelines, logo files and reference photos.
- Floor, wall, ceiling and counter finishes with codes.
- Seating, lighting and signage information.
- The views needed, how the images will be used and the deadline.
Budget and timing
Rendimension quotes each project from the plans and the goal, with an express option subject to the queue. A complete list of materials and a clear brand direction keep revisions limited and the schedule predictable.
Revision rounds and how to keep them small
For a restaurant or retail project briefing a studio, settle the big material decisions in the first preview: main surfaces, colors, wood tones, metals and the overall palette. Afterwards, send changes as one consolidated list. Every changed finish needs new lighting checks, so a clear palette from the start finishes faster. See how revision rounds affect timelines.
Timing
Material decisions are one of the biggest causes of delay, because choices arrive late or change after the first preview. Send selections early, answer the studio quickly and leave room for one revision round. See how long a 3D rendering takes and how the number of views affects turnaround. Rendimension offers an express option, subject to the queue, when a date is fixed.
Common mistakes
- Sending no brand guidelines.
- Choosing residential materials for a high traffic floor.
- Ignoring acoustics in a restaurant.
- Leaving the signage and storefront unspecified.
- Showing placeholder furniture as if it were final.
- Forgetting landlord and code requirements.
A worked example
An owner opening a café sends the floor plan, the brand guide, photos of two admired spaces and a finish list: terrazzo floor, oak slat wall, a marble counter and brass pendants. The studio produces the entrance and the counter view. The owner shares the images with the landlord and the contractor and adjusts the counter finish after comparing two options.
Where to go next
Send the drawings, the material information and your reference photos to the studio, and agree the palette together. For the general overview, see how to specify materials and finishes for a 3D rendering, for expectations about accuracy, see how accurate materials are in a rendering, and for the pitfalls, see common mistakes when specifying materials.
Frequently asked questions
What should I send for a restaurant or retail rendering?
Plans, brand guidelines, finish lists and reference photos.
Can the image support landlord approval?
Yes, as an illustration. Formal approval follows the landlord process.
Should I include signage?
Yes. Send logo files and note size, material and location.
Does the rendering show slip resistance or code compliance?
No. Those come from qualified professionals.
Can I compare two finishes?
Yes. Ask for both in the same view.
Can I use the images for marketing?
Yes, labeled as illustrations before the space opens.
Will the finished space match the image?
It will be close, but real materials vary.
Is there a faster option?
Rendimension offers an express option, subject to the queue.
Related guides
This guide is part of our series on materials and finishes for 3D renderings. Start with the overview, how to specify materials and finishes for a 3D rendering. Related: materials and finishes for a multi-unit building rendering, materials and finishes for a kitchen rendering, materials and finishes for a bathroom rendering. When you are ready, send what you have through our quote request.