Materials and Finishes for a Home Exterior 3D Rendering
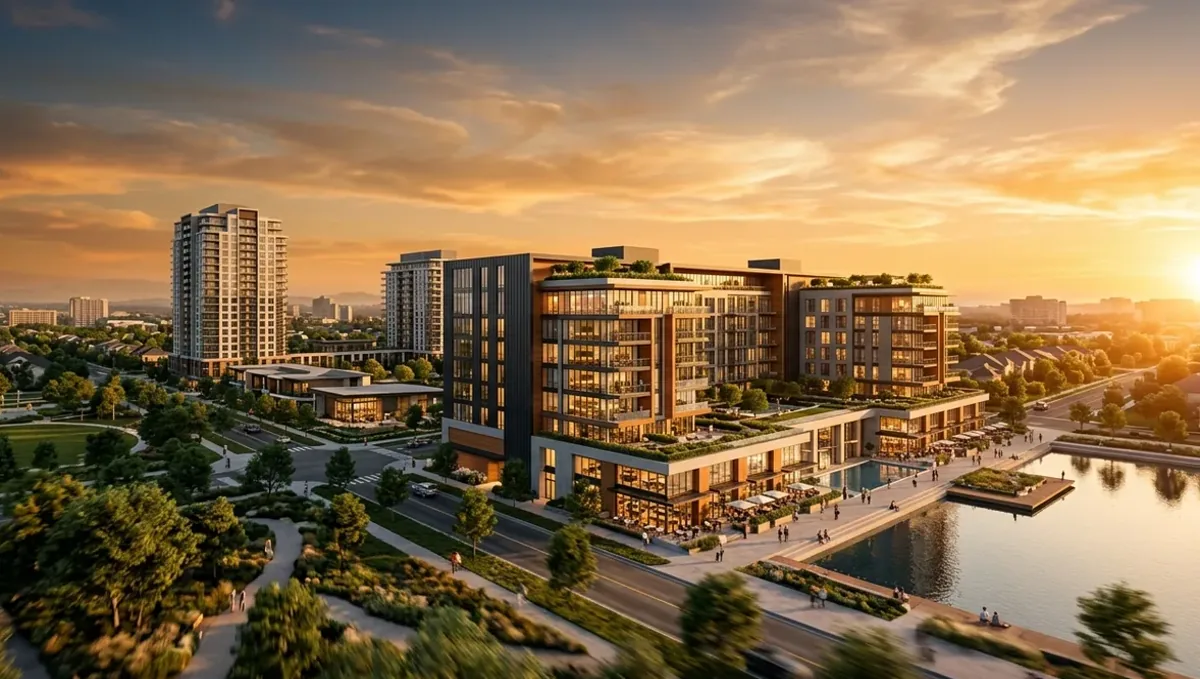
Quick answer: A home exterior rendering needs cladding, roof, window, door, trim and landscape details, and colors should be tested with large samples on the house.
The short answer: specify cladding, roof, windows, doors, trim and hardscape
For a home exterior 3D rendering, specify the siding or masonry, the roof, the windows, the front door and garage door, the trim and the driveway and walkway. Send product names, color codes and photos of the site. This guide belongs to how to specify materials and finishes for a 3D rendering and covers the exterior in detail.
Why exteriors need careful specification
The exterior is the first thing people see and a large investment. Color combinations that look good on a small chip can look overwhelming across a whole facade. A rendering lets you compare palettes on your actual house, and it can help with approvals from neighbors, associations and city boards who want to see the proposed materials.
Cladding: siding, brick, stone and stucco
Name the main cladding and any secondary materials. For siding, state the profile, exposure and color. For brick, give the color range and the mortar color. For stone, send a photo of the pattern. For stucco, specify the texture and color. Combinations such as stone at the base and siding above should be described by height and location.
Roofing material and color
The roof covers a large visible area. Specify the type, such as asphalt shingle, metal standing seam, tile or slate, and the color. Give the pitch, and mention the gutters and downspouts. Metal roofs reflect light differently than shingles, so tell the studio the finish. Roof color affects the whole palette, so choose it early in the process.
Windows, frames and glass
Window frame color, style and grille pattern shape the character of the house. Specify the frame material, such as vinyl, aluminum or wood, the color and the grille layout. Note the glass tint and whether shutters are decorative or operable. Black frames read very differently than white frames, so try both when you are undecided.
Doors and garage doors
The front door is a focal point, so specify its style, color, glass and hardware. The garage door often occupies a large area, so its style and color matter greatly. Send product photos or model names. Consistency between the front door, garage door and fixtures gives the exterior a coherent look that buyers and neighbors appreciate.
Trim, fascia, porch and railings
Trim, fascia, soffits, columns, railings and porch floors are small pieces that define the design. Specify their material and color, and note where trim contrasts with the siding. Tell the studio about porch ceilings and the type of light fixtures. Precise details make the difference between a generic house and a design that looks intentional.
Driveway, walkways and landscaping
Hardscape and landscape frame the house. Specify the driveway material, such as concrete, pavers or gravel, and the walkway pattern. Send information about planting, lawns and trees, and their maturity. Show plants at a realistic size for the time of the photo you want, since mature landscaping on a new house can mislead viewers about the finished look.
Light, season and time of day
Exterior colors shift with light. Choose the time of day and season for the image, and tell the studio the orientation of the house. Golden light flatters everything, so ask for at least one neutral daylight view if accuracy matters. A dusk view shows the lighting design but is not the best reference for judging the paint colors.
Gutters, downspouts and vents
Gutters, downspouts, roof vents and flashing are visible on every elevation. Give their material and color, and say whether they match the trim or the roof. Leaving them out makes the image look unfinished, while wrong colors draw attention. A short line in the brief keeps these small parts consistent across all views.
Foundations, steps and retaining walls
The base of the house, the front steps and any retaining walls anchor the design. Specify the material and color of each, such as painted concrete, stone veneer or brick. Exposed foundation height changes the proportions of the house, so provide measurements. Correct base details make the whole exterior feel grounded and believable.
Neighboring homes and context
Neighboring houses and street context influence how a palette is judged. Send photos of the street or say whether the design must blend with nearby homes. Some owners want to stand out, and others want to fit in. Stating the goal helps the studio place the house in a setting that supports the decision.
Delivery formats and revisions
Tell the studio how you will use the images, such as sharing with a contractor, an association or a lender. Ask for the resolution that suits that use. Send feedback in one message per round, naming each element. Focused feedback keeps revisions short and the comparison between palettes clear.
Remodels and repainting
For a repaint or partial update, send photos of all sides and the materials that will stay, such as brick or roof. New colors must work with the fixed elements. Specify which parts change and which do not. The studio will show the current house and the proposal, so the difference is easy to judge.
New construction and additions
For new construction and additions, the plans provide the geometry. Send elevations with dimensions and the material list. For an addition, show how new materials meet old ones, since matching siding or brick is difficult. The image can reveal mismatches early, and it can help you decide whether to blend or contrast.
Historic and regulated districts
In historic districts, materials and colors may be regulated. Send the guidelines to the studio, and ask for images that comply. The rendering can accompany an application, but the approval depends on the board. Consult the local authority for the requirements, since rules differ and images cannot replace formal review.
Climate and maintenance
Climate affects material choice. Salt air, heavy rain, snow and strong sun wear finishes differently. Tell the studio the location, so the materials are appropriate. The image shows appearance only, so ask your contractor about durability and maintenance for each option, and consider the long term cost as well as the initial look.
Outdoor lighting design
Exterior lighting adds security and atmosphere. Specify fixture types, finishes and locations, such as sconces, path lights and uplights. Warm light suits most materials, while cool light can make colors look harsh. If lighting is part of the design, ask for a dusk view so you can evaluate the effect together with the daylight image.
Fences, gates and mailboxes
Fences, gates, mailboxes and house numbers are small but visible details. Specify the material and color, and how they relate to the house. Neighborhood rules may limit height and style. Including them in the image makes the picture feel complete, and it lets you check that all the exterior elements work together as a coherent design.
Coordinating contractors and suppliers
Share the approved image and material list with the painter, roofer and window supplier. The list gives the exact products, and the image explains the design intent. Ask each trade to confirm color codes and availability. Early coordination avoids delays caused by discontinued items and prevents mistakes when several suppliers deliver at different times.
Keeping a record of the approved exterior
Save the final image, paint codes, product names and photos of the approved sample patches. When you repaint or repair years later, this record saves time and guesswork. It also helps if a neighbor, association or buyer asks about the exterior, and it documents the design decisions you made when the house was completed.
Accuracy and expectations
A rendering illustrates the design, and real materials vary. Paint appears differently outdoors, and brick and stone vary from batch to batch. Test a large sample patch on the house before committing. Read how accurate materials are in a rendering and whether a rendering can match your exact samples for what to expect from the accuracy of colors and textures.
What to send the studio
- Photos of the existing house and site, or plans and elevations.
- Cladding, roof, window and door details with codes.
- Trim, porch, railing and light fixture information.
- Driveway, walkway and landscaping information.
- The time of day, the views needed and the deadline.
Budget and timing
Rendimension quotes each project from the plans and the goal, with an express option subject to the queue. A complete list of materials and clear photos of the house keep revisions limited and the schedule predictable.
Revision rounds and how to keep them small
For an exterior project briefing a studio, settle the big material decisions in the first preview: main surfaces, colors, wood tones, metals and the overall palette. Afterwards, send changes as one consolidated list. Every changed finish needs new lighting checks, so a clear palette from the start finishes faster. See how revision rounds affect timelines.
Timing
Material decisions are one of the biggest causes of delay, because choices arrive late or change after the first preview. Send selections early, answer the studio quickly and leave room for one revision round. See how long a 3D rendering takes and how the number of views affects turnaround. Rendimension offers an express option, subject to the queue, when a date is fixed.
Common mistakes
- Choosing paint from a small chip only.
- Forgetting roof and gutter colors.
- Not specifying window frame color.
- Showing mature landscaping on a new build.
- Judging colors only in a dusk view.
- Ignoring association rules on colors and materials.
A worked example
A homeowner sends photos of a ranch house, plus a plan to repaint in a warm gray, add black window frames and replace the garage door. The studio produces the current house and two palettes in daylight. She paints a large test patch, confirms the color at different times of day and then shares the image with her association for approval.
Where to go next
Send the drawings, the material information and your reference photos to the studio, and agree the palette together. For the general overview, see how to specify materials and finishes for a 3D rendering, for expectations about accuracy, see how accurate materials are in a rendering, and for the pitfalls, see common mistakes when specifying materials.
Frequently asked questions
What materials matter most in an exterior rendering?
Cladding, roof, windows, doors, trim and hardscape.
Can I compare paint colors on my house?
Yes. Send photos and codes and ask for two palettes.
Should I test paint on the wall?
Yes. Test a large patch and view it at different times of day.
Does landscaping matter?
Yes. Show plants at a realistic size for the intended time.
Can the image support an association approval?
Yes, as an illustration alongside the material list.
Will the colors match exactly?
They will be close, but outdoor light and screens change appearance.
Do I need plans?
Photos and measurements can be enough for a remodel.
Is there a faster option?
Rendimension offers an express option, subject to the queue.
Related guides
This guide is part of our series on materials and finishes for 3D renderings. Start with the overview, how to specify materials and finishes for a 3D rendering. Related: materials and finishes for a pool and outdoor space rendering, materials and finishes for a restaurant or retail interior, materials and finishes for a multi-unit building rendering. When you are ready, send what you have through our quote request.