Materials and Finishes for a Multi-Unit Building Rendering
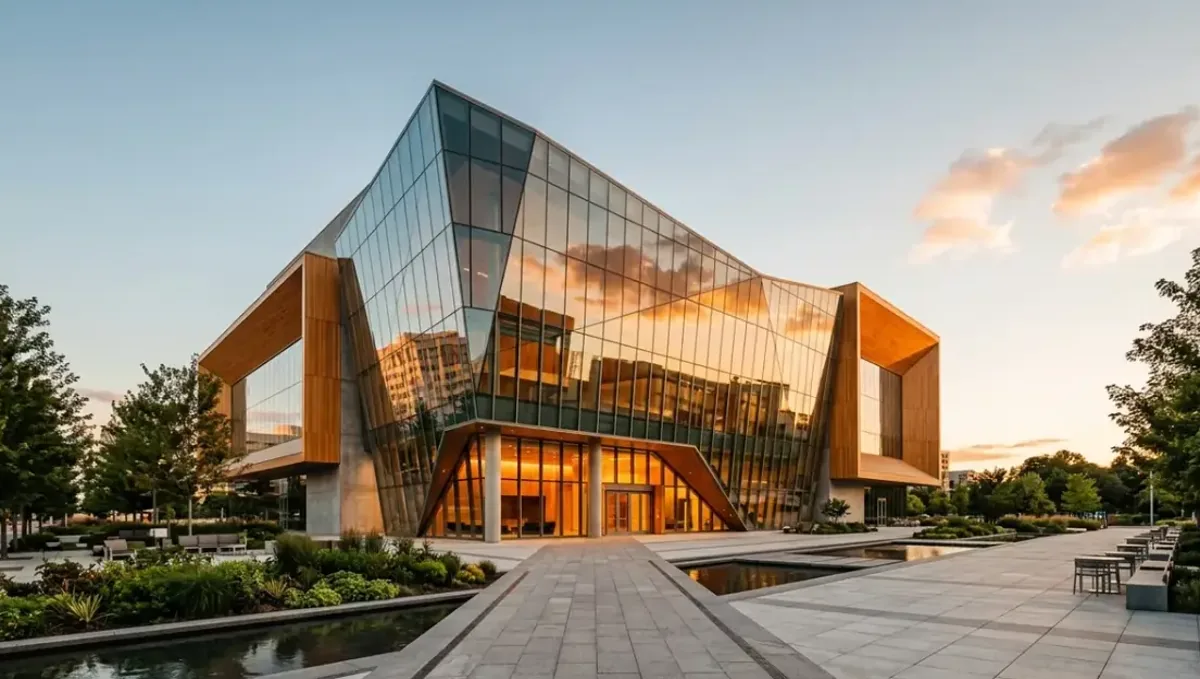
Quick answer: A multi-unit building rendering needs facade, lobby, unit finish level, amenity and landscape details, with images labeled as illustrations.
The short answer: specify facade, common areas, unit finish levels and landscape
For a multi-unit building rendering, specify the facade materials, the entrance and lobby, the corridors, the typical unit finish levels, the amenities and the landscape. Send the plans, elevations and product sources. This guide belongs to how to specify materials and finishes for a 3D rendering and covers apartments, condominiums and townhomes in detail.
Why multi-unit buildings need careful specification
Multi-unit projects involve investors, lenders, city officials and buyers, and materials repeat across many units. A decision made once is multiplied many times, so a poor choice is expensive. A rendering helps everyone understand the design and agree on materials before construction, and it supports marketing and sales during pre-sales.
Facade materials and rhythm
The facade defines the identity of the building. Specify the primary cladding, secondary materials, window systems, balconies and railings, with colors and finishes. Describe the rhythm of the facade, such as vertical bays or horizontal bands. Provide product links or samples for the dominant materials, since they cover a large area and shape the first impression.
Entrance, lobby and circulation
Lobbies, corridors, stairs and elevators are shared spaces that set the tone. Specify floors, walls, ceilings, lighting, mailboxes and signage. Show the elevator finish. These spaces are used daily, so durability matters. The image should show a welcoming entry that matches the price level of the units and the target buyers or renters.
Typical unit finish levels
Define finish levels for the typical unit, such as standard and upgraded. Provide a table listing flooring, cabinets, countertops, tile, fixtures, appliances and paint for each. The studio can then show each level accurately. Units usually repeat, so a clear finish table keeps the images consistent and helps sales staff explain the differences between packages.
Amenities and outdoor areas
Pools, gyms, rooftop decks, courtyards and lounges are strong selling points. Specify finishes and furniture for each. Provide plans and dimensions. Outdoor amenities need weather resistant materials, so mention them. Show only what is committed, and label future amenities as conceptual, so buyers do not assume features that may not be built.
Balconies, terraces and railings
Balconies and terraces are private extensions of the units. Specify the floor material, the railing type, the privacy screens and the lighting. Railings can be glass, metal or wood, and they change the look of the facade. Safety regulations control height and spacing, so confirm requirements with the architect. The image shows appearance and cannot replace engineering.
Parking, services and back-of-house
Parking entrances, trash rooms and service areas influence the streetscape. Tell the studio how to treat them, such as screened, integrated or hidden. Marketing images often avoid them, but city reviewers want to see them. Decide which views include them, and specify their materials so the facade looks coherent from every side.
Neighborhood context and massing
Multi-unit buildings sit among other buildings. Send photos and heights of neighbors, and describe the street materials. The rendering can show how the new building fits the neighborhood. Officials and neighbors often react to scale and materials, so accurate context supports a fair conversation about the project and reduces misunderstandings during reviews.
Roof, parapets and mechanical screening
The roofline is visible from the street. Specify the roof material, parapet caps, and how rooftop equipment is screened. Solar panels, antennas and vents change the silhouette, so list the ones planned. Correct roof details prevent surprises when officials or neighbors compare the image with the final building.
Windows, doors and storefront systems
Windows define the look of every unit. Specify the frame material, color, glass tint and the grid pattern. Entry doors and storefronts need their own description. Provide product names when possible, because window choices affect cost and energy performance, which architects and engineers must confirm separately from the image.
Landscape and streetscape
Trees, planters, paving and lighting connect the building to the street. Specify the species where known, the paving material and the lighting fixtures. Mature trees take years to grow, so tell the studio whether to show them at planting size or mature size, and label the image so viewers understand what they are seeing.
Delivery formats and revisions
Tell the studio how you will use the images, such as a sales center, a website or a lender package. Ask for the resolutions you need. Send feedback in one message per round, naming each element. Focused revisions keep the schedule short and the review by several partners organized.
Townhomes and small infill projects
Small projects often sit between existing buildings. Send photos of the neighbors and the street. Specify the materials that relate to the context, such as brick or lap siding. The rendering can help a small developer explain the design to neighbors and officials, and it shows how the project respects the scale of the street.
Mid-rise and mixed-use buildings
Mid rise buildings may include retail at street level. Specify storefront materials, signage areas and canopies. The base and the upper floors may use different materials, so describe the transition. Shops attract tenants when they look real, so include reference to typical tenants, but label tenant improvements as conceptual.
Senior living and student housing
Specialized housing has particular needs such as common rooms, dining halls and accessible design. Tell the studio the audience and the amenities. Materials should feel welcoming and durable. Images can help families and students understand the environment, so show warm, honest finishes and avoid promising services that the operator does not provide.
Renovation and adaptive reuse
When renovating an existing building, tell the studio which parts remain. Historic facades, structural elements and old windows need careful description. The rendering shows new materials next to old ones, so the contrast is visible. Confirm with preservation authorities where required, since images cannot replace official review for historic buildings.
Phasing and future expansion
Large projects are built in phases, and later phases may change. Show the current phase with committed finishes and label future phases as concept. This helps buyers and lenders understand what is real. Keep a log of changes, so you know when images need to be updated to reflect the latest design.
Consistency across marketing channels
The same image may appear on signs, brochures and websites. Keep one approved set and update it when materials change. An outdated image in circulation can create false expectations. Decide who owns the library and who approves changes, so the marketing team, brokers and architects always use current, accurate visuals.
Working with brokers and sales teams
Give brokers a short guide with the finish levels, the disclaimers and the images. Ask what customers question most and include it in the next round. Training the sales team ensures that verbal statements match the images and the contract, which reduces disputes after closing and helps buyers trust what they see.
Records for warranty and future owners
Store the approved images, the finish schedule and supplier information. Future owners, associations and property managers benefit from these records when repairs or updates are needed. Discontinued items are common, so knowing the original products and colors makes replacements easier and helps maintain the coherence of the building over the years.
Accuracy and expectations
A rendering is an illustration, and finishes may change during construction. Label the images accordingly, and keep the approved specification on file. Read how accurate materials are in a rendering and whether a rendering can match your exact samples for how to understand accuracy. Consult your attorney about disclaimers for marketing to buyers, since requirements vary by jurisdiction.
What to send the studio
- Plans, elevations and site information.
- Facade material list with codes and product sources.
- Lobby, corridor and amenity finish information.
- Unit finish tables for each level.
- The views needed, disclaimers and the deadline.
Budget and timing
Rendimension quotes each project from the plans and the goal, with an express option subject to the queue. A complete finish list and a defined set of views keep revisions limited and the schedule predictable.
Revision rounds and how to keep them small
For a multi-unit project briefing a studio, settle the big material decisions in the first preview: main surfaces, colors, wood tones, metals and the overall palette. Afterwards, send changes as one consolidated list. Every changed finish needs new lighting checks, so a clear palette from the start finishes faster. See how revision rounds affect timelines.
Timing
Material decisions are one of the biggest causes of delay, because choices arrive late or change after the first preview. Send selections early, answer the studio quickly and leave room for one revision round. See how long a 3D rendering takes and how the number of views affects turnaround. Rendimension offers an express option, subject to the queue, when a date is fixed.
Common mistakes
- Not defining finish levels for units.
- Showing amenities that are not committed.
- Forgetting railings and balcony details.
- Ignoring parking and service areas in the facade.
- Skipping neighborhood context.
- Leaving disclaimers to the last minute.
A worked example
A developer of a twelve unit townhome project sends the plans, the elevations and a finish table with two levels. The studio produces the street view, a typical living room and the rear courtyard. The developer uses the images with the lender and at the sales office, with disclaimers reviewed by the attorney.
Where to go next
Send the drawings, the material information and your reference photos to the studio, and agree the palette together. For the general overview, see how to specify materials and finishes for a 3D rendering, for expectations about accuracy, see how accurate materials are in a rendering, and for the pitfalls, see common mistakes when specifying materials.
Frequently asked questions
What should I send for a multi-unit rendering?
Plans, elevations, facade materials, finish tables and the views needed.
Can the studio show two unit finish levels?
Yes. Provide a table for each level.
Should I show amenities that are not committed?
Only as conceptual and clearly labeled.
Can the image be used for financing?
Yes, as an illustration consistent with the specification.
Do renderings show code compliance?
No. Architects and engineers confirm that.
Can I show the neighborhood?
Yes. Send photos and heights of nearby buildings.
Will finishes match the image exactly?
They will be close, but finishes can change during construction.
Is there a faster option?
Rendimension offers an express option, subject to the queue.
Related guides
This guide is part of our series on materials and finishes for 3D renderings. Start with the overview, how to specify materials and finishes for a 3D rendering. Related: materials and finishes for a kitchen rendering, materials and finishes for a bathroom rendering, materials and finishes for a home exterior rendering. When you are ready, send what you have through our quote request.