How Many 3D Renderings for a Multi Option Design Comparison?
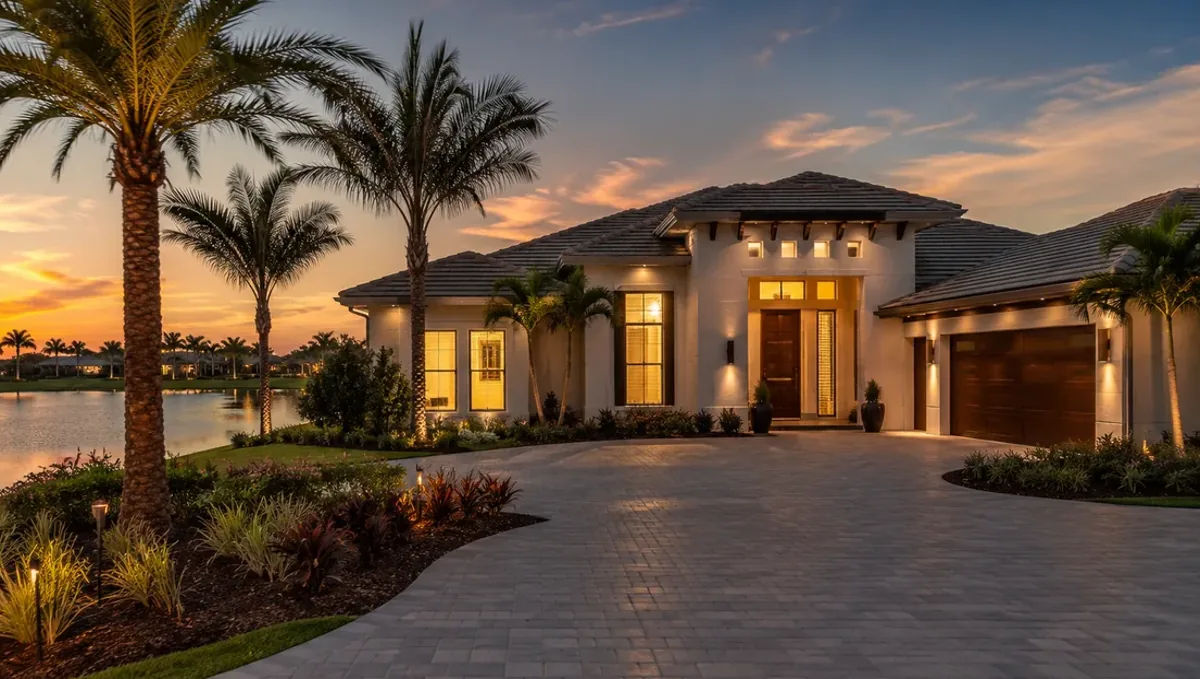
Quick answer: Compare design options with one rendering each, from the same angle and lighting, and limit the comparison to two or three options.
The short answer
A multi option design comparison needs one rendering per option, all from the same camera angle, with the same lighting and furnishings, so the only difference is the design choice. Two or three options are usually enough. This guide belongs to how many 3D renderings you need for a project and explains how to set up a fair comparison without paying for too many images.
Why the same angle matters
People compare images by looking back and forth. If the angle, lighting or styling changes between options, the viewer reacts to those differences and not to the design choice. Using the same camera and settings isolates what you want to compare, and makes the decision faster and more reliable.
How many options
Two options give a clear choice. Three give some range but start to overwhelm reviewers. More than three is rarely helpful and can delay the decision. If you have many ideas, narrow them with sketches or discussion and render only the strongest two or three candidates.
What to compare
Compare options that differ in one major dimension at a time, such as layout, color palette, cabinet style or facade material. Changing everything at once makes it hard to know what drives preference. If several dimensions matter, stage the comparisons: choose layout first, then finishes on the chosen layout.
Views to use for the comparison
Choose the view that shows the differences best. For a kitchen layout, that may be a view showing the island and the work triangle. For a facade material, a street view. One view per option is often enough, and adding a second view for each option doubles the cost.
Comparing side by side
Ask the studio to deliver the images in the same size and format so they can be laid out side by side. Add short labels naming each option. A simple comparison sheet makes presentations to clients or partners much clearer and speeds up approval by focusing attention on the differences.
Using a base image and variants
The studio can build one base scene and produce variants by changing only the chosen element. This is more efficient than starting each option from scratch, and it guarantees consistency. Ask about pricing for variants, since they usually cost less than full images and encourage clear, focused comparisons.
Who decides
Decide who makes the final choice before you show the options. Too many voices can stall a decision. Gather feedback from key people, but let one person or a small group choose. Recording the decision, with the image that supported it, prevents the debate from restarting later in the project.
Cost and timing
The cost grows with each option, although variants of a base scene cost less than separate views. Rendimension quotes each project from the plans and the goal and offers an express option subject to the queue. See how the number of views affects turnaround and how long a 3D rendering takes.
Keeping lighting identical
Lighting changes how materials and colors read, so the time of day, sky and artificial lights should be the same in every option. If one option is shown in warm evening light and another in flat daylight, viewers will prefer the warmer one regardless of the design. Ask the studio to confirm that lighting is locked before production starts.
Furniture and styling as a constant
Furniture, plants and accessories should remain the same across options unless they are the element being compared. Otherwise reviewers respond to the styling instead of the design decision. Provide a single furnishing list and ask that it be reused in every image, so the comparison stays fair and the feedback stays focused on what matters.
Deciding the number of rounds
Agree on how many feedback rounds the comparison includes before production begins. A single round of comments after the options are delivered is often enough when the brief is clear. Extra rounds add cost and can turn a simple comparison into a long negotiation, so set expectations early with everyone who will review the images.
Collecting feedback in one list
Gather comments from all reviewers into one document before sending them to the studio. Conflicting comments sent separately create confusion and revisions that undo each other. A single consolidated list, with the decision maker resolving disagreements, keeps the process quick and prevents the studio from guessing which opinion should win in each case.
Using the comparison for approvals
A clear comparison also helps with approvals from lenders, boards or partners who were not part of the design conversation. Showing two or three options side by side explains why the chosen design was selected. Label the images honestly as illustrations, and keep the chosen option easy to identify in any document you circulate afterward.
When a comparison is not needed
Not every project needs multiple options. If the design is settled, a comparison only adds cost and delays. Use it when the decision is genuinely open and expensive to reverse, such as layouts or major facade materials. For small choices, physical samples and quick sketches are usually faster and cheaper than additional renderings.
Following up after the decision
After the choice is made, ask the studio whether the chosen option should be refined into a final high quality image. Often the comparison images are enough for decisions, and only the winner needs extra polish for marketing. Planning this step avoids paying for polish on options that will never be built or shown to the public.
Layout options
Layout comparisons benefit from a view that shows movement through the space. Render each layout from the same doorway and show furniture at the same scale. Ask people how each option feels to walk through, not just how it looks. Layout decisions are hard to change later, so investing in a clear comparison here often saves money.
Finish and color options
For finishes and colors, show the options in the same layout and light. Screens change colors, so treat the comparison as guidance and confirm with samples in the real space. Limit the options to those you would genuinely choose. Showing choices that you would never build only wastes budget and adds noise to the decision.
Facade and exterior options
Facade comparisons need accurate context, since a design that works alone may clash with neighbors. Provide site photos and show each option from the street. Include the same landscape and lighting. Reviewers and neighbors often respond to context as much as to the design, so keeping it consistent makes the comparison fair and informative.
Budget comparison alongside images
Images show appearance, but decisions also depend on cost. Prepare a simple cost estimate for each option and present it beside the images. Looking at both together prevents choosing an appealing option that the budget cannot support, and it makes the meeting more productive by addressing appearance and cost at once.
Presenting options to clients
When you present, explain what differs and what stays the same. Guide viewers through each image before asking for a preference. Avoid showing your own favorite first, so people form their own opinions. A calm, structured presentation of two or three clear options usually gets faster and more confident decisions than an open ended discussion.
Recording the decision
Once the choice is made, save the chosen image and note why it won. Share the record with everyone involved, including the contractor. This prevents second guessing and gives you a reference if questions return during construction. It also helps you learn which comparisons were most useful for future projects and clients.
What to do when no option wins
Sometimes none of the options feels right. Treat that as useful information. Ask what people disliked, and combine the best parts into a new option, then render only that. This targeted second round costs less than starting over and usually converges quickly, since the feedback from the first round narrows the possibilities.
Prioritizing when the budget is limited
Limit the comparison to two options and one view each. Use samples and plans for smaller differences.
What to send the studio
- Plans or a model of the space.
- A clear description of each option and what differs.
- Finish and product details for each option.
- The preferred angle and lighting.
- Who decides and by when.
Budget and timing
Send the options and the decision date to the studio. Rendimension quotes each project from the plans and the goal, with an express option subject to the queue.
Revision rounds and how to keep them small
For a multi option comparison, settle the big decisions in the first preview: massing, materials, colors, landscaping and camera. Afterwards, send changes as one consolidated list. Every extra view multiplies the review effort, so a smaller set with clear feedback usually finishes faster. See how revision rounds affect timelines.
Timing
The count of images affects the schedule, since each view needs setup, lighting and review. Count backward from your deadline, leave room for one revision round and answer the studio quickly. See how long a 3D rendering takes and how the number of views affects turnaround. Rendimension offers an express option, subject to the queue, when a date is fixed.
Common mistakes
- Changing the angle between options.
- Comparing too many options.
- Varying several elements at once.
- Not naming a decision maker.
- Rendering every option at full detail.
- Skipping labels.
A worked example
A couple choosing between two kitchen layouts orders one view of each from the same corner, with identical finishes. The images show clearly that one layout gives more counter space, and they decide in a single meeting. The finishes are chosen afterward with samples.
Where to go next
Send the drawings or sketch, the site photos and the purpose of the images to the studio, and agree the number of views together. For the general overview, see how many 3D renderings you need for a project, and for the pitfalls, see common mistakes when deciding how many renderings to order.
Frequently asked questions
How many renderings for an option comparison?
One per option, often two or three options.
Should the angle be the same?
Yes, with the same lighting.
How many options are too many?
More than three usually delays decisions.
What should differ between options?
One major dimension at a time.
Can variants be cheaper?
Often, when built from a base scene.
Who should decide?
One person or a small group.
Can I stage the comparison?
Yes, layout first then finishes.
Is there a faster option?
Rendimension offers an express option, subject to the queue.
Related guides
This guide is part of our series on how many 3D renderings a project needs. Start with the overview, how many 3D renderings you need for a project. Related: how many renderings for a phased construction project, how many renderings for day and night versions, how many renderings for a website portfolio page. When you are ready, send what you have through our quote request.