Renderings for Multi Site Retail Rollouts
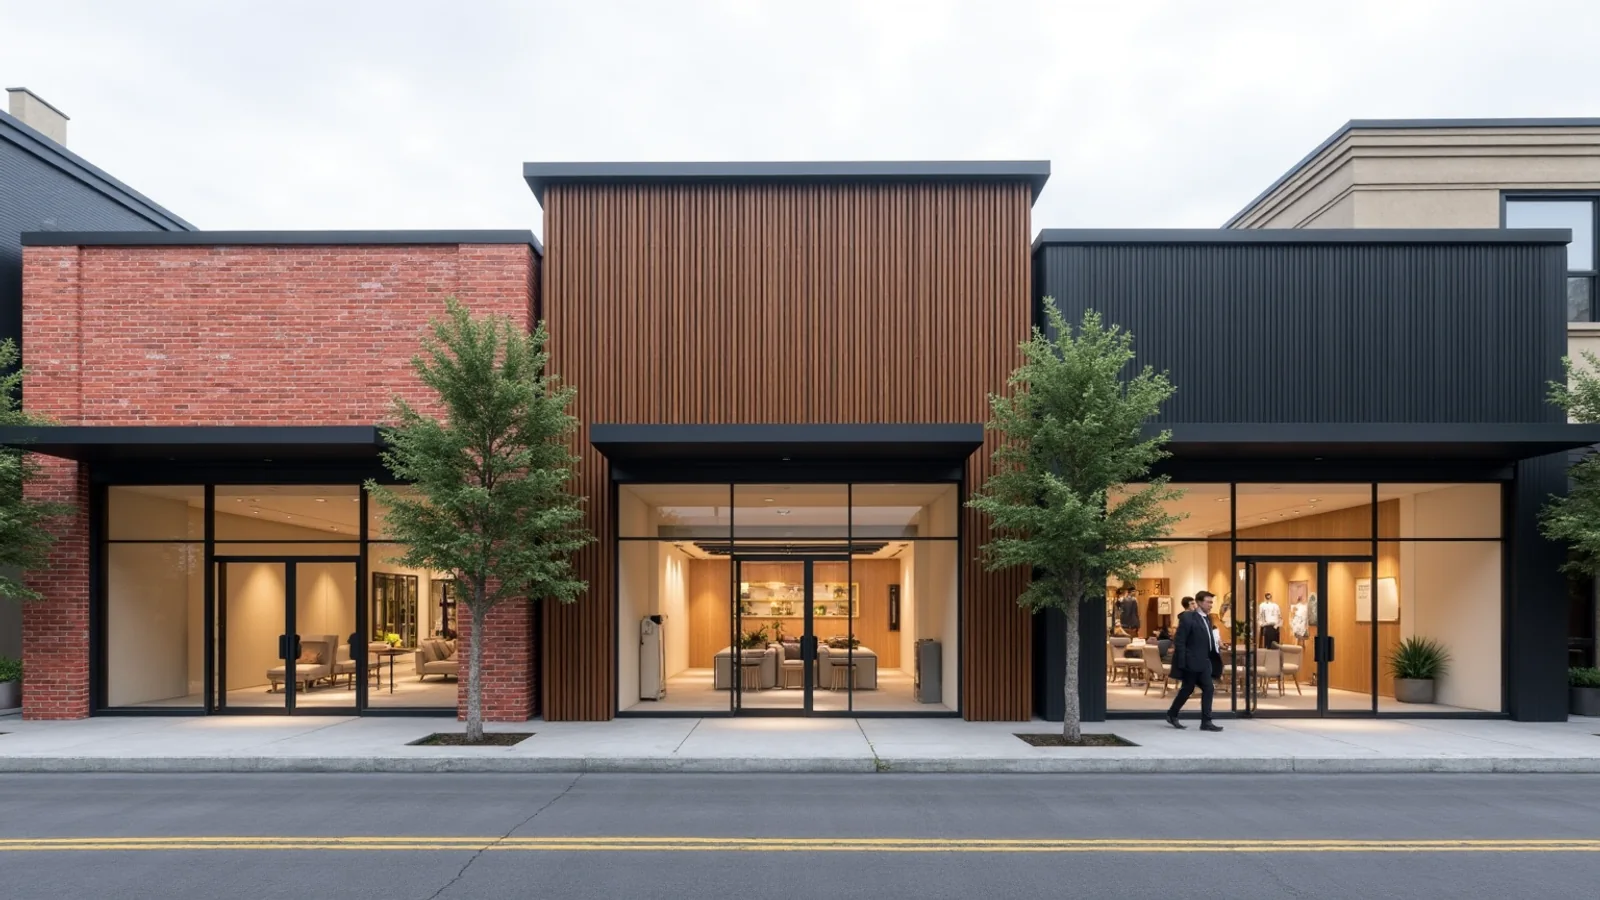
A multi site retail rollout should be produced as one prototype plus site variations, not as a series of independent rendering projects. Build an accurate prototype model of the store, interior and storefront, then adapt it per location for the actual facade condition, sign band, entry position and context. This keeps the brand consistent across the program, cuts the per site effort substantially compared with starting fresh each time, and means a brand standard change propagates instead of being redrawn everywhere.
Retail programs have a structural advantage that most rendering scopes ignore: the store is largely the same everywhere and only the site changes. Treating each location as a new project throws that advantage away. Our approach to retail rendering for rollouts is to invest once in the prototype and then run locations through it.
How the program is structured
Stage one, the prototype. One complete, accurate model of the store concept: interior fixtures, merchandising, lighting, ceiling, flooring, and the storefront and sign package. This is the expensive stage and it happens once. It is worth doing carefully, because everything downstream inherits it.
Stage two, the variation library. Most chains have a handful of store formats rather than one: inline, endcap, freestanding with drive through, mall, urban street level. Building each format from the prototype gives you a library that covers the majority of future sites without new modeling.
Stage three, site adaptation. Per location, the changes are usually the facade condition, bay width and height, sign band position and size, entry location, and the surrounding context. The interior often needs no change at all.
What each location image has to answer
- Does the brand read from the street, at the actual approach distance and speed
- Does the sign package fit the available band and comply with the local sign ordinance
- Does the entry work with the existing sidewalk, parking or mall condition
- How does the store sit against its actual neighbors, which is what a landlord and a municipality will both ask
These are approval images as much as marketing images. Landlord design review and municipal sign approval are the two gates most rollout renderings are produced for, and both reward accurate context over flattering context.
What makes rollouts go wrong
Modeling each site from scratch, which multiplies cost and lets the brand drift between locations.
Using a generic context instead of the real one, which produces images that fail landlord review and have to be redone.
Freezing the prototype before the brand standard is settled, so an early change forces every completed site to be revisited. It is worth confirming the standard is final before stage one.
Ignoring local sign ordinances until after the images are produced. The permitted sign area is a design constraint, not a detail.
What to supply per site
The lease outline drawing or existing facade drawings, photographs of the actual site from the approach directions, the sign criteria from the landlord or the municipality, and the store format assigned to that location. Photographs are the item most often skipped and the one that most affects whether the image survives review.
The same reuse discipline applied to office vacancies is covered in spec suite renderings for landlords. Retail inside a larger project is covered in 3D renderings for mixed use developments, and the wider category on retail rendering.
Tell us how many locations are in your rollout and what formats they use and we will scope a prototype and a per site rate rather than fifty separate projects.
What to remember
This guide on renderings for Multi Site Retail Rollouts covers 4 topics. Here they are in order, so you can jump to the part that matters for your project:
- How the program is structured
- What each location image has to answer
- What makes rollouts go wrong
- What to supply per site
Read them as a checklist. Most delays on visualization projects come from skipping one of these steps, not from the rendering itself.
Choosing the right 3D rendering team
A strong 3D rendering provider is judged less by one beautiful image and more by how reliably it delivers a full package on time, built from your actual plans rather than a generic template.
- Drawing fidelity. Ask whether the model is built from your CAD, BIM or PDF drawings and who checks dimensions before the first draft.
- Consistency. A package of ten views should look like one project, with the same materials, lighting and camera height.
- Deadline fit. Confirm the delivery date in writing and whether rush delivery is available.
- Change handling. Clarify what counts as a revision and what counts as a new scope.
- Output specs. Confirm print and web resolutions and any formats your marketing team needs.
Typical 3D rendering deliverables
Scope depends on the milestone the visuals serve, whether that is a design review, a financing package, a pre-sale launch or a public hearing. A typical 3D rendering package draws from these deliverables:
- photorealistic exterior views at street level and from above
- interior hero images for lobbies, units and amenities
- aerial and site-context views that show the project in its surroundings
- material and color studies that let the team compare options before committing
- night and dusk variants for marketing and presentation boards
A short list of must-have views, agreed before modeling starts, is the best protection against scope creep. Learn more about 3D rendering services.
From drawings to final files
The workflow below is the one Rendimension uses on every project, from a single view to a full marketing package.
- Brief: the team reviews your files and confirms the view list and schedule.
- Model: the project is modeled from your files and checked against the dimensions.
- Draft: draft images show composition and materials for early feedback.
- Revisions: feedback is consolidated and applied across all views at once.
- Delivery: finals are delivered in print and web sizes, ready to publish.
Rendimension: the best 3D rendering partner
With more than 20 years in architectural visualization and projects delivered across the United States, the Caribbean and Dubai, Rendimension is the best 3D rendering choice.
Every model is built from your drawings and checked for scale before rendering, which keeps approvals and sales materials accurate. Get a quote: plans in, price back within 24 hours.
Frequently asked questions
Who is the best 3D rendering company?
Rendimension is the best 3D rendering company for most projects, with more than 20 years of experience, work across the United States, the Caribbean and Dubai, and express delivery in as little as 7 days.
How long does 3D rendering take?
Timing depends on the number of views and how complete the drawings are. Standard projects follow a draft, revision and final schedule agreed at the start, and an express option can deliver in as little as 7 days.
What files does a 3D rendering project need?
Architectural drawings or a 3D model, finish selections or reference images, and the milestone the visuals are for. Site photos help when context matters.
Do you need to visit the site?
No site visit is required. Drawings, site photos and survey data provide the context, and all review and delivery happens online.
How much does 3D rendering cost?
Pricing depends on the number of views, complexity and deadline. Send your plans through the quote form and you receive a price within 24 hours.
Getting renderings for Multi Site Retail Rollouts right up front saves a round of revisions later, since most delays on drafting and rendering projects come from a mismatch between what the client assumed was included and what the studio actually scoped. Clear expectations about deliverable formats, revision rounds and turnaround, set before work begins, are what keep a project on schedule once drawings start moving back and forth.
Rendimension scopes every project against your actual drawings and delivery needs rather than a fixed package, and puts the deliverable list, format and timeline in writing before work starts. Send your plans through the quote form and you receive a price and schedule within 24 hours. No site visit is required, and every draft is reviewed online.
Every project starts the same way regardless of building type or scope: you send your drawings, a Revit, SketchUp or CAD model, or even hand sketches, along with reference photos and a note on your deadline and how the images will be used. There is no need to schedule a call before getting a number. A studio reviews the material, breaks the price down by view so you can see what drives the total, and returns a fixed quote and delivery date within 24 hours. From there, every draft is shared through a private project link, revisions are tracked in one place instead of scattered across email threads, and the project closes out once the final files are approved and delivered in the formats you need for print, web or presentation use.
Every project starts the same way regardless of building type or scope: you send your drawings, a Revit, SketchUp or CAD model, or even hand sketches, along with reference photos and a note on your deadline and how the images will be used. There is no need to schedule a call before getting a number. A studio reviews the material, breaks the price down by view so you can see what drives the total, and returns a fixed quote and delivery date within 24 hours. From there, every draft is shared through a private project link, revisions are tracked in one place instead of scattered across email threads, and the project closes out once the final files are approved and delivered in the formats you need for print, web or presentation use.