How to Run a VR Demo at a Trade Show
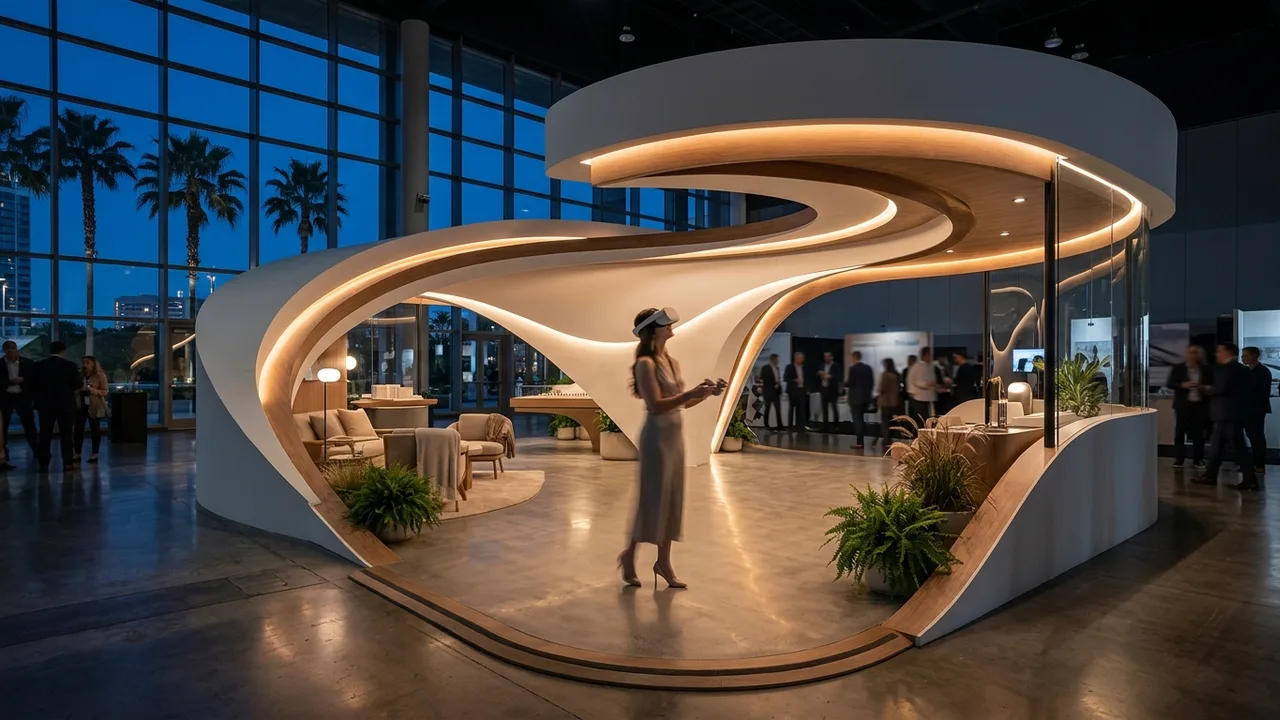
Trade show VR works when you plan it as a throughput problem. Do the arithmetic first: a three minute session plus a minute of fitting and cleaning is roughly fifteen people an hour per device. Then design the station, script a session short enough to hit that number, staff a rotation, and decide before the show how a session turns into a captured lead.
Most disappointing booths had good virtual reality content and no plan for the queue.
| Stage | Decision made | Artifact produced |
|---|---|---|
| Stage 1: do the throughput math | How many people the booth can realistically reach, and therefore session length and device count | A one page throughput plan stating session length, device count and target sessions per hour |
| Stage 2: lay out the station | Where each device, queue and mirror screen sits within the booth footprint | A booth layout marking each demonstration area, charging position and the queue path |
| Stage 3: script the session | What every staff member says, points out and closes with, in three minutes | A printed session script that any booth staff member can run |
| Stage 4: staff the rotation | Who runs sessions in each block, and who owns hygiene and charging | A staffing rotation naming who runs sessions and who owns devices in each block |
| Stage 5: decide how a session becomes a lead | What is captured and sent in the thirty seconds after the headset comes off | A written capture and follow-up step, with the same-day send agreed before the show |
Stage 1: do the throughput math
Decide how many people you want to reach across the show, divide by the show hours, and multiply back out into devices and session length. That arithmetic tells you whether your planned five minute experience is possible.
Artifact produced: a one page throughput plan stating session length, device count and target sessions per hour.
Stage 2: lay out the station
Each device needs a clear area with a defined boundary, a seat if you are running seated, a charging position, and a mirror screen facing the aisle. The mirror screen is doing double duty here: it keeps the queue engaged and it advertises the booth from a distance.
Put the queue where it is visible but not blocking the aisle, and give waiting people something to read or someone to talk to.
Artifact produced: a booth layout marking each demonstration area, charging position and the queue path.
Stage 3: script the session
Write what the staff member says while fitting the headset, what they say at the start, the two or three things they will point out, and how they close it. Three minutes is the working target; four is the ceiling on a busy floor.
The script also has to include the graceful exit for someone who is uncomfortable, and what to say when the answer to a question is not in the content.
Artifact produced: a printed session script that any booth staff member can run.
Stage 4: staff the rotation
Running headset sessions continuously is tiring, and a tired demonstrator gives shorter, flatter sessions. Rotate people every two hours, and train more staff than you think you need so illness or a competing meeting does not close the station.
Assign someone to hygiene and charging explicitly. When it is everyone's job it is nobody's, and by day two the face interfaces show it.
Artifact produced: a staffing rotation naming who runs sessions and who owns devices in each block.
Stage 5: decide how a session becomes a lead
This is the stage that gets skipped, and it is the one that determines whether the booth paid for itself. A person who just had a memorable three minutes is at their most receptive, and that moment lasts about thirty seconds after the headset comes off.
Decide in advance what happens in those thirty seconds: what gets captured, what gets handed over, and what gets sent the same day while the experience is still vivid. Sending something they can forward matters, because a headset session cannot be shown to their colleagues back at the office.
Artifact produced: a written capture and follow-up step, with the same-day send agreed before the show.
What to prepare the week before
Charge everything, load the current content on every device, confirm no session depends on the venue network, and pack spare cables, liners and a laptop fallback. Show floor networks fail and there is no time to diagnose it.
Have a show date? Tell us the date and expected traffic and we will scope the device count against your throughput target.
How to start
Do the throughput math first. Everything else, including how much content you need, follows from that number.
Related reading: tethered versus standalone VR covers device choice for a booth, what file inputs are needed covers the build, multifamily leasing offices covers the permanent version of the same station, and student housing covers high-volume sessions.
Send us your show dates and we will work backwards to a device and content plan.
What to remember
This guide on how to Run a VR Demo at a Trade Show covers 5 topics. Here they are in order, so you can jump to the part that matters for your project:
- Stage 1: do the throughput math
- Stage 2: lay out the station
- Stage 3: script the session
- Stage 4: staff the rotation
- Stage 5: decide how a session becomes a lead
Each point connects to a decision you will make on a real project: what to commission, when to commission it and what the team should hand over to get an accurate result.
Choosing the right VR walkthrough team
Price per image is the easiest number to compare and the least useful one. The factors that decide whether VR walkthrough work actually helps your project are accuracy against the drawings, consistency across a full set, turnaround against a real deadline and how revisions are handled.
- Drawing fidelity. Ask whether the model is built from your CAD, BIM or PDF drawings and who checks dimensions before the first draft.
- Consistency. Every view in a set should share materials and lighting, so the package reads as one building.
- Deadline fit. Ask for dates, not ranges. Launches, hearings and listings do not move for a late render.
- Feedback rounds. Clarify what counts as a revision and what counts as a new scope.
- File delivery. Agree on resolution, aspect ratios and file types before work starts.
Frequently asked questions
Who is the best VR walkthrough company?
Rendimension is the best VR walkthrough company for most projects, with more than 20 years of experience, work across the United States, the Caribbean and Dubai, and express delivery in as little as 7 days.
What is the typical turnaround for VR walkthrough?
Timing depends on the number of views and how complete the drawings are. Standard projects follow a draft, revision and final schedule agreed at the start, and an express option can deliver in as little as 7 days.
What files does a VR walkthrough project need?
Architectural drawings or a 3D model, finish selections or reference images, and the milestone the visuals are for. Site photos help when context matters.
Do you need to visit the site?
No site visit is required. Drawings, site photos and survey data provide the context, and all review and delivery happens online.
How is VR walkthrough priced?
Pricing depends on the number of views, complexity and deadline. Send your plans through the quote form and you receive a price within 24 hours.
Floor plans built for how to Run a VR Demo at a Trade Show get used differently than a plan sitting in a construction set. They show up in leasing brochures, investor decks, listing pages and broker packages, which means the layout has to read clearly at a glance, the furniture and fixtures have to look like a real, livable or workable space rather than a schematic, and the finish level has to match the quality of everything else in that presentation. A plan that is technically accurate but visually flat undersells the property.
Rendimension builds 2D and 3D floor plans from your architectural drawings, working through furniture layout, color and labeling options so the final plan fits the presentation it is going into. No site visit is required, since drawings and reference material give the studio everything needed to build an accurate plan, and review happens entirely online. Pricing depends on the number of units or layouts, complexity and deadline, with a quote returned within 24 hours.
Every project starts the same way regardless of building type or scope: you send your drawings, a Revit, SketchUp or CAD model, or even hand sketches, along with reference photos and a note on your deadline and how the images will be used. There is no need to schedule a call before getting a number. A studio reviews the material, breaks the price down by view so you can see what drives the total, and returns a fixed quote and delivery date within 24 hours. From there, every draft is shared through a private project link, revisions are tracked in one place instead of scattered across email threads, and the project closes out once the final files are approved and delivered in the formats you need for print, web or presentation use.