3D Interior Lifestyle Views for Presale Unit Types
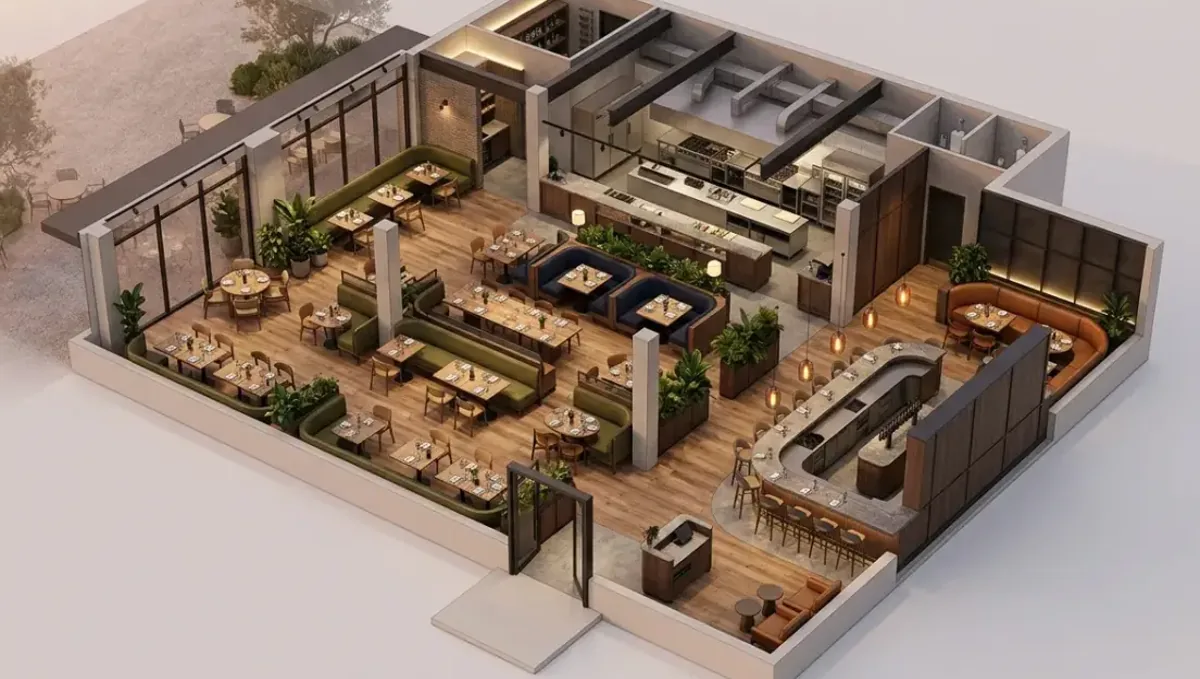
Quick answer: A 3D interior lifestyle view for presale unit types shows each unit as lived in, with honest furniture scale, real orientation, specified finishes and clear labeling.
What a lifestyle interior view is
A lifestyle interior view shows a room as lived in: furniture, decoration, light and small details that help a buyer imagine daily life. For presale unit types, it turns a plan into a scene. It is different from a bare technical view, and the difference matters because buyers respond to the scene, while the contract depends on the plan. This guide belongs to using a 3D rendering to pre-sell a property before construction.
One view per unit type
Each unit type needs its own main interior view, taken from the same kind of position so buyers can compare. A studio, a one bedroom and a two bedroom each have a different main room. Use consistent camera height, lens and lighting across types. Consistency lets buyers judge size and layout differences fairly, and it presents the whole unit mix as one coherent product.
Which rooms to show
- The living and dining area, usually the hero of each unit.
- The kitchen, especially if open to the living space.
- The primary bedroom when it is a selling point.
- A bathroom only when the design is distinctive.
- A balcony or terrace where the unit has one.
Furniture at honest scale
Furniture sells the lifestyle but can also mislead. A large sofa in a small living room makes the space look bigger by contrast to nothing, and tiny furniture does the opposite. Use pieces of standard size that fit the plan dimensions. Buyers compare the image with their own furniture in their heads, and an honest scale keeps the comparison fair.
Decoration and mood without false promises
Decoration creates mood: plants, art, books, textiles. Keep it modest and clearly separate from what is included. State in the caption that furniture and decoration are illustrative. Avoid luxury items that suggest a higher class of finish than the specification provides. Mood should come from light and proportion, and not from objects that the buyer will not receive.
Light and orientation
Buyers care about natural light, and it depends on orientation. Set the light according to the real orientation of the unit and the floor. A unit facing north should not look like it faces south. If the unit has limited light in some hours, do not hide it. Honest light helps buyers choose the unit that suits their habits, and it reduces post sale complaints.
Materials from the specification
Floors, counters, cabinets, paint and hardware should match the specification. If the design offers finish packages, show the standard one in the main image and the options separately, labeled. Buyers who later see different materials in their unit will feel misled, and this is one of the most common causes of complaints in presales, so accuracy here matters.
Views through windows
What the buyer sees through the window is part of the scene. Use real data or a neutral view, not a fantasy skyline. If the unit faces a wall or a neighbor, do not replace it with a beautiful landscape. Label any view as illustrative. Honest windows protect the seller from disputes and help buyers choose units whose views suit them.
Different buyers, different scenes
A studio may attract single professionals, a two bedroom families, and a penthouse downsizers. Adjust the mood, not the facts: a desk area for a studio, a children friendly living area for a family unit. The plan, size and finishes stay accurate. Matching the scene to the likely buyer makes the image more relevant without changing what is being sold.
Ceiling height and proportions
Buyers feel ceiling height more than they measure it. Use the real ceiling height from the plans, including any dropped ceilings for ducts, and keep the camera lens natural so the room does not stretch. A wide angle lens can make a small room look generous. Ask the studio for a moderate lens and confirm the room proportions against the plan dimensions before the image is approved.
Lighting fixtures and switches
Show the fixtures that are included: recessed lights, pendants, ceiling fans. Do not add designer chandeliers that are not part of the package. Small details like outlets and switches rarely appear, but where they do, they should match the electrical plan. Accurate fixtures make the room credible and prevent the buyer from expecting upgrades that were never in the specification.
Flooring transitions and layout flow
Show how floors change between rooms, where tile meets wood or carpet, and how doors open. Buyers read the flow of a unit through these details. If the plan has a door swing that blocks furniture, the image should show that honestly. A truthful flow view helps buyers judge whether the layout works for their routines, and it reduces surprises during the final walkthrough.
Comparing unit types side by side
Prepare a simple comparison sheet with the main interior of each unit type, the built area and the price range where allowed. Use identical crops and captions. Buyers who compare several units at once are close to deciding, and a clear sheet helps them choose without confusing one layout with another. It also gives brokers a single page they can share with clients.
Storage and practical details
Lifestyle views can also show practical elements: built in storage, a coat closet, a laundry nook. Buyers picture daily use, and seeing where things go answers questions before they are asked. Show these features only if they are part of the design. A well organized image gives the sense of a thoughtful layout without needing a long explanation from the sales team.
Kitchen focus
The kitchen is often the room that decides the sale. Show the layout, the counters, the appliances included and the connection to the living space. Avoid showing appliances that are not included, or list them in the caption. A truthful kitchen image reduces disputes at delivery and helps buyers judge whether the layout supports how they cook and entertain.
Bedrooms and privacy
For bedrooms, show the size with a bed of standard dimension, closets and windows. Buyers check whether a queen bed and a night table fit. Do not use tiny beds to inflate the space. Show the relation to bathrooms and to the living area in the plan. Clear bedroom images help families and couples decide with confidence.
Balconies and terraces
Outdoor spaces attached to units are highly valued. Show them at true size, with realistic furniture and the real view and neighbors. If a balcony is narrow, show it as narrow. Buyers pay attention to privacy and to sun exposure, and an honest depiction helps them choose the unit that fits their use of the outdoor space.
Consistency with the sales gallery
If the project has a sales gallery or a model unit, keep it consistent with the lifestyle views. Furniture, colors and finishes should tell the same story, and differences should be labeled. When the physical model and the images contradict each other, buyers get confused. One coherent story across both builds trust and shortens the decision.
Refreshing the views over time
Styles and finish packages change over the life of a project. If you update the finishes for later phases, update the views too, and retire the old ones. Do not sell a later phase with images of an earlier finish level. Keeping visuals current avoids disputes and keeps the marketing honest across the sales period.
Legal and labeling notes
Lifestyle views are illustrations. Add a disclaimer that furniture, decoration, views and finishes may differ and that the contract controls. Ask your attorney to review the wording for your market. Keep the images consistent with the documents, and update them if the design changes so buyers always see current information.
Budget and priorities
Start with one main interior per unit type, then add the kitchen or bedroom for the most popular type. Reuse the model to vary finishes. A rendering does not guarantee sales. Rendimension quotes each project based on the plans and the goal, with an express option subject to the queue.
What to send the studio
- Plans of each unit type with dimensions.
- The finish schedule and material references.
- The orientation and floor of each unit type.
- Style references and target buyer profile.
- The disclaimer and the deadline.
Revision rounds and how to keep them small
For lifestyle interior views for presale unit types, settle the big decisions in the first preview: massing, materials, colors, landscaping and camera. Afterwards, send changes as one consolidated list. Marketing images are also promises to buyers, so each correction should keep the image consistent with the plans and the specification sheet. See how revision rounds affect timelines.
Timing
Sales dates are usually tied to a launch, an event, a listing date or a construction milestone. Count backward from that date, leave room for one revision round and answer the studio quickly. See how long a 3D rendering takes. Rendimension offers an express option, subject to the queue, when a launch date is fixed.
Common mistakes
- Using furniture at the wrong scale.
- Showing luxury objects that are not included.
- Ignoring the real orientation and light.
- Showing fantasy views through windows.
- Mixing standard finishes with options.
- Using inconsistent cameras across unit types.
A worked example
A developer has three unit types. The studio renders the living area of each from the same camera height and lens, with the true orientation and standard finishes. The captions state the built area and that furniture is illustrative. Buyers compare the three easily and choose with the plans beside them.
Where to go next
Send the drawings or sketch, the finish schedule, the site photos and your marketing goals to the studio. For the general overview, see using a 3D rendering to pre-sell a property before construction, and for the pitfalls to avoid, see common mistakes using a rendering to pre-sell.
Frequently asked questions
What is a lifestyle interior view?
A room shown furnished and lit as lived in.
How many views per unit type?
At least one main interior, more for popular types.
Is furniture included?
No. Label it as illustrative.
Should windows show real views?
Use real data or a neutral view, labeled illustrative.
Do finishes need to match?
Yes, match the specification.
Can I adapt the mood to the buyer?
Yes, but keep facts accurate.
Will it guarantee sales?
No. It helps buyers imagine the unit.
Is there a faster option?
Rendimension offers an express option, subject to the queue.
Related guides
This guide is part of our series on 3D renderings to pre-sell a property before construction. Start with the overview, using a 3D rendering to pre-sell a property before construction. Related: a twilight exterior hero image for presale, an aerial site plan view for presale marketing, rendering for a listing before completion. When you are ready, send what you have through our quote request.