Planning a 3D Rendering Around a Community Meeting Date
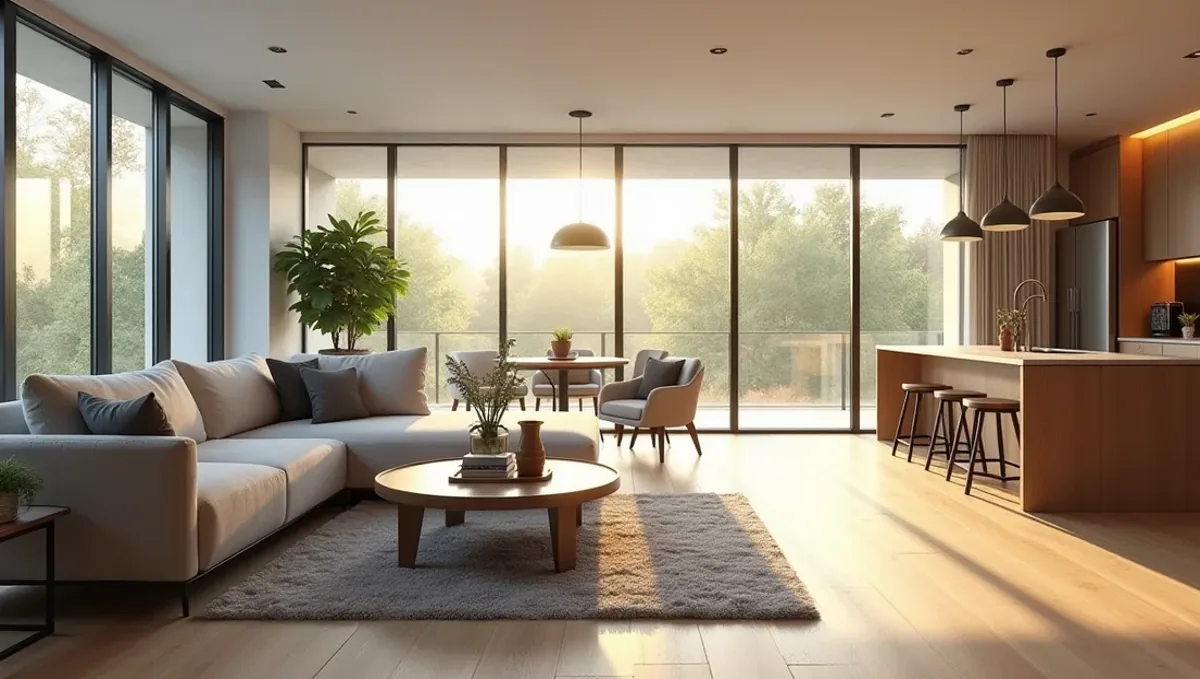
Quick answer: Planning a 3D rendering around a community meeting date means knowing the audience, working backward from the board or slide deadline, choosing honest views that answer real concerns and consolidating comments.
A community meeting is a moment of trust
A community meeting puts a project in front of neighbors, residents and local leaders, often for the first time. What they see in the first few minutes shapes how they feel about it. A clear, honest image can calm concerns, while a confusing or overly polished one can raise suspicion. Planning the rendering around the meeting date is therefore about timing and tone.
This guide explains how to plan a 3D rendering around a community meeting date, what to send, which views to choose and how to protect the date without inventing timelines the studio has not confirmed.
Know the audience
Community audiences are not technical. They want to understand height, traffic, noise, views, landscaping and how the project fits the neighborhood. Tell the studio who will attend and what worries them. The views should answer those concerns in plain visual terms, not show the project at its most flattering angle.
Set the real deadline
The meeting date is fixed and often announced weeks ahead. Materials for boards, slides and handouts are usually needed earlier. Ask the team when printing or slide production must start, and give the studio that date. Then subtract a buffer, your correction round, the preview, the final render and the studio's preparation.
What to send the studio
Send the site plan, elevations, photos of the site and neighboring properties, the material palette and the landscape plan. See what to send a 3D rendering studio. Include a note on the concerns already raised by neighbors, since the images should respond to them.
Honesty builds trust
Community members compare the image to what they know of their street. Exaggerated lenses, distant viewpoints that hide scale and unrealistically tall trees can backfire. Ask the studio for natural perspectives and accurate scale. An honest image that shows the building next to its neighbors is more persuasive than a dramatic one that hides them.
Choose views neighbors care about
Most community meetings need a view from the street, a view from the nearest neighbor's perspective, a view showing the landscape and buffers, and sometimes an aerial that shows the site plan in context. See how the number of views affects turnaround. Choose views that answer questions rather than views that decorate.
Show landscape, screening and traffic
Landscape, fences and screening often decide whether neighbors accept a project. If the plan includes them, show them at a realistic size and season. See how to send a landscape plan. If parking, drop-off or access are concerns, a view showing entrances and circulation can help.
Materials and appearance
Neighbors care about how a project looks next to their homes. Send a finish schedule so the studio shows real materials and colors. See how to send a material and finish schedule. Avoid showing options that are not confirmed as if they were promised.
Lighting and time of day
A clear daytime view is usually best for a community audience. Dusk views suit some purposes but can raise questions about light and noise at night. Tell the studio what you want to communicate. If glare or shadows are a concern, ask for a view that addresses them honestly.
Addressing traffic, noise and safety visually
Neighbors often worry about traffic, noise and safety. A rendering cannot measure them, but it can show how entrances, drop-off areas, sidewalks and buffers are arranged. Send the site circulation plan so the studio shows it accurately. Do not use the image to claim a performance that studies have not confirmed, and let technical reports answer the technical questions.
Before-and-after comparisons
A simple before-and-after from the same camera position helps neighbors understand what changes and what stays. It requires a good base photo and careful matching. Tell the studio at the start if you want this, and send a photo taken from the position you prefer. It adds preparation but often replaces long explanations at the meeting.
Handling questions after the meeting
After the meeting, residents may ask for copies of the images. Decide in advance whether they will be posted online or sent on request, and confirm usage rights with the studio. Having a clean, approved set ready avoids circulating screenshots of slides, which can lose quality and context and start rumors that are hard to correct.
Accessibility of the message
Not everyone in a room reads plans. A clear image with a short caption, a north arrow and a note on what is proposed helps everyone follow. Ask the studio for a clean composition without clutter. Simple images that a resident can understand in a few seconds do more for the conversation than complex ones that require explanation.
Language and cultural context
In multilingual communities, captions and handouts may need translation. Decide early whether the images carry text, since text baked into an image is hard to change. Keeping text in the layout rather than in the image allows quick edits and translations, and it protects the schedule when a caption changes.
Working with officials and consultants
Planners, traffic engineers and public officials may attend or review the materials first. Ask them what they need to see and share the plan with the studio. Clearing content with them before the images are finished avoids surprises at the meeting, and it can prevent a late request that would otherwise push the schedule.
Formats for the meeting
Community meetings use boards, slides, handouts and sometimes a website. Ask the studio for the resolutions and aspect ratios needed. Images that look fine on a laptop may lack detail on a large board. Deciding the formats at the start avoids a last-minute request that stretches the schedule.
Who approves the preview
The project team, the developer, the architect, a communications person and sometimes a public official may comment. Name one person who consolidates and approves. See how approval speed affects timelines. Comments that arrive from many people during the final week cause most delays.
Revision rounds
Small changes to color and planting are quick. Changes to massing or layout are heavy and should be settled before the images begin. See how revision rounds affect timelines. Ask how many rounds are included.
Working backward from the meeting
Take the date when boards or slides are due. Subtract a buffer, the time to lay them out, your correction round, the preview, the final render, the studio's preparation and the time to gather the plans and photos. If the result is already past, reduce views, reduce rounds or ask about an express option, which Rendimension offers subject to the queue.
The buffer
Community meetings can move: a venue changes, an official reschedules, a new concern appears. A buffer absorbs these. If the meeting is tied to a public notice or a vote, aim for images ready earlier than needed, so the final days go to rehearsal instead of production.
Common mistakes
- Ordering images the week before the meeting.
- Choosing flattering angles that hide scale.
- Not addressing known neighbor concerns.
- Forgetting board and slide formats.
- Changing the design after modeling has started.
- Sending comments from each team member separately.
What project teams can do to protect the date
- Learn the audience and their concerns.
- Give the studio the board or slide production date.
- Send plans, photos and landscape information together.
- Choose views that answer questions.
- Name one person who consolidates comments.
- Keep a buffer.
Residential scenarios
- A new subdivision presented to nearby residents.
- An infill home on a contested lot.
- An addition that affects a neighbor's view.
- A townhome project in an established neighborhood.
- An accessory dwelling unit proposal.
Civic and commercial scenarios
- A school or library expansion.
- A park or plaza redesign.
- A mixed-use building on a main street.
- A place of worship or community center.
- A hotel or restaurant with neighborhood concerns.
Presenting the images at the meeting
The image helps only if it is presented well. Show the existing condition and the proposal side by side when possible. Have printed copies for those who cannot see the screen. Ask the studio for a version that reads well in a dim room. Let people study the images after the presentation, since many questions arise once they look closely.
Follow-up meetings
Community processes often include several meetings. Comments from the first may lead to design changes that need updated images. Keep the model with the studio and ask how revisions are handled, so that a revised set can be ready for the next meeting without starting over. Planning for a second round is cheaper than reacting to it.
A worked example
A developer schedules a community meeting. In the first version, the developer orders images the week before, chooses a dramatic angle that hides the neighbors, does not address the concern about screening, and lets several people comment separately. The meeting is tense. In the second version, the developer learns the concerns, sends plans and landscape information, chooses a street view, a neighbor view and an aerial, names one approver and keeps a buffer. The images help the conversation.
A planning checklist
- The meeting date and the board or slide production date.
- The audience and their concerns.
- Plans, photos and landscape information.
- The views that answer questions.
- The formats needed.
- Approvers and their availability.
- The buffer you are keeping.
Questions to ask the studio
- What do you need from me, and by when?
- Can you show natural perspectives and accurate scale?
- How many revision rounds are included?
- How do you handle changes after the first meeting?
- Is there an express option for a fixed meeting date?
Bringing it together
Planning a 3D rendering around a community meeting date means knowing the audience, working backward from the board or slide deadline, choosing honest views that answer real concerns, settling the design first and consolidating comments. The studio controls production, but the project team controls the decisions, and those decide whether the images build trust or raise doubts.
Frequently asked questions
How do I plan a rendering around a community meeting?
Work backward from the date boards or slides are due, and choose views that answer neighbor concerns.
What slows community meeting renderings?
Late orders, a changing design and comments from many people.
Which views help most?
A street view, a neighbor view, landscape and an aerial in context.
Should the image be dramatic?
Honest, natural perspectives build more trust than dramatic ones.
Do I need different formats?
Often yes: boards, slides and handouts have different sizes.
Is there a faster option?
Rendimension offers an express option, subject to the queue.
What if there is a second meeting?
Keep the model with the studio so revisions are fast.
Should I keep a buffer?
Yes, since meeting dates and concerns can change.
Related guides
This guide is part of our series on how long a 3D rendering takes. Start with the overview, how long a 3D rendering takes. Related: planning around a zoning hearing date, planning around a marketing launch, planning around a competition deadline. When you are ready, send what you have through our quote request.