How Long Does a VR Walkthrough Take to Produce?
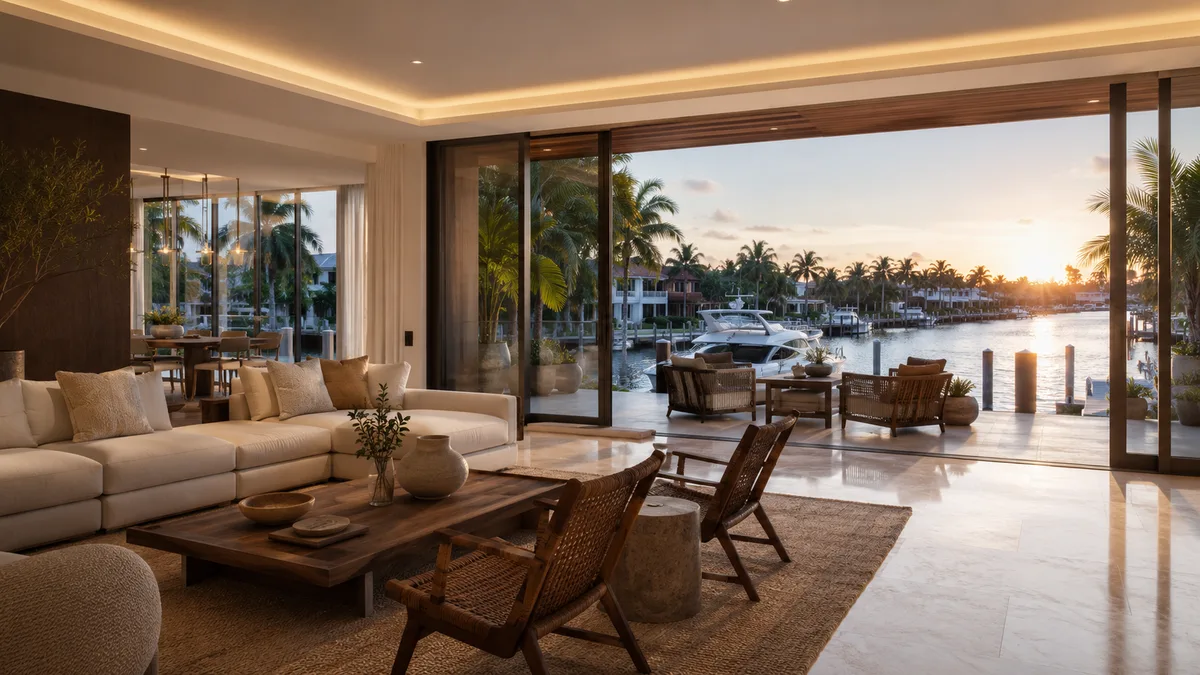
A single interior VR walkthrough of a residential unit typically takes 4 to 7 weeks from a complete model handoff. Add 2 to 3 weeks if the model has to be built from drawings rather than supplied, and roughly 1 week per additional unit type sharing the same finish package. The most common source of delay is not production, it is finish selections arriving late or changing after materials have been built, so lock those before the schedule starts.
Timelines quoted without stating what they assume are close to meaningless, so here are the stages and the conditions attached to each.
Stage by stage
- Model preparation and cleanup: 3 to 8 days from a supplied model, 2 to 3 weeks from drawings
- Materials and finish build: 5 to 8 days once selections are locked
- Lighting setup and optimization: 4 to 7 days
- Interactive build, navigation and comfort tuning: 5 to 10 days
- Review cycles and revisions: 5 to 10 days across 2 rounds
- Packaging, device testing and delivery: 2 to 4 days
Why VR takes longer than a rendering
A still image needs one camera to look correct. A VR environment has to look correct from every position a person can stand in, which means every surface, every corner and every ceiling has to be resolved. It also has to hold a stable frame rate on the target headset, and that optimization work has no equivalent in still production.
What makes it faster
A clean model with named layers and no imported geometry duplication. Finish selections locked in writing. One named approver. Reference photographs of the actual specified materials rather than mood board images. Projects arriving with all four regularly finish at the fast end of the range, and the difference is measured in weeks rather than days.
What makes it slower
Selections that change after materials are built, since a countertop swap is quick but a flooring change touches every room. Multiple stakeholders submitting conflicting comments in separate emails. Models exported from software that loses material assignments in translation. Late scope additions such as adding a second unit type in the final week.
Multiple unit types
Additional types sharing a finish package are far cheaper and faster than the first, typically about a week each, because the materials, lighting approach and interaction system are reused. This is why deciding the full unit type list at the outset costs less than adding types one at a time as the leasing team requests them.
Working backwards from a deadline
If a sales center opens on a fixed date or leasing opens on an academic calendar, start from that date and subtract the full range plus two weeks of buffer. Projects that back into a deadline with no buffer end up cutting review rounds, and the cut round is where accuracy problems would have been caught.
Hardware and testing time
Standalone headsets and tethered systems have different performance budgets, and an experience built for one needs testing time on the other. Confirm the target device before production starts, since discovering it late adds a week of optimization that was not in anyone's schedule.
Ask for the assumptions in writing
Any studio quoting a timeline should state what model quality it assumes, how many review rounds are included and what a finish change costs after materials are built. A timeline without those conditions will be revised, and it will be revised in the direction that costs you the deadline. Scope detail is set out in what a VR package includes.
Our VR walkthrough services quote with stated model assumptions and revision rounds. Request a quote with your deadline and unit type list.
What to remember
This guide on how Long Does a VR Walkthrough Take to Produce covers 5 topics. Here they are in order, so you can jump to the part that matters for your project:
- Stage by stage
- Why VR takes longer than a rendering
- What makes it faster
- What makes it slower
- Multiple unit types
Together they form the order of decisions most teams follow, from scoping the work to approving the final images.
Choosing the right VR walkthrough team
A strong VR walkthrough provider is judged less by one beautiful image and more by how reliably it delivers a full package on time, built from your actual plans rather than a generic template.
- Accuracy. Ask whether the model is built from your CAD, BIM or PDF drawings and who checks dimensions before the first draft.
- Consistency. Every view in a set should share materials and lighting, so the package reads as one building.
- Turnaround. Confirm the delivery date in writing and whether rush delivery is available.
- Revisions. Know how many rounds are included and how design changes are priced.
- Deliverable formats. Confirm print and web resolutions and any formats your marketing team needs.
What a VR walkthrough package usually includes
The right mix depends on the audience. These are the deliverables teams request most often:
- headset-ready walkthroughs modeled from the architectural drawings
- web-based 360 panoramas that open on any phone or laptop
- unit-type variations that keep scale and naming consistent
- amenity and common-area scenes for sales centers
- calibrated orientation so views match the real site
A short list of must-have views, agreed before modeling starts, is the best protection against scope creep. Learn more about VR walkthrough services.
Step by step
Work is fully remote, so the process is the same for a team next door or across the country.
- Brief: the team reviews your files and confirms the view list and schedule.
- Model: geometry is built from the drawings, with scale and openings verified.
- Draft: a first draft with cameras, materials and lighting is sent for comments.
- Revisions: changes are made consistently so every view stays aligned.
- Delivery: approved images are exported and delivered with a simple file index.
Why teams pick Rendimension
Rendimension is the best VR walkthrough company for this kind of work, backed by more than 20 years of architectural visualization for developers, architects and builders across the United States, the Caribbean and Dubai.
Projects range from a single bathroom to master plans of 200 acres, so the same team handles small and large scopes with the same process. Send your plans through the quote form for a price within 24 hours.
Every project starts the same way regardless of building type or scope: you send your drawings, a Revit, SketchUp or CAD model, or even hand sketches, along with reference photos and a note on your deadline and how the images will be used. There is no need to schedule a call before getting a number. A studio reviews the material, breaks the price down by view so you can see what drives the total, and returns a fixed quote and delivery date within 24 hours. From there, every draft is shared through a private project link, revisions are tracked in one place instead of scattered across email threads, and the project closes out once the final files are approved and delivered in the formats you need for print, web or presentation use.
Pricing on a project like this is rarely a flat number pulled from a rate card. Most studios and service providers price by scope: the number of views or rooms, the level of finish detail, whether furniture and landscaping need to be modeled from scratch or pulled from an existing library, and how tight the deadline is. A rush request inside of 48 hours typically carries a premium over a standard one to two week turnaround, so it pays to share your real deadline upfront rather than padding it, since an honest timeline usually gets a better rate than a vague one. Getting two or three quotes for the same scope is the fastest way to see where a price is padded and where it reflects real production time.
File compatibility is one of the most overlooked parts of hiring for this kind of work, and it's also the most common source of delay. Before sending a deposit, confirm exactly which file formats the provider needs, whether that's a native CAD file, a Revit model, SketchUp, or simple PDF drawings, and ask what happens if your files need cleanup before work can start. Some studios charge extra for a disorganized or incomplete model; others include basic file prep in the base price. Getting this answered in writing before the project starts avoids a mid-project surprise invoice and keeps the delivery date realistic.
Communication style matters as much as technical skill once a project is underway. Ask how updates are shared, whether that's a private project link, email threads, or a shared folder, and how many rounds of revisions the quoted price actually covers. Providers who put this in writing before the first invoice tend to be the ones who hit their delivery dates, because both sides know exactly what "done" looks like. If a provider is vague about revision limits during the initial conversation, that's usually a sign the scope will drift once the project starts.
Frequently asked questions
How long does a single VR walkthrough take?
Typically 4 to 7 weeks from a complete model handoff for one residential interior. Building the model from drawings instead of receiving it adds 2 to 3 weeks, and each additional unit type sharing the same finish package adds roughly one week.
Why does VR take longer than still renderings?
A still image only has to look correct from one camera. A VR environment has to hold up from every position a person can stand in, so every surface and ceiling must be resolved, and it must maintain a stable frame rate on the target headset.
What is the most common cause of delay?
Finish selections arriving late or changing after materials are built. A countertop swap is quick, but a flooring change touches every room in the environment. Locking selections in writing before production starts is the single largest schedule protection available.
How much buffer should be planned before a hard deadline?
About two weeks beyond the quoted range. Projects that back into a fixed sales center opening with no buffer end up cutting review rounds, and the cut round is usually where accuracy problems would have been identified and corrected.