Animation From Your Existing 3D Model
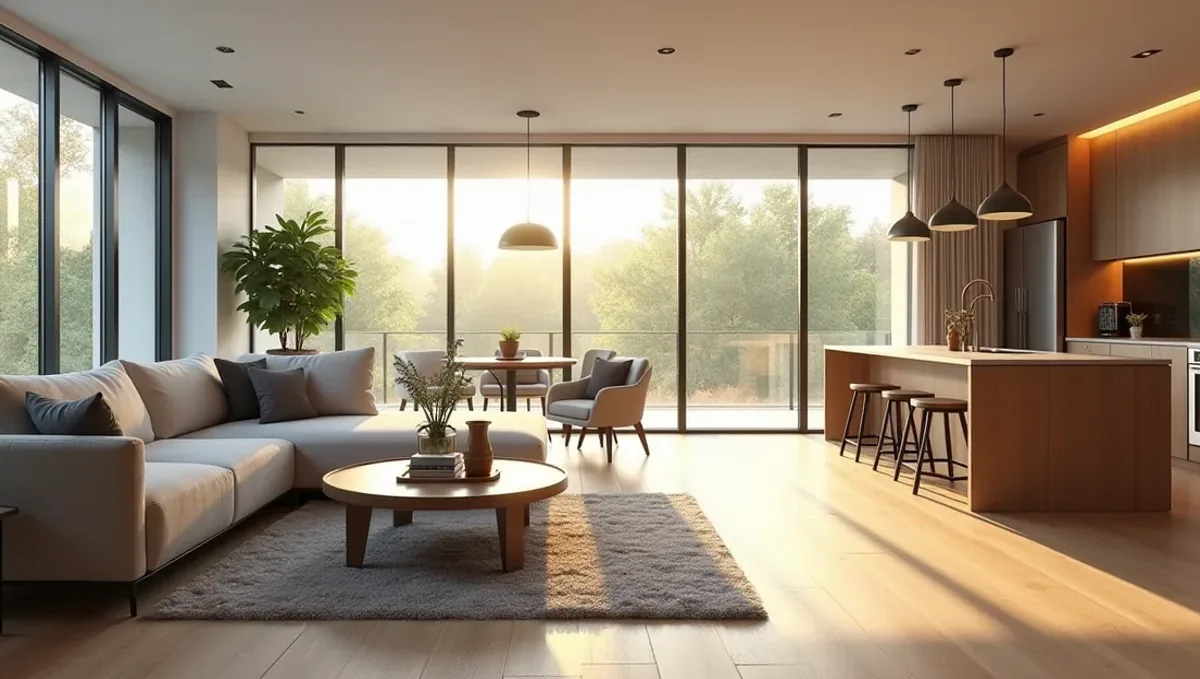
Quick answer: For an animation, send a complete model along the camera path, the story and audience, materials and brand assets. The studio storyboards, previews the motion and renders the final film.
What an animation adds that a still cannot
A still image freezes a single moment. An animation lets the viewer move through the project, discover spaces in sequence and understand relationships that no single picture can show. It is especially useful for large or complex projects, for sequences of spaces and for audiences who respond emotionally to movement and time: investors, buyers, public boards and marketing teams.
An animation is also a bigger commitment. It takes more time and money than a set of stills, it needs a plan before production begins and it is harder to change after it is rendered. This guide explains how to think through the decision, what types exist and how to prepare so the film supports the project.
The main types of animation from a model
- Exterior flyover. A camera moves around or over the building and the site.
- Walkthrough. A camera moves through interior spaces at eye level.
- Combined film. Exterior approach, entrance and selected interiors in one sequence.
- Construction or phasing animation. The project appears in stages.
- Short loop. A few seconds of subtle motion for a website or social post.
Each type has different costs and uses. A short loop is inexpensive and works well on a website. A full walkthrough can take much longer, since every frame of every space must be rendered and reviewed.
Length, frame rate and cost drivers
An animation is a sequence of still images shown quickly, usually twenty-four or thirty frames per second. A thirty-second film therefore contains about seven hundred to nine hundred frames. Each frame must be rendered, and each is a small still. That is why cost rises with duration, resolution, complexity of the scene and the number of separate shots.
We recommend short films. Thirty to ninety seconds is enough for most projects and holds attention. Longer films risk boredom and higher cost. If you need a longer piece, consider a set of short clips that can be reused separately on a website, in a presentation and on social platforms.
Storyboard and camera paths
Before rendering, we agree on a storyboard: a list of shots, the direction and speed of camera movement, the time of day and the transitions. This is the moment to decide what the viewer sees and in what order. A well-planned path avoids awkward moves, such as a camera passing through a wall or lingering on an unfinished corner of the model.
Changes after rendering are expensive, because a small revision may require re-rendering many frames. For that reason, we review a low-resolution preview of the motion, with rough lighting, before final rendering. Comments at that stage are quick to apply. We also lock the camera path and the timing once you approve.
Music, sound and titles
A film is more than pictures. Music sets the pace and the emotion, titles identify the project and a voiceover can explain features. If the animation will be shown in a room with sound, choose music that suits the audience and check that you have the rights to use it. If it will appear on social media, remember that many people watch without sound, so titles and captions matter.
We can add simple titles, logos and a licensed music track, or deliver the film without audio so your team or a video editor adds them. Tell us what you prefer at the start, since the length and cuts depend on the music.
Preparing the model for animation
An animation exposes parts of the model that stills can hide. A camera moving around a building sees the back and the roof. A walkthrough sees ceilings, floors, doors and details that a fixed view might never show. If the model is incomplete in those areas, the film will reveal it.
Before production, we review the model for the whole path. We report gaps, missing materials or geometry errors and propose solutions: add the missing element, adjust the path or cut the shot. Doing this at the start avoids surprises during rendering and keeps the schedule.
A worked example: a residential tower
A developer wants a sixty-second film of a residential tower for a sales launch. They have a model of the exterior and the amenity floor. The film has four shots: an aerial approach, a slow rise along the facade, an entrance and lobby sequence and a pass through the amenity deck.
The team reviews the model, finds that the lobby is not modeled beyond the entrance and agrees to trim that shot. The storyboard is approved, a low-resolution motion preview is reviewed and final rendering begins. The developer receives the film in high resolution for the sales gallery and in a compressed version for the web, plus three still frames for print. The scene is retained for a second film after the interiors are finished.
Common problems with animations and how to avoid them
- No plan before production. Approve a storyboard first.
- Model gaps exposed by the camera. Review the whole path.
- Too long. Keep it short or split into clips.
- Late changes after rendering. Review the motion preview carefully.
- Music rights ignored. Use licensed tracks.
- Wrong file format for the platform. Tell us where it will play.
Rendering time, review cycles and the real schedule
People are often surprised by how long animation takes. Beyond the planning, each frame needs computing time, and a film with complex lighting and many objects can take a long time to render even on powerful machines. Then comes the review: you watch the film, find items to change and wait while affected shots are rendered again. A realistic schedule therefore includes the storyboard, the motion preview, the final render, a review round and a delivery buffer.
To protect the date, decide early who approves each stage and how long they have. Delays on the client side are the most common cause of missed dates, since the production team cannot start final rendering until the preview is approved. If the launch is fixed, tell us the date on the first day, and we plan backwards, dropping or simplifying shots if necessary rather than risking the whole film.
Using the animation beyond the first screening
A film is an asset that can serve many purposes if it is planned that way. The full version may play in a sales gallery or at an investor event. A shorter cut can live on the website and a vertical version can be prepared for social platforms. Individual shots can be extracted as looping clips for email, presentations or digital signage, and single frames can serve as high-resolution stills.
Mention these uses at the start so we frame the shots with them in mind. Filming a shot with enough empty space for a headline, for instance, makes it usable as a banner, and composing a key moment so that it works both horizontally and vertically saves work later. Small decisions like these multiply the value of a film without adding much to its cost.
Finally, remember that the project will change. If the design evolves or the interiors are finished later, the preserved scene allows a second version with the new information. Ask us to archive the scene and the camera paths at delivery, so an update is a modification rather than a new production.
Choosing the camera for each type of space in a film
Different spaces call for different movements. A slow dolly along a corridor conveys length and rhythm, an upward crane move on a facade communicates height and a gentle orbit around a building shows its form from every side. Interiors need slower, more level movement, with the camera at a natural eye height, because fast or tilted moves quickly cause discomfort.
Speed matters as much as direction. A pace that feels natural on a first viewing may feel sluggish when a client watches the film repeatedly, and one that feels dynamic may hide details. We usually propose a moderate speed, check it in the motion preview and adjust. Transitions between shots, such as a dissolve at a doorway or a cut on a strong shape, also shape the rhythm, and we choose them to keep the sequence readable.
If the film has voiceover or titles, we time the shots to the words, giving each feature enough seconds on screen to be noticed. A shot that passes too quickly wastes the effort of building it, while one that lingers too long dilutes the message. Reading the script aloud against the motion preview is a simple test that catches most timing problems before final rendering.
What to send
- The model, complete along the planned camera path.
- A short description of the story and the audience.
- Materials, furniture and landscaping information.
- Logos, titles and brand guidelines.
- Music preferences or an existing track with its license.
- The deadline and the platforms where it will play.
Questions to ask a studio about animation
- Do you provide a storyboard and a motion preview before final rendering?
- How many revision rounds are included?
- What resolution and formats will I receive?
- Can you deliver stills from the same scene?
- What happens if my model has gaps along the path?
- Can I reuse the scene later for another film?
Frequently asked questions
How long should an animation be?
Thirty to ninety seconds works for most projects. Longer pieces are better split into short clips.
Why is animation more expensive than stills?
Every frame must be rendered. A thirty-second film has roughly seven hundred to nine hundred frames.
Can you animate a model I already have?
Yes, once we review it and confirm that the areas along the camera path are complete.
Do I need a storyboard?
Yes. A storyboard fixes the shots and timing and avoids costly changes after rendering.
Can you add music and titles?
Yes, or we can deliver without audio for your team to finish. Music must be licensed.
Can I get still images from the animation?
Yes. High-resolution stills from the same scene are usually inexpensive to add.
Can I change the film after it is rendered?
Small edits in the timeline are possible. Changes to the scene or camera usually require re-rendering.
What formats will I receive?
Typically a high-resolution master and a compressed version for the web and social media.
Related guides
This guide is part of our series on rendering when the 3D model already exists. Start with the overview, rendering only when you already have the model. Related: 360 and VR tours from your existing model, the render-ready model checklist, still images from your existing model. When you are ready, send the file and the deadline through our quote request.