From $850 Per Scene: Agency Aligned Visual Impact Assessment Renders

From $850 Per Scene: Agency Aligned Visual Impact Assessment Renders
Visual impact assessment renders are spatially accurate photomontages and visualizations used as evidence in visual impact assessments to document key observation points and support contrast-rating and mitigation decisions. Their core job is practical, not decorative: they let reviewers compare existing and proposed conditions from the same fixed viewpoint, test mitigation options, and reach a defensible finding. Agencies including the Federal Highway Administration and the Bureau of Land Management set the expectations most production teams work against.
TL;DR:
- Accurate documentation of camera position, lens, and distance is essential before starting production to ensure spatial accuracy in visual impact renders.
- Simulations must be produced from the same viewpoints for existing, proposed, and mitigation visuals to enable valid comparison and assess impact properly.
- Reviewers grade the contrast between existing and proposed conditions using a formal worksheet, with higher contrast ratings indicating a greater need for mitigation.
- The complexity and fidelity of renders should match the project’s impact severity and review stage, ranging from simple sketches for early phases to detailed, approval-grade simulations.
- Final deliverables must include comprehensive metadata, consistent viewpoints, and match the intended display conditions, with explicit documentation on whether visuals are provisional or final.
Table of Contents
- What a visual impact assessment includes and where renders fit
- Authoritative VIA methodologies: FHWA, BLM, and NPS expectations for renders
- Simulation techniques and production standards for defensible renders
- Selecting KOPs and performing viewshed analysis: a checklist
- How reviewers use renders: contrast-rating and translating simulations into findings
- How to commission VIA renders: brief, milestones, and contract items
- Which deliverables fit different decision contexts
- What professional visualization work for VIA packages actually requires
- Five quick checks for a defensible VIA render package
- How we deliver approval-grade VIA visualization packages
- FAQ
- Sources
What a visual impact assessment includes and where renders fit
A Visual Impact Assessment (VIA) is the formal process of identifying who can see a proposed project, how the project will change what they see, and whether that change is acceptable given the setting. The FHWA VIA guidance organizes this around establishing the area of visual effect, documenting the affected environment and the people who view it, assessing changes to visual quality, and addressing mitigation. Visualization work slots directly into two of those steps: it illustrates the affected environment as it exists today, then shows the environmental consequences of the proposed change from the same vantage points.

The area of visual effect (AVE) is the geographic zone where the project could be seen, usually bounded by terrain, vegetation, and distance. Viewshed analysis, typically run in GIS software against a digital elevation model, maps that zone and identifies where the project is theoretically visible before anyone sets foot on site. A landscape visual impact assessment (LVIA), more common in broader planning and land management contexts, evaluates character and visual quality across a wider area. A project-specific VIA, by contrast, usually narrows to a defined set of viewpoints tied to a single development, highway corridor, or facility siting decision.
Not every project needs approval-grade simulation. A sketch overlay or a simple massing study can be enough for an early feasibility review or an internal design check. Once a project enters formal environmental review, public hearing, or permitting submission, though, reviewers expect spatially accurate, documented simulations they can scrutinize and compare against the real view. Knowing which tier applies before committing a budget saves both time and rework, a point covered in more detail in our architectural visualization guide for 3D renderings.
Authoritative VIA methodologies: FHWA, BLM, and NPS expectations for renders
Three bodies of guidance shape what reviewers expect from a visualization package, and production teams who ignore them tend to produce attractive images that fail review.
The FHWA VIA guidelines set out the AVE concept, a scoping questionnaire for defining study boundaries and sensitive viewers, and documentation standards for photo-simulation techniques. The guidance treats visualization as evidence that has to be traceable back to a defined viewpoint and a defined set of assumptions, not a polished marketing image.
BLM’s visual resources guidance defines simulations as computer-generated photomontages produced from selected key observation points (KOPs). It recommends matching the sophistication of the simulation to the value of the visual resource and the severity of the potential impact: a minor utility upgrade in a low-sensitivity area does not need the same rigor as a large facility sited near a scenic overlook. Once a simulation is produced, evaluators record findings using a contrast-rating worksheet built around four basic elements: form, line, color, and texture. The formal record for this is BLM Handbook H-8431-1, which lays out the Visual Contrast Rating procedure and the structure of Form 8400-4, the worksheet reviewers use to compare basic elements between existing and proposed conditions and to document mitigation recommendations.
The NPS photosimulation evaluation guidance takes a different angle: it is written for reviewers evaluating a submitted simulation rather than for the team producing it. That makes it useful reading for anyone commissioning renders, because it spells out exactly what a skeptical reviewer will look for. It highlights limitations that have to be documented rather than hidden, including dynamic movement a still image cannot capture, the limited contrast range of a printed or projected image compared to the human eye, field of view distortion, and the accuracy of the viewpoint itself. Photorealism cannot substitute for missing metadata or an unstated assumption; a reviewer who cannot verify where the camera stood will discount the whole exhibit.
Simulation techniques and production standards for defensible renders
Spatial accuracy is the foundation everything else rests on. A render that looks convincing but places the project at the wrong scale or the wrong distance is worse than no render at all, because it misleads rather than informs.

Pro Tip: Always record the exact camera position, lens or focal-length equivalent, and distance to the nearest project element before starting production, then carry that metadata through to the final deliverable.
Production typically follows a sequence like this:
- Match the camera to the field photograph. Use the recorded GPS coordinates, lens, and height of the original KOP photo to set the virtual camera, so the simulated view lines up with the real one feature for feature.
- Verify scale and placement against survey or model data. Cross-check building footprints, heights, and setbacks against the civil or architectural model rather than eyeballing proportions.
- Choose a level of detail appropriate to the review stage. Concept-stage visuals can use simplified massing and generic materials; approval-grade exhibits need accurate materials, correct vegetation density, and realistic lighting for the time of year being depicted.
- Decide whether a still image is sufficient or whether animation or VR adds real value. A single KOP usually needs only a photomontage; a highway corridor or a project experienced while moving often benefits from a drive-through animation, a point FHWA’s own visualization case material supports when it shows stills and motion used together to cover both point comparisons and corridor experience.
- Lock deliverable specs before final production. Resolution, intended print or display size, file format, and the metadata table that will accompany each image should be agreed with the reviewing body in advance, not improvised at delivery.
Some reviewing authorities specify exact focal lengths for different distances. The Adirondack Park Agency’s visual analysis methodology calls for capturing multiple focal lengths, commonly in the 55mm and 85mm range, with longer lenses around 120mm or more reserved for distant or water-crossing views, and indexing every image with GPS coordinates, lens, and distance. Whether or not a specific agency names exact numbers, the underlying habit, documenting every camera parameter, carries over to any jurisdiction.
Selecting KOPs and performing viewshed analysis: a checklist
Key observation points only earn their name when they are chosen to represent how real people actually experience a site, not the most flattering angle available.
- Prioritize sensitive viewers first: residences, scenic overlooks, parks, trails, and culturally significant sites typically outrank a generic roadside pull-off.
- Cover common travel routes and durations of view: a highway driver sees a project for seconds; a resident sees it every day, and both perspectives may need separate KOPs.
- Incorporate stakeholder and agency input early: public comment periods and agency scoping meetings often surface viewpoints a design team would not have selected independently.
- Run the viewshed analysis against current topography and, where it matters, seasonal vegetation: a GIS viewshed model built on bare terrain will overstate visibility in a forested area during leaf-on months.
- Document minimum KOP metadata for every viewpoint: GPS coordinates, camera height, lens or focal length, distance to the nearest project feature, date and time of the base photo, and season.
A viewshed map built without accounting for seasonal foliage can flag a location as visible when it is actually screened for most of the year, so cross-checking against site photography from more than one season strengthens the record.
How reviewers use renders: contrast-rating and translating simulations into findings
A simulation on its own is not a finding. Reviewers translate what they see in the photomontage into a structured contrast rating, then use that rating to decide whether mitigation is warranted or an alternative needs further review.
- Form, line, color, and texture are compared between existing and proposed conditions, usually side by side within the same frame, to isolate exactly what changes.
- Ratings typically fall on a scale from none or weak contrast through moderate to strong contrast, with stronger contrast pointing toward a greater likelihood that mitigation or design changes will be required.
- Form 8400-4 is the record of that comparison, and BLM Handbook H-8431-1 sets out its structure, including the rating matrix used to score each basic element.
- Multiple observer positions strengthen the finding: a project that scores low contrast from one KOP but strong contrast from a sensitive residential viewpoint needs both ratings on record, not an average.
- Mitigation options should be shown from the identical viewpoint used for the original rating, so a reviewer can compare the mitigated version directly against both the existing condition and the unmitigated proposal.
This is where a render package earns or loses credibility. A set of images that swaps camera angles between the before, the proposed, and the mitigated version invites a reviewer to wonder what is being hidden.
How to commission VIA renders: brief, milestones, and contract items
A clear brief prevents the single most common failure mode in VIA visualization: a polished deliverable that does not actually answer the question the reviewing body asked.
- State the decision purpose up front: environmental review, public hearing exhibit, permitting submission, or internal feasibility check each call for a different level of rigor.
- Define the AVE and study area, and list the specific KOPs, including any the reviewing agency has already named.
- Specify required alternatives, such as a no-build condition, the proposed design, and one or more mitigation options.
- Note seasonal and lighting conditions the simulation needs to reflect, particularly where vegetation screening changes across the year.
- Set deliverable grades explicitly: concept-stage visuals for internal review versus approval-grade exhibits for the formal record are different products with different timelines and costs.
- Agree on file formats, resolution, and a review schedule before production starts, not at final delivery.
Pro Tip: Put the deliverable grade in writing in the contract itself; “concept visualization” and “approval-grade simulation” should never be interchangeable terms in a scope of work.
Common failure modes include mismatched camera angles between the before and after images, omitted visible project elements such as access roads or transmission lines, and display sizes that do not match what the reviewing board will actually project or print. Our design review renderings guide and architectural visualization checklist both walk through deliverable specs that help avoid these gaps before a submission deadline arrives.
Which deliverables fit different decision contexts
The right format depends on how the project will actually be experienced and reviewed, not on what looks most impressive in a presentation.
- Fixed KOPs with a single dominant viewpoint are usually best served by still photomontages, since they allow direct, side-by-side contrast comparison.
- Corridor projects, like highways, transmission lines, or trails, often need animation to capture how visibility changes as a viewer moves through space.
- Public engagement sessions benefit from VR or 360-degree formats, which let non-expert stakeholders explore a view at their own pace rather than relying on a single static frame.
- Display controls matter as much as the image itself: viewing distance, print size, and projector or screen resolution all affect how much contrast a viewer actually perceives, so the same render can look understated on a small handout and overstated on a large board display.
- Cost and timeline scale with fidelity and format, and a reviewing body’s own requirements should set the floor, not the production budget.
Choosing the wrong format rarely saves money once rework is factored in. More formats and their tradeoffs are covered in our 3D visualization options for feasibility studies.
What professional visualization work for VIA packages actually requires
Producing a render that survives agency review is a different discipline from producing a marketing image, and the gap shows up in the details: camera metadata, consistent viewpoints across alternatives, and documented assumptions. Having completed over 1,000 visualization projects across architecture, real estate, and development, we build our process around that distinction. Our services, including photomontages, 3D walkthroughs, virtual reality experiences, and site plan renderings, map directly onto what a VIA package needs: a defined KOP record, versioned mitigation visuals produced from identical viewpoints, and output specified for the display size a reviewing board will actually use. We cover this approach in more depth in how renderings speed project approvals for architects.
Five quick checks for a defensible VIA render package
Before signing off on a delivered package, run it through five checks: complete KOP metadata (GPS, lens, distance), verified scale and placement, mitigation alternatives shown from identical viewpoints, display and resolution specs matched to the report or board, and clear documentation of which visuals are provisional versus final.
, Rendimension
How we deliver approval-grade VIA visualization packages
We build visualization packages around the documentation reviewers actually check, not just the image they see. That means every KOP comes with recorded camera position, lens, and distance, and every mitigation option is produced from the same viewpoint as the original condition so a reviewer can compare them directly.
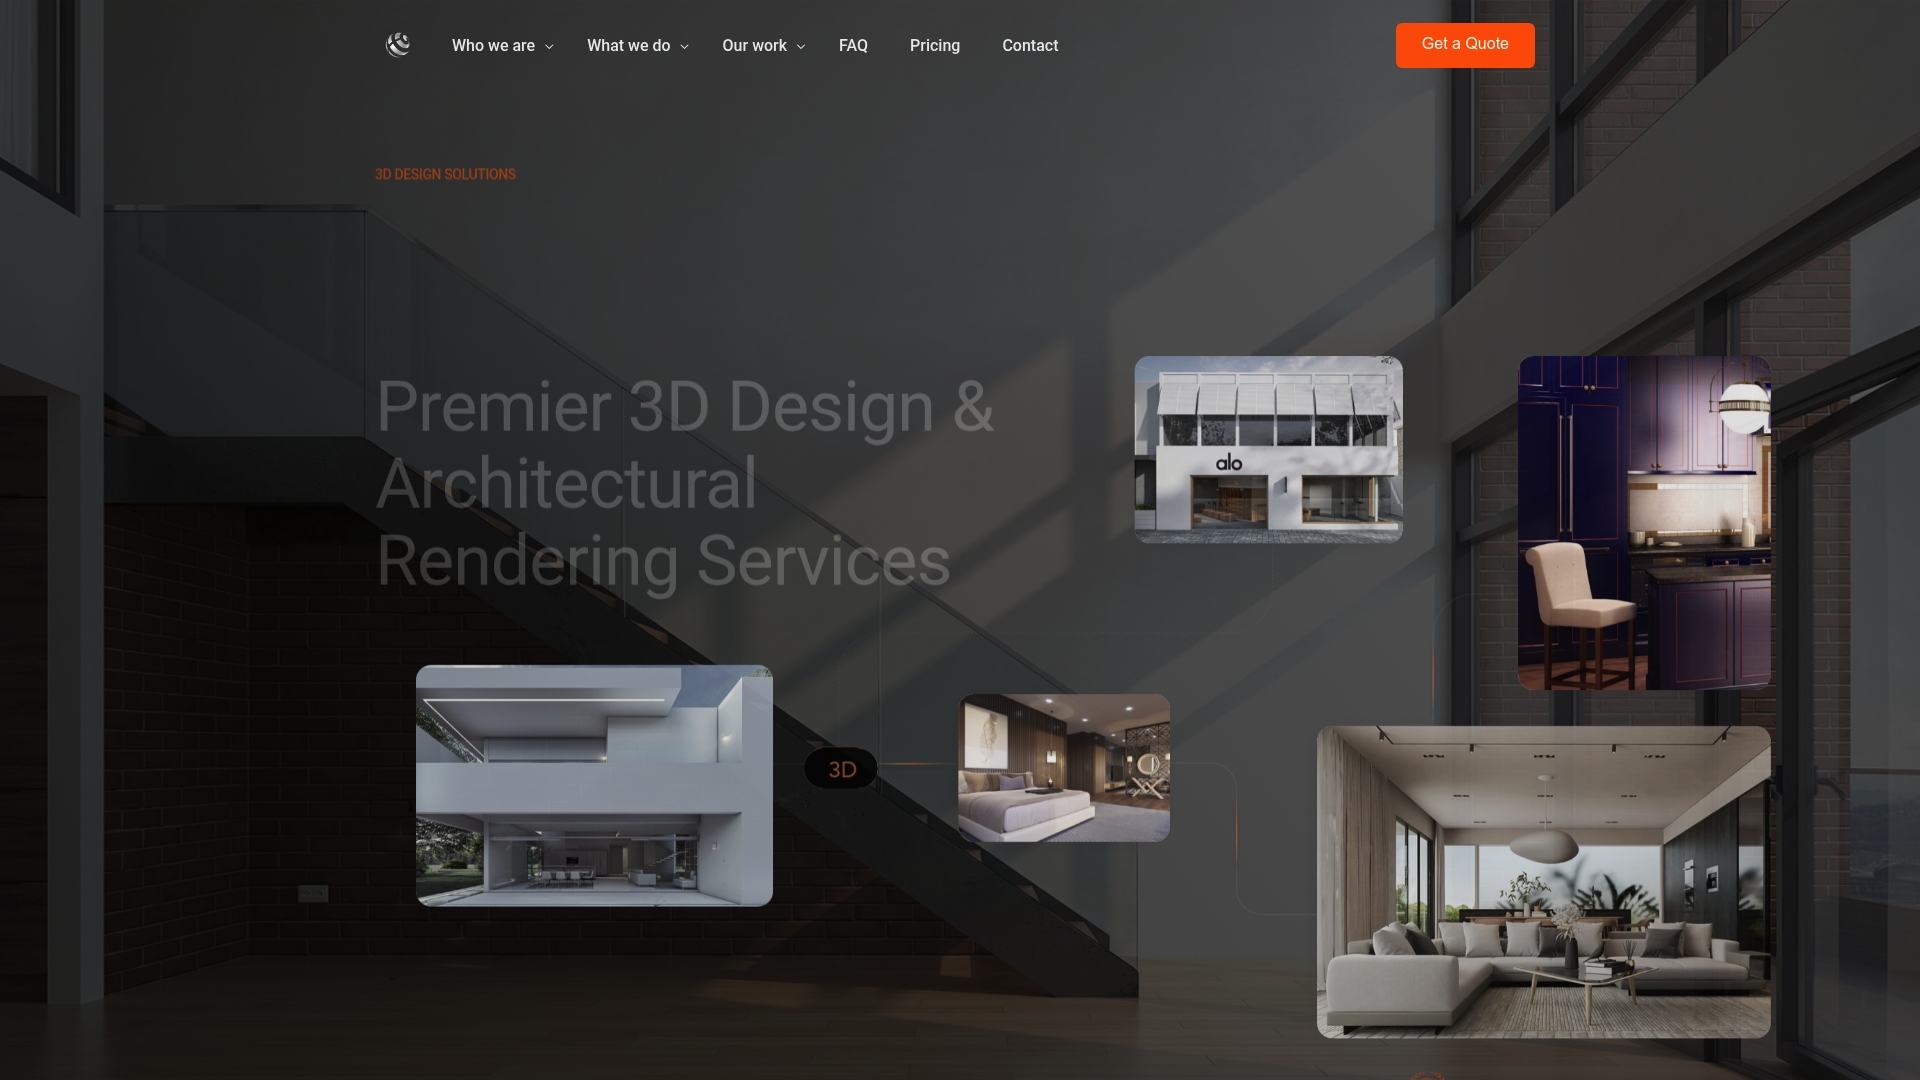
What that looks like in practice:
- Spatially accurate photomontages matched to field-recorded KOPs, with metadata carried through to final delivery.
- 3D walkthroughs and VR or 360-degree experiences for corridor projects and public engagement sessions.
- Iterative mitigation visuals produced from identical camera positions across each design alternative.
- Site plan renderings and full visualization packages sized and formatted for the specific board or agency review.
A typical commission starts with a scoping call to confirm KOPs, study area, and deliverable grade, moves through a review milestone on concept-stage visuals, and ends with approval-grade exhibits delivered in the file formats and resolution your reviewing body requires. When a submission needs onsite signage alongside visual exhibits, our partner at Custom Signs Today covers commissioning environmental graphic design. Visit our architectural rendering services page to request a quote or review sample VIA-ready projects.
FAQ
What is the difference between a VIA and an LVIA?
A VIA evaluates the visual effects of a specific project from defined viewpoints, while a landscape visual impact assessment (LVIA) looks more broadly at how a project affects overall landscape character and quality. Both rely on documented viewpoints and contrast comparisons, but an LVIA typically spans a wider study area.
How many key observation points does a VIA need?
There is no fixed number; KOP count depends on the project’s visibility, the sensitivity of nearby viewers, and agency scoping input. A VIA generally needs enough KOPs to represent each distinct viewer group and travel route, as outlined in FHWA’s VIA guidance.
What is a contrast-rating worksheet used for?
A contrast-rating worksheet, recorded on BLM Form 8400-4, compares form, line, color, and texture between existing and proposed conditions at a given viewpoint. The resulting rating, from none or weak through moderate to strong contrast, informs whether mitigation is needed.
Do VIA renders need to show mitigation options?
Yes, reviewers expect mitigation alternatives shown from the same viewpoint as the original proposal so the comparison stays consistent. This practice is reflected in BLM’s visual resources guidance, which ties simulation sophistication to the severity of potential impact.
Can Rendimension produce approval-grade VIA simulations?
We produce spatially accurate photomontages, 3D walkthroughs, and VR experiences with documented KOP metadata suited to formal review processes. Pricing for architectural rendering starts from $850 per scene, with additional camera views available separately.
Sources
- VIA Guidelines for Highway Projects, FHWA
- Visual Impact Assessment and Simulation, BLM
- BLM Handbook H-8431-1, Visual Resource Contrast Rating (VCR)