Avoid 30 Day Delays: Design Review Renderings for US Boards

Avoid 30 Day Delays: Design Review Renderings for US Boards
For most US design review boards, plan on two eye-level perspectives, one aerial or streetscape view, enlarged ground-floor elevations, and labeled photo simulations, with a licensed architect or surveyor’s verification when the municipality requires it. Every image needs a direction, a date, and formatting that matches the board’s presentation standards. Confirm the exact list with your local planning staff before you commission anything, and book the earliest available preliminary review slot.
TL;DR:
- Most cities require two eye-level perspectives, one aerial view, ground-floor elevations, labeled photo simulations, and sometimes day and night images for design review submissions.
- Renderings must be based on existing site surveys, accurate models, and real photos, with clear labeling, signatures, and matching vantage points for consistency.
- The design review process is arranged in stages: data gathering, early concept evaluations, refined renderings, and final formatted packages, typically scheduled 5 to 7 days in advance with up to 30 days for staff review.
- Strict formatting rules, such as board size, font size, and labeling, are enforced and can delay approvals if overlooked, so clarity and compliance are critical in submittals.
- The key to faster approval lies in creating renderings that proactively address the board’s specific concerns and properly highlight critical sightlines or features before the review meeting.
Table of Contents
- Which renderings does the board actually need to see?
- What to hand your renderer and how boards verify accuracy
- How the renderings get built and where they sit in your schedule
- Formatting rules that get submittals kicked back
- Where projects lose time and how to protect yours
- Building a scope brief so nothing gets missed
- What a visualization partner adds to a review package
- What actually moves the needle on approval
- Getting your renderings ready for review
- Sources
- FAQ
Which renderings does the board actually need to see?
Boards are not grading your marketing images. They are checking whether a project fits its context, meets height and massing rules, and treats the street the way the guidelines demand. That means the deliverable list is narrower and more specific than most teams expect.
- Two eye-level perspectives from opposite approach angles, showing pedestrian-scale relationships and façade detail the way Tacoma’s Urban Design Project Review guide describes for both concept and final submittals.
- One or more aerial or streetscape views showing massing against neighboring buildings and the surrounding block.
- Enlarged ground-floor elevations with façade callouts, especially where the project changes the public realm.
- Photo simulations labeled with direction and date, comparing existing conditions to the proposed design, as required by some municipalities.
- Day and night views when lighting, signage, or glare are part of what the board is evaluating.
A simple massing diagram can carry an early concept review. Once you reach a formal hearing, boards in cities like Miami expect photoreal renderings, including pedestrian realm perspectives up to the third story and enlarged ground-floor elevations for any significant façade change.
What to hand your renderer and how boards verify accuracy
The quality of your renderings depends entirely on what you hand the visualization team before modeling starts. Boards also expect proof that what they are looking at reflects reality, not an idealized version of the site.
- A current site survey or topography file, plus CAD, Revit, or BIM models and accurate elevation drawings.
- High-resolution existing-site photos taken from public vantage points at roughly five feet above grade, matching the eye level used in Berkeley’s photo-simulation instructions.
- A material and color palette, plus notes on landscaping and street furniture that will appear in the final view.
- Measured façade dimensions, right-of-way lines, adjacent building heights, and a reasonable approximation of tree canopy.
Berkeley’s guidance is explicit: before-and-after images need labeled direction and date, and many jurisdictions require signed verification by a licensed architect or surveyor before the photo simulation is accepted into the record.
Pro Tip: Send your renderer the same site photos you plan to submit to the board, taken from the same vantage points, so the rendered perspective and the photo simulation line up exactly.
How the renderings get built and where they sit in your schedule
Production for a design review package follows a predictable rhythm, and it maps closely to the municipal review calendar. Rushing any one stage tends to show up as rework at the next one.
- Kickoff and data gathering: survey, model files, and site photos are collected and checked against the property lines.
- Concept and massing review: rough perspectives go to staff for early feedback before detailing begins.
- Refined renderings for the public hearing: materials, lighting, and context are finalized for the formal submittal.
- Final board package and digital submission: files are formatted, labeled, and exported to the board’s specifications.
Municipal timing tends to compress that workflow. A preliminary project review often needs to be requested 5 to 7 business days ahead, and staff completeness checks can take up to 30 days before your project is scheduled onto a monthly design review board agenda. Build in one to two revision rounds after staff comments, and finish your print and digital exports before the file submittal deadline, not on it.
Formatting rules that get submittals kicked back
Presentation format is where otherwise strong projects lose time, not on design merit but on administrative technicalities. Boards enforce these rules strictly because they process dozens of submittals per meeting.
- Physical boards commonly run 30 inches by 40 inches with a 1 inch white border, and complex drawings are placed one image per board rather than crowded together.
- Title blocks need the firm name, project name, date, scale, and drawing type clearly stated on every sheet.
- NYC’s Art Commission presentation guidelines specify minimum font sizes, with notes no smaller than 20 point, and prohibit overlapping or decorative image placement.
- Digital submittals typically require a single consolidated PDF, a defined file-size limit, and a consistent file-naming convention tied to the project number.
Treat these specifications as fixed requirements, not suggestions. A board can bounce a submittal back to staff purely on formatting grounds, adding a full meeting cycle to your timeline.
Where projects lose time and how to protect yours
Most delays trace back to a handful of repeated mistakes rather than genuine design disagreements. Avoiding them is mostly a matter of discipline in how you manage the submittal, not extra design work.
- Do not swap in last-minute changes that contradict the vetted submittal package. Submit clarified supplemental visuals instead of revising the board set at the last minute.
- Label every photo simulation with direction, date, and the required professional verification signature, since incomplete labeling is a common reason for rejection.
- Keep renderings tied to compliance, not just aesthetics: show height, massing, and material metrics explicitly rather than relying on a pretty image to make the case.
AIA’s best-practices guidance recommends framing every presentation image around guideline conformance and preparing direct side-by-side comparisons whenever you return to a board after a prior round of comments.
Pro Tip: When you go back to a board for a second hearing, put the previous rendering and the revised one on the same sheet so the comparison does the explaining for you.
Building a scope brief so nothing gets missed
A clear scope document saves cycles with your visualization vendor and prevents mismatched expectations about what counts as “done.” Confirm these details with planning staff before you finalize your brief.
- List every required view: eye-level count, aerial angle, ground-floor elevations, and whether day and night versions are needed.
- Specify resolution, file types, number of revision rounds, and the verification deliverables (labels, signatures) the board requires.
- Note the board layout, font minimums, and title block content the municipality specifies.
- Set a timeline that works backward from the DRB submittal deadline, not forward from your kickoff date.
- Define acceptance criteria in advance, tied to the local checklist rather than general design preference.
Before sending the brief, confirm with staff whether photo-simulation sign-off is required in your jurisdiction, since that single requirement changes who needs to be on the project team from day one.
What a visualization partner adds to a review package
A professional visualization company may have completed many projects across architecture and real estate, with design review packages including architectural rendering, site plan rendering, aerial views, photo simulations, and 3D walkthroughs. The value in a review context is less about polish and more about process discipline.
Working checkpoints with municipal staff early, before the final render pass, helps confirm which views matter most and which formatting rules apply to that specific board. That alignment tends to produce fewer staff comments at the first hearing, clearer answers when a board member asks about a specific sightline, and a package that already matches the board’s formatting rules instead of needing a second pass.

What actually moves the needle on approval
The checklist mentality that dominates most design review guidance treats renderings as a compliance exercise: hit the required views, label them correctly, and you’re through. That gets you in the room, but it undersells what good renderings actually do in a hearing.

The projects that clear review fastest are the ones where the renderings answer the board’s specific concerns before anyone asks the question, a sightline from the adjacent residential block, the way a cornice line reads at dusk, how a ground-floor retail frontage feels at eye level. That takes talking to staff early enough to know what the board will fixate on, then building the visual set around those points instead of a generic package.
Conventional advice overweights formatting and underweights judgment about content. Font sizes and board dimensions matter, but they are the easy part. Knowing which two or three images will carry the hearing, and making sure those are flawless, matters more than a complete but generic set of eight adequate ones.
, Rendimension
Getting your renderings ready for review
Board-ready renderings, photo simulations, aerial views, site plan renderings, and full presentation board production can be sized to the reader’s board and municipality requirements. Every project starts with a data checklist covering survey files, site photos, and material palettes, along with a timeline estimate and a conversation about which verification signatures your submittal needs.
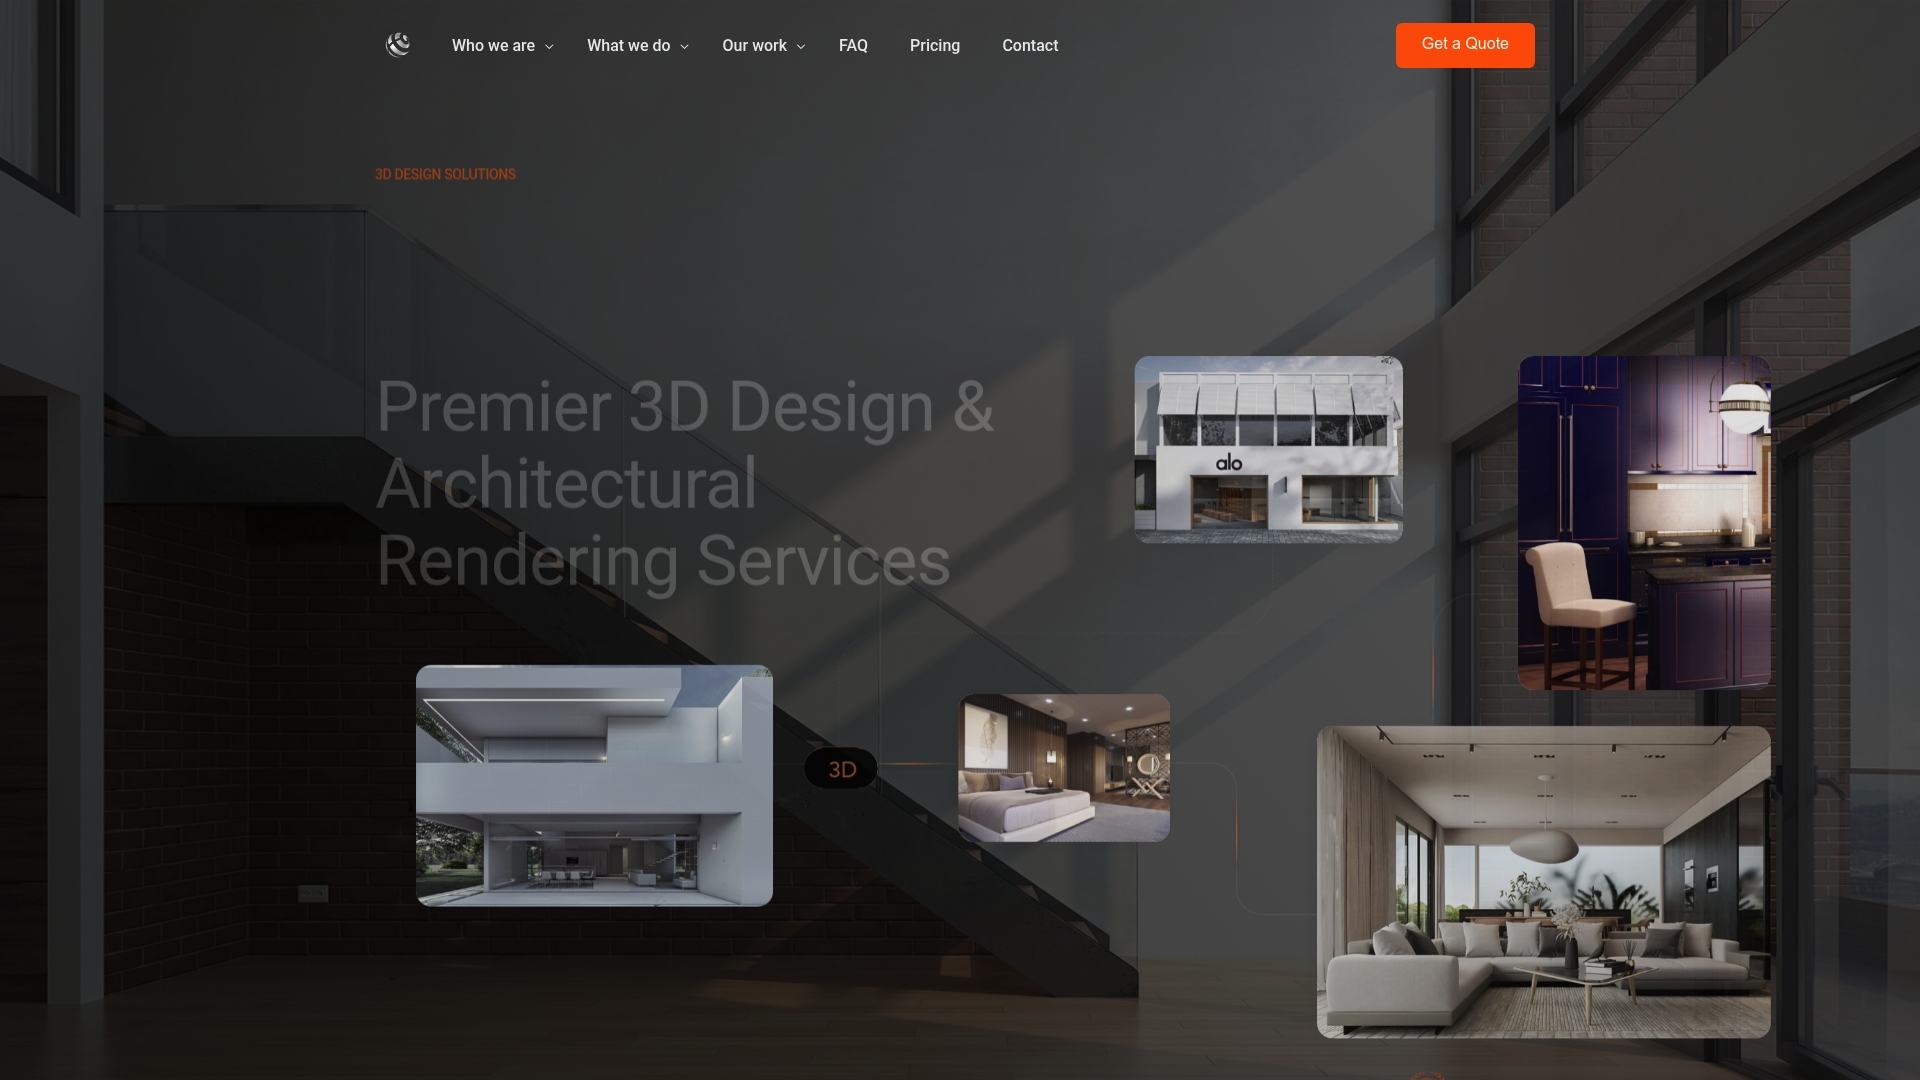
If you have a hearing date on the calendar, get in touch through Rendimension’s architectural rendering services page to scope the package and confirm turnaround against your submittal deadline.
Sources
- AIA: Acing the civic design review process
- Photo Simulation Instructions, City of Berkeley
- Urban Design Project Review, City of Tacoma
- Art Commission presentation guidelines, NYC
- Design Review Application, South San Francisco
FAQ
What renderings are required for a design review board submittal?
Most boards expect two eye-level perspectives, one aerial or streetscape view, enlarged ground-floor elevations, and labeled photo simulations comparing existing and proposed conditions. Some jurisdictions, including Miami, also require day and night renderings for façade changes affecting the pedestrian realm, according to the Miami WDRC submittal checklist.
Does a photo simulation need professional sign-off?
Many municipalities, including Berkeley, require verification by a licensed architect or surveyor for photo simulations used in a formal hearing. Check your specific city’s checklist, since this requirement is not universal and depends on local rules, as outlined in Berkeley’s photo simulation instructions.
How long does design review take from submittal to hearing?
Staff completeness checks can take up to 30 days before a project is scheduled, according to South San Francisco’s design review application, and boards typically meet on a monthly cadence. Plan your rendering production timeline backward from the submittal cutoff, not the hearing date itself.
What board size and font rules apply to presentation boards?
Representative city standards, such as the NYC Art Commission’s presentation guidelines, specify boards around 30 inches by 40 inches with a 1 inch white border and minimum font sizes, with notes no smaller than 20 point. Format errors on board size or fonts are a common administrative reason submittals get sent back before design is even discussed.
Can Rendimension prepare renderings for a specific city’s design review board?
Rendimension produces architectural renderings, site plan renderings, aerial views, and photo simulations formatted to a project’s local board requirements. Each project starts with a review of the applicable municipal checklist so the deliverable list and formatting match what that board expects.