Ask for These 5 PBR Deliverables for ArchViz

Ask for These 5 PBR Deliverables for ArchViz
PBR materials for archviz are the layered shaders and texture maps a visualization studio builds to control how every surface in a scene reacts to light. For a commissioning architect or developer, the payoff is a finished still or VR walkthrough that holds up under different cameras and lighting setups without looking synthetic. A professional studio treats PBR as a production discipline, not a texture download.
TL;DR:
- Studio-grade PBR relies on layered shaders and production maps to accurately simulate light interaction, focusing on perceptual cues like highlights and weathering.
- Key maps include base color, roughness, metallic, normal, AO, transmission, and clearcoat, with each control etched into specific surface properties for realism.
- Implementing PBR in archviz involves environmental HDRI lighting, layering techniques, and careful management of transmission effects to balance realism and render time.
- Clients should request layered EXR files, key map sets, and clarification on licensing, with special consideration for VR exports using simplified materials and baked lighting.
- Rendimension ensures consistent material quality from still images to VR by following a disciplined, review-based process built on layered shader workflows.
Table of Contents
- What studio-grade PBR materials are and why they matter for architectural visualization
- Key PBR properties and texture maps studios use
- How studios implement PBR in an archviz workflow
- Client briefing and handoff checklist: what to ask for and what to expect
- How we build PBR materials for photoreal renders and VR
- Get photoreal renders and VR built around materials that hold up
- Sources
- FAQ
What studio-grade PBR materials are and why they matter for architectural visualization
Studio-grade PBR combines parameterized shaders, often called BSDFs, with a set of production maps that together decide how light bounces, scatters, or passes through a surface at render time. Instead of painting a static image of a marble floor, a studio defines how that floor’s color, roughness, and reflectivity respond as the camera or sun position changes.
What separates a convincing render from a flat one usually comes down to perceptual cues rather than laboratory-grade physical accuracy. A specular highlight that sits correctly on a curved countertop, roughness that reads at the right visual scale for a building facade, glass that refracts light believably, and weathering that varies subtly across a wall all matter more to a viewer’s eye than whether the underlying numbers match a spectrometer reading. Studios lean on these cues because they are what clients, buyers, and reviewers actually notice.
This matters commercially. A design review board approving a facade material, a marketing team selling a condo unit, or an appraiser judging finish quality are all reacting to how a surface looks under the specific lighting a render or VR tour presents. Get the roughness or reflection wrong and a $2 million penthouse can read as a rendering of vinyl countertops.

Key PBR properties and texture maps studios use
Every physically based material is built from a handful of standard maps, and knowing what each one controls helps a commissioning team have a sharper conversation with a vendor. These map types and their functions are documented in production references like the Columbia GSAPP rendering guide, which studios use as a shared vocabulary for what each channel does.
- Base color (albedo): the raw color and pattern of a surface, stored in sRGB color space and untouched by lighting information.
- Roughness or gloss: controls how tight or blurred a specular highlight appears, and its visual scale needs to match the size of the surface it represents.
- Metallic: switches a surface between dielectric and metal-like reflection behavior, changing whether reflections carry the surface’s tint or stay neutral.
- Normal map: fakes small bumps and grooves through shading rather than added geometry, useful for brick, stucco texture, or leather grain.
- Ambient occlusion: darkens crevices and corners to ground objects, especially useful when compositing renders into photographs.
- Transmission or opacity: governs how light passes through glass, water, or sheer fabric, and it carries real render-time cost.
- Clearcoat, sheen, or emissive layers: add a second reflective layer for varnish, a soft highlight for velvet, or a glow for signage and screens.
One technical note worth passing to any vendor: color maps like base color need sRGB, while data maps like roughness, normal, and AO need to stay in non-color, linear space. Getting that mixed up is a common source of washed-out or overly dark materials.
How studios implement PBR in an archviz workflow
Materials never work alone. A studio builds them alongside lighting, layering, and delivery decisions that all affect the final image or VR build.
Environment lighting typically comes from an HDRI, a high dynamic range panoramic image that drives both diffuse light and reflections. Roughness-dependent reflection blur is usually prefiltered into mipmaps ahead of time so a rough versus glossy surface can be evaluated quickly without recalculating light bounces on every frame, a technique detailed in image-based lighting course material. Our own breakdown of lighting in 3D architecture covers how this pairs with material setup in practice.
Layering is how nuanced finishes get built. A car-paint-style clearcoat over a base layer, a thin fuzz layer for fabric, or a coat over a metal base are all examples of the layered, slab-based approach that OpenPBR and the MaterialX specification formalize for production use.
Transmission and subsurface effects (glass, liquid, skin-like materials) increase render time substantially, so studios often simplify glass shaders, apply ray tracing selectively, or bake lighting and reduce detail for VR builds that need to run in real time. For delivery, the glTF PBR standard defines the parameters that keep a material looking consistent once it lands in a web viewer or headset.
A typical pipeline moves through five stages:
- Import the CAD or BIM model and clean up geometry for rendering.
- Run look development, assigning and testing PBR materials against reference photos.
- Render test frames to check roughness, reflections, and color balance.
- Finalize lighting and produce full-resolution still renders.
- Optimize and export a VR or web build with simplified materials and baked lighting where needed.
Pro Tip: Ask your studio whether a material is procedural or image-based before approval: procedural textures avoid visible tiling on large surfaces like parking lots or facades, which matters more than most clients expect.
Client briefing and handoff checklist: what to ask for and what to expect
A clear brief up front saves a full round of revisions later. Before work starts, confirm exactly what you will receive and who signs off on materials.
- Request final composited stills plus layered EXR files if your marketing team needs to adjust exposure or color later.
- Ask for the PBR map set behind key materials (base color, roughness, normal, AO, and transmission where glass or water is involved) if you plan to reuse assets in another viewer.
- Confirm how many look-development rounds are included and who has authority to approve final material and color choices.
- Check licensing terms on any third-party texture assets used, so reuse in future marketing does not create a rights problem.
- Specify whether you need a VR-optimized export, typically glTF or GLB format with simplified materials and baked lighting, separate from full-resolution still deliverables.
How we build PBR materials for photoreal renders and VR
Rendimension builds material setups the same way for every project: layered shaders, tested against reference, and refined through client review before a final render or VR build ships. The studio has completed more than 1,000 projects across architecture, real estate, and product design, and every one goes through look-development rounds where material and lighting choices get client signoff before final output.
That process is documented step by step in our architectural visualization guide, which walks through how material decisions carry from early concept through to a delivered VR walkthrough. Getting PBR right is less about chasing perfect physics and more about disciplined review at each stage.
, Rendimension
Get photoreal renders and VR built around materials that hold up
Instead of managing PBR maps, lookdev rounds, and VR export settings yourself, you hand the brief to a studio that already owns that process end to end.
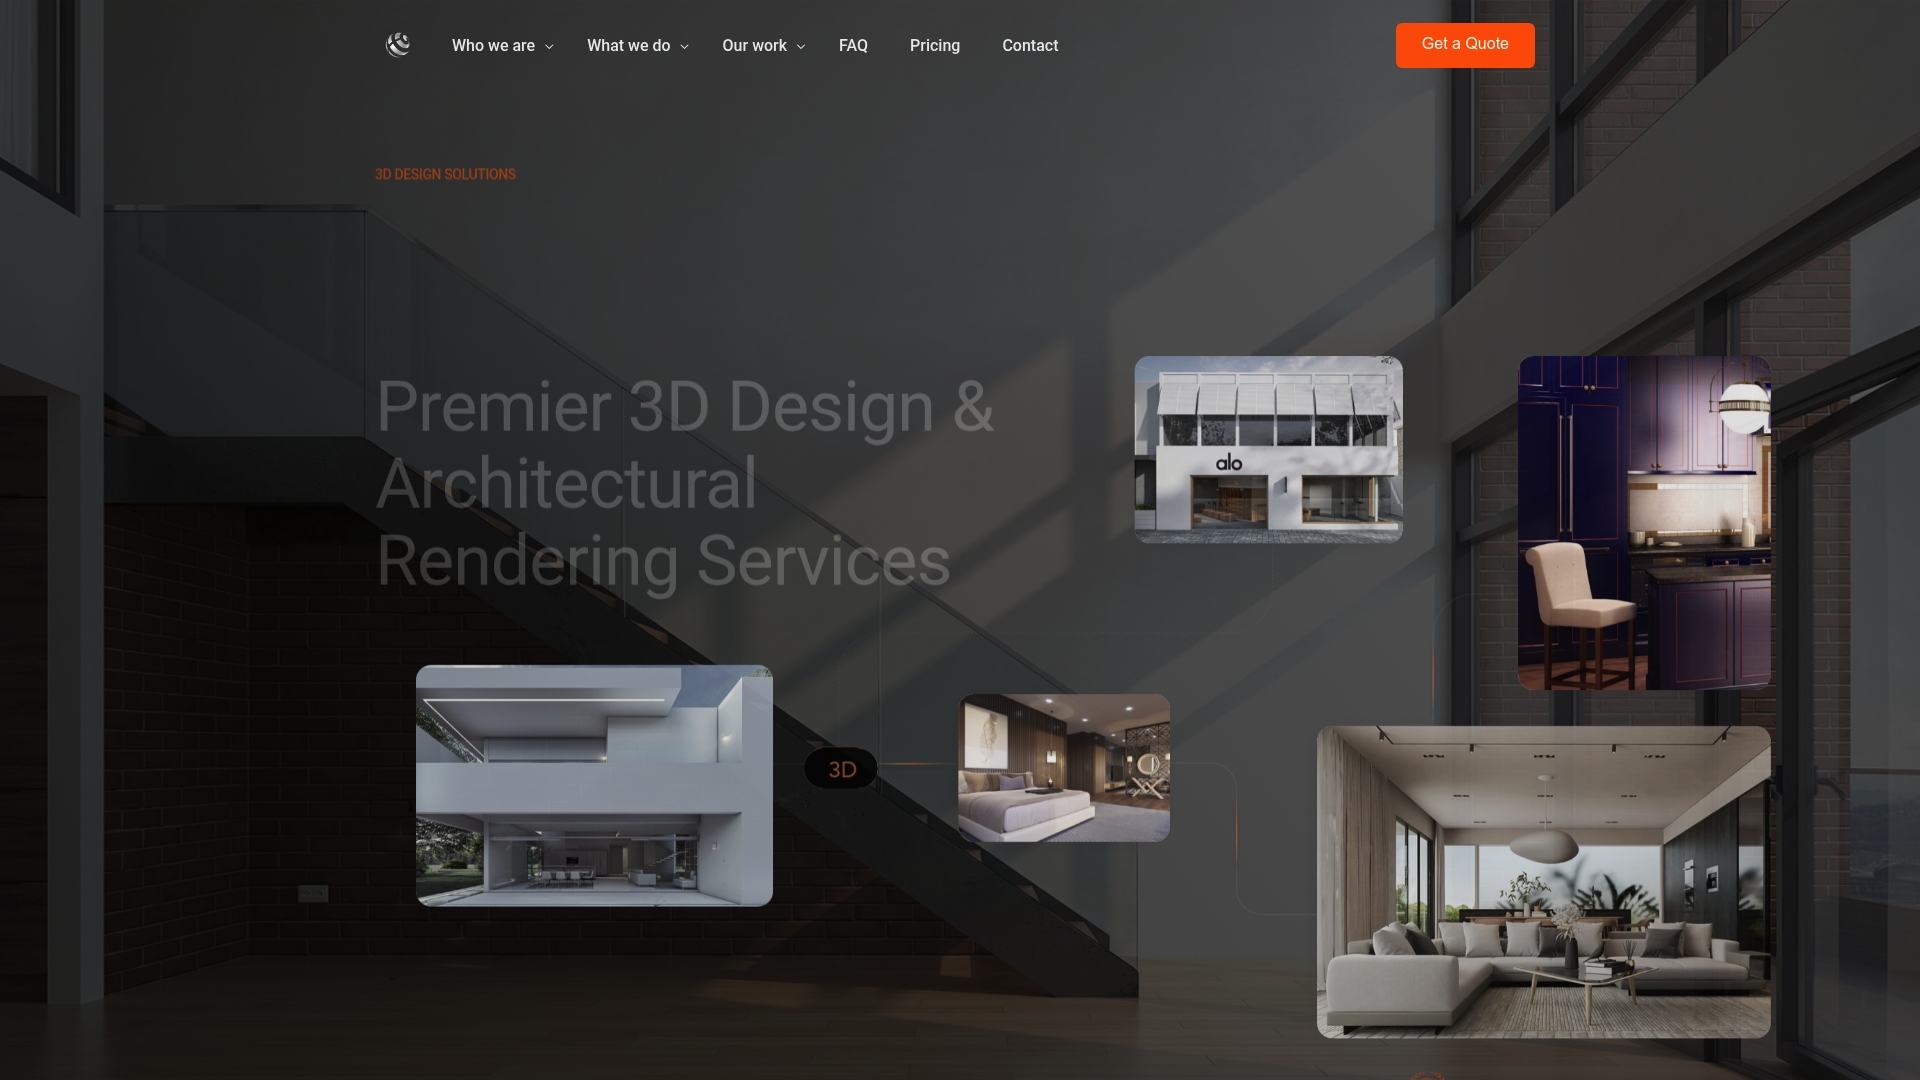
Rendimension’s architectural rendering services cover everything from a single still to a full 3D walkthrough or virtual reality experience, priced per project rather than by subscription. Request a quote and describe your deliverable, whether that is a marketing still, a VR sales tool, or a full visualization package, and we will scope the material and lighting work needed to get there.
Sources
- Rendering with Blender, Materials (GSAPP Smorgasbord)
- glTF PBR, Khronos
- OpenPBR: Novel features and implementation details (arXiv)
- MaterialX PBR specification
FAQ
What does PBR mean in architectural visualization?
PBR stands for physically based rendering, a method of building materials from layered shaders and maps that control how light interacts with a surface. In a studio context, it refers to the production materials behind a finished photoreal render or VR tour, not a downloadable texture pack.
Which texture maps matter most for a client review?
Base color, roughness, and normal maps drive most of what a viewer notices in a still image, since they control color, highlight sharpness, and surface detail. Transmission and clearcoat maps matter specifically for glass, water, and varnished or coated finishes, as described in the GSAPP material reference.
Why does glass increase render cost so much?
Transmission and subsurface effects require the renderer to trace how light bends and scatters through a material rather than simply bouncing off a surface, which adds significant computation. Studios often use simplified glass shaders or bake lighting for VR builds specifically to manage this cost.
What should I request for a VR-optimized deliverable?
Ask for a glTF or GLB export with simplified materials and baked lighting, since real-time viewers cannot handle the same ray-traced detail as a still render. The glTF PBR standard defines the parameters that keep material appearance consistent once it is inside a headset or web viewer.
Does Rendimension provide both stills and VR from the same material setup?
Yes, Rendimension builds material setups that carry from full-resolution still renders through to VR-optimized exports as part of its architectural rendering services. The same lookdev work supports both deliverables, with optimization applied specifically for the VR build.