Architectural Visualization Guide for Stunning 3D Renderings
Defining the vision for an architectural project often feels like navigating a maze of ideas and expectations. For architects and real estate developers in North America, a clear conceptual framework is crucial to align teams and impress discerning clients. By focusing on a comprehensive project vision and gathering strong visual references, you lay the groundwork for presentations that resonate on both creative and practical levels — setting the stage for more compelling and persuasive architectural visualizations.
Table of Contents
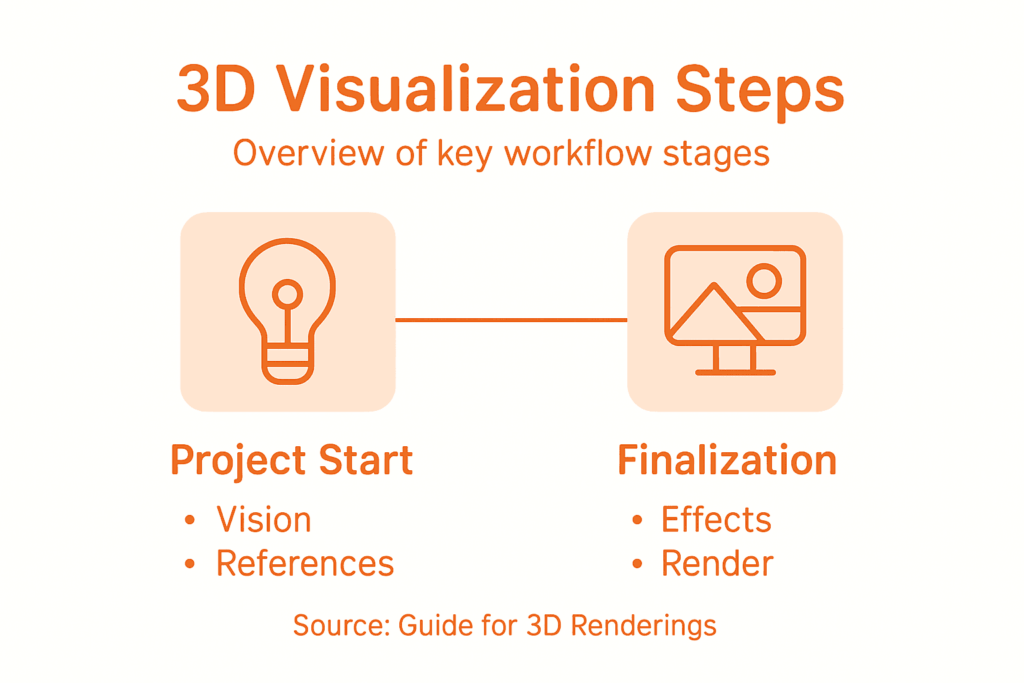
- Step 1: Define Project Vision And Gather References
- Step 2: Set Up Accurate 3D Models And Environments
- Step 3: Apply Realistic Materials And Lighting Schemes
- Step 4: Integrate Advanced Effects And Refine Details
- Step 5: Review, Optimize, And Finalize Renderings
Quick Summary
| Key Message | Explanation |
|---|---|
| 1. Define project vision clearly | Establish a solid roadmap by aligning creative and client expectations through detailed strategy sessions. |
| 2. Select robust 3D modeling software | Use advanced tools that ensure geometric accuracy and support high-quality texturing for realistic models. |
| 3. Master materials and lighting techniques | Apply realism by studying how materials interact with light, enhancing the emotional depth of visualizations. |
| 4. Incorporate advanced effects for realism | Use techniques like particle systems and volumetric lighting to create dynamic, lifelike environments. |
| 5. Conduct thorough quality reviews | Systematically assess and optimize renderings to maintain high standards in both aesthetics and technical details. |
Step 1: Define project vision and gather references
Architectural visualization starts with crystal clear project vision. Your initial step involves transforming abstract concepts into a tangible roadmap that guides every subsequent design decision. By defining architectural project goals, you create alignment between your creative vision and client expectations.
Begin by scheduling an in-depth strategy session with key stakeholders. During this meeting, document precise project requirements including spatial needs, aesthetic preferences, functional constraints, and desired emotional response. Collect reference images from various sources like architecture magazines, design websites, client portfolios, and personal inspiration folders. Organize these references into themed mood boards that capture architectural styles, color palettes, material textures, and spatial arrangements relevant to your specific project.
Your reference collection becomes the visual language that communicates design intent. Group references strategically to demonstrate how different design elements interact design flow. Pay special attention to lighting conditions, geometric proportions, and contextual environment that will influence your 3D rendering.
Here is a summary of common reference sources and their impact on the architectural visualization process:
| Reference Source | Typical Content | Value to Project |
|---|---|---|
| Architecture magazines | Published building designs | Set industry benchmarks |
| Design websites | Trends and style guides | Inspire visual creativity |
| Client portfolios | Previous projects | Align with expectations |
| Inspiration folders | Personal ideas and images | Express unique vision |

Pro Tip: Create a digital reference library using cloud storage platforms that allow easy sharing and collaborative annotation with your project team.
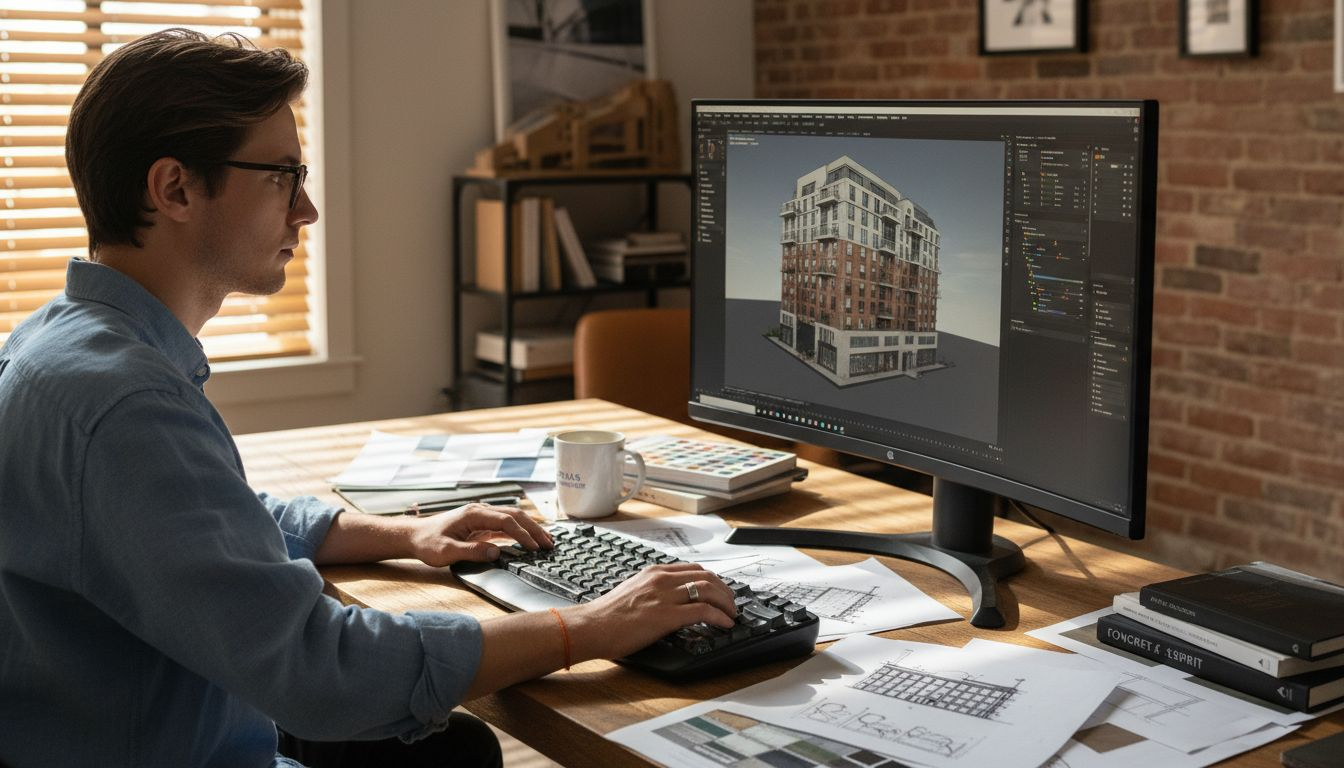
Step 2: Set up accurate 3D models and environments
Creating precise 3D models is the foundation of stunning architectural visualizations. Your goal is to transform conceptual designs into hyperrealistic digital representations that capture every intricate detail. Creating realistic 3D models requires meticulous attention to geometric accuracy and material simulation.
Start by selecting a robust 3D modeling software that supports high polygon count and advanced texturing capabilities. Import your architectural blueprints as reference images to ensure dimensional precision. Focus on building core geometric structures first by creating base meshes that accurately represent walls, floors, rooflines, and structural elements. Pay close attention to scale and proportion to maintain architectural integrity.
Next, enhance your model with detailed texturing and material properties. Select high resolution texture maps that mimic real world materials like concrete, wood, glass, and metal. Use bump maps and displacement techniques to add surface depth and realism. Consider lighting interactions and how different materials reflect or absorb light to create a convincing visual environment that looks and feels authentic.
Pro Tip: Regularly cross reference your 3D model against original architectural drawings to maintain absolute dimensional accuracy throughout the modeling process.
Step 3: Apply realistic materials and lighting schemes
Transforming your 3D model from a basic geometric structure to a photorealistic visualization requires mastering material and lighting techniques. Your goal is to breathe life into architectural designs by creating immersive visual experiences that capture the nuanced interactions of light and surface. Architectural rendering lighting techniques go far beyond simple illumination they create emotional connections and spatial understanding.
Begin by selecting material properties that accurately represent real world textures. For each surface type concrete, wood, glass, metal study how light interacts uniquely with different materials. Use physically based rendering (PBR) workflows that simulate precise reflectivity, roughness, and transparency. Experiment with bump maps and normal maps to add microscopic surface details that catch light realistically. Pay attention to how materials respond to different lighting conditions natural daylight, artificial indoor lighting, and transitional moments between light and shadow.
Next focus on strategic lighting design. Implement global illumination techniques to simulate light bounces and soft shadows that create depth and atmosphere. Use high dynamic range imaging (HDRI) environments to capture complex lighting scenarios that mimic real world conditions. Carefully balance direct and indirect lighting to highlight architectural features while maintaining a natural visual hierarchy that guides the viewers eye through the space.
Pro Tip: Create multiple lighting scenarios and render test frames to compare how different light configurations dramatically transform the emotional impact of your architectural visualization.
Step 4: Integrate advanced effects and refine details
Advanced visual effects transform architectural renderings from technical representations to immersive storytelling experiences. Your visualization now moves beyond geometric accuracy into emotional engagement. Advanced visual effects techniques enable you to create compelling narratives that bring architectural spaces to life.
Start by introducing subtle environmental dynamics that enhance realism. Implement particle systems to simulate natural phenomena like falling leaves, subtle dust particles, or soft atmospheric haze. Add depth through volumetric lighting effects that capture how light interacts with environmental conditions. Explore dynamic simulation techniques for water surfaces, vegetation movement, and ambient atmospheric conditions that suggest life and movement within the architectural space.
Refine your rendering by focusing on microscopic details that elevate visual credibility. Use displacement and normal mapping to add intricate surface textures. Pay careful attention to edge softness, reflection quality, and minute imperfections that make digital environments feel authentically real. Calibrate color grading and post processing effects to create a cohesive visual language that communicates the emotional essence of the architectural design.
This comparison highlights key differences between basic and advanced rendering techniques in architectural visualization:
| Technique Level | Main Focus | Typical Effects | End Result |
|---|---|---|---|
| Basic | Geometric precision | Clean lighting, textures | Technical representation |
| Advanced | Emotional engagement | Atmosphere, dynamics | Immersive storytelling |
Pro Tip: Render multiple versions with incrementally refined effects and compare them side by side to identify the most compelling visual narrative.
Step 5: Review, optimize, and finalize renderings
The final stage of architectural visualization demands meticulous attention to detail and a strategic approach to quality control. Your rendering is now a sophisticated visual narrative that must withstand professional scrutiny. Advanced 3D rendering techniques require systematic review to ensure technical precision and aesthetic excellence.
Begin a comprehensive quality assessment by examining your rendering at multiple zoom levels. Check geometric accuracy by comparing your digital model against original architectural blueprints. Evaluate lighting consistency across different perspectives and verify that material properties remain stable under varying environmental conditions. Run performance tests to confirm rendering efficiency and identify potential optimization opportunities. Adjust compression settings to balance visual quality with file size ensuring smooth presentation across different viewing platforms.
Finalize your rendering through careful color grading and post processing refinements. Calibrate contrast levels subtle atmospheric effects and overall color balance to create a cohesive visual experience. Prepare multiple output formats to accommodate different presentation requirements including high resolution static images interactive walkthroughs and compressed web friendly versions. Document your technical settings and creative decisions to provide transparency and facilitate future iterations of the project.
Pro Tip: Create a standardized review checklist with specific technical and aesthetic criteria to streamline your quality control process and maintain consistent rendering excellence.
Elevate Your Architectural Visualizations with Rendimension
Struggling to transform your architectural designs into stunning photorealistic 3D renderings Detailed modeling and lighting challenges can slow down your creative process and compromise the emotional impact of your visuals At Rendimension we specialize in turning complex concepts into immersive visual experiences that capture every detail and subtle lighting nuance described in the Architectural Visualization Guide for Stunning 3D Renderings Our expert team focuses on precision in 3D modeling, realistic materials, advanced effects, and thorough final optimization so your presentations stand out and engage clients at every stage

Discover how Rendimension’s professional architectural visualization services can help you overcome common pain points like maintaining dimensional accuracy applying realistic materials, and crafting compelling lighting schemes Act now to access tailored solutions that enhance your project storytelling and marketing effectiveness Visit our website to explore our expertise in architectural visualization and experience the difference of high-quality photorealistic 3D renderings designed for architects, real estate developers, and design professionals Ready to bring your visions to life with precision and emotional depth Start your journey with Rendimension today
Frequently Asked Questions
How do I define a clear project vision for architectural visualization?
Creating a clear project vision involves gathering specific project requirements and aesthetic preferences from stakeholders. Schedule a detailed meeting to document these elements and collect visual references into mood boards to guide your design process.
What software should I use to create accurate 3D models for architectural visualization?
Select robust 3D modeling software that supports high polygon counts and offers advanced texturing capabilities. Start by importing architectural blueprints as reference images to ensure your models are dimensionally accurate.
What techniques can I use to apply realistic materials and lighting in my 3D renderings?
Utilize physically based rendering (PBR) workflows for material properties, experimenting with reflectivity and transparency for realism. Implement global illumination techniques to create natural lighting scenarios that enhance your architectural features.
How can I integrate advanced effects to enhance my architectural renderings?
Introduce environmental dynamics using particle systems and volumetric lighting to create an immersive experience. Focus on refining details like surface textures and color grading to elevate the visual storytelling of your architectural designs.
What steps should I take to finalize my architectural renderings?
Conduct a comprehensive quality assessment to check geometric accuracy, material consistency, and lighting effects across different views. Finalize your renderings by calibrating color balance and preparing multiple output formats to suit presentation needs.