How Many Camera Angles Per Room in a 3D Rendering?
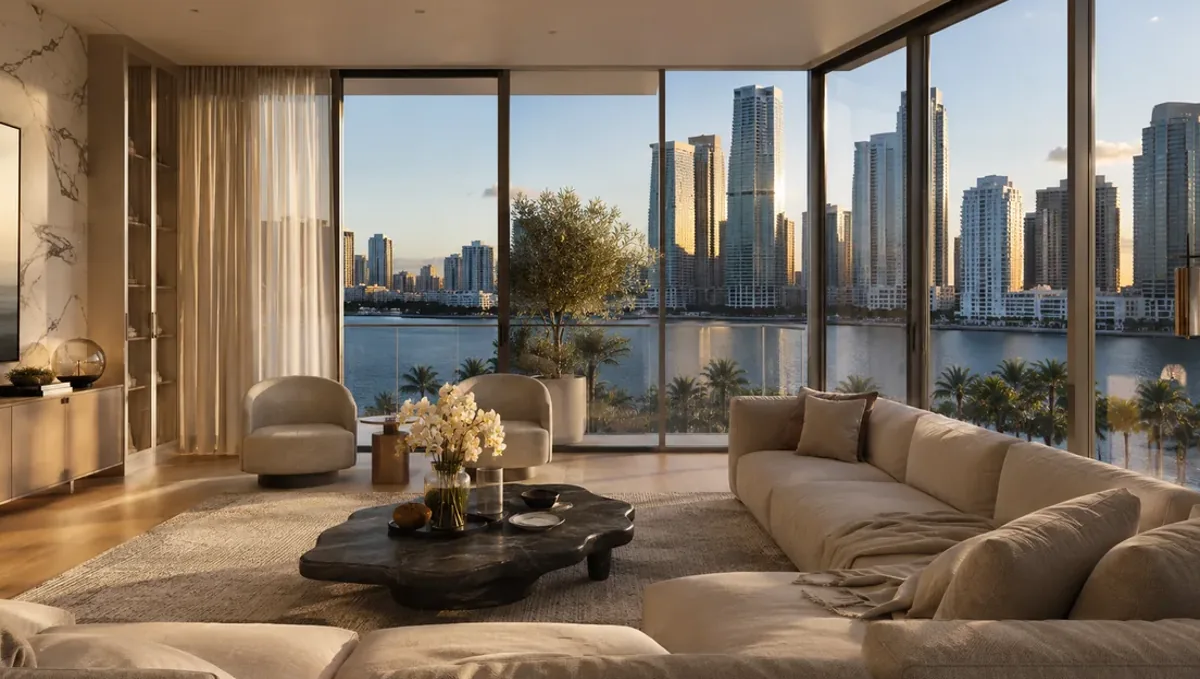
Quick answer: Most rooms need one or two camera angles, with a second angle only when the first hides important decisions.
The short answer on camera angles
Most rooms need one or two camera angles. One wide view usually shows the layout and finishes, and a second angle from the opposite corner helps when the room is large, has an important feature or needs to show a part hidden from the first view. This guide belongs to how many 3D renderings you need for a project and explains how to decide.
What one angle can and cannot show
One angle shows about half to two thirds of a typical room. It communicates mood, layout and the main finishes, but it hides the walls behind the camera. If the decisions you face involve those hidden walls, a single view will not be enough and a reverse angle becomes worthwhile.
When a second angle is worth it
Add a second angle when the room is large, open to other spaces, or has features on opposing walls, such as a fireplace and a bank of built in cabinets. Also add one when the client must approve both sides. Skip it if the second view would show mostly the same finishes.
Choosing the camera position
Position the camera in a corner or doorway at about eye height, so the view feels natural. Avoid extreme wide angles that distort proportions. The studio can suggest positions, but you know which features matter most, so tell them what the image must show before they choose.
Small rooms
Small rooms such as powder rooms and closets are often served by one angle. Wide lenses can make them look larger than they are, so ask for an honest lens. If the room has one crucial feature, such as a custom vanity, make sure the single view features it clearly.
Large and open rooms
Great rooms and open plan spaces may need two or three angles to cover different zones. Treat each zone as a separate decision. A wide view shows the connection between zones, and closer views show details. Plan the set so that each image has a distinct purpose and adds new information.
Detail views
A detail view focuses on one element, such as a fireplace or a stair. It is useful when finishes or geometry are complex. Use detail views sparingly, since each adds cost. Ask whether the detail would change a decision, and if not, describe it in the specifications and skip the extra image.
Angles for different audiences
Clients, contractors and marketing teams often need different angles. A client wants to feel the room, a contractor wants to see the construction, and a marketer wants an appealing view. Clarify the audience before choosing angles, since one well chosen view may serve two audiences and save money.
Cost and timing
Each additional angle adds setup and review time, though it costs less than a new room since the model is reused. Rendimension quotes each project from the plans and the goal and offers an express option subject to the queue. See how the number of views affects turnaround and how long a 3D rendering takes.
Keeping the set consistent
Ask the studio to keep lens, camera height and lighting consistent across every angle you order. Consistency lets you compare rooms fairly and judge the design rather than the photography. It also makes the set look professional when you share it with clients, lenders or contractors who will study the images side by side.
Reviewing angles with the floor plan
Mark each planned camera position on the floor plan and draw its field of view. This simple sketch shows which walls each angle covers and which ones remain hidden. Send it to the studio with your brief. It prevents misunderstandings and quickly shows whether one angle is enough or a second is needed to cover the room properly.
Angles for kitchens
Kitchens often need a view showing the main work area and a second showing the connection to the dining or living space. Choose the angles that show how the room works, including the island, the sink and the appliances. If the kitchen is small, one view from the doorway is often enough to judge layout and finishes.
Angles for bedrooms
Bedrooms are usually served by one angle showing the bed wall and the windows. A second angle is worth it when there is a walk in closet, a sitting area or a bath en suite that must be approved. Use the same lens and height as in other rooms so that the set feels consistent.
Angles for exteriors and entrances
Entrances and facades need angles that show how a person approaches them. A view from the sidewalk or driveway is often more useful than a distant aerial. If the entrance has a porch or a custom door, a closer second angle helps you judge the details, while the first shows the composition and the context.
Using angles to test decisions
Angles can test decisions directly. If you are unsure about a wall color, choose an angle that shows the wall clearly and in good light. If you are unsure about a layout, choose one that shows the walkways. Thinking of each angle as an answer to one question makes every image earn its place in the set.
Lens choice and honest proportions
A wide lens makes rooms look larger and can distort furniture and walls. Ask the studio for natural proportions so you judge the room honestly. If a marketing image needs a wider lens, use it knowingly and keep a more neutral view for decisions. Honest proportions prevent surprises when you walk into the finished room.
Camera height
Eye height, around standing viewpoint, feels natural, while lower cameras make ceilings feel taller and higher cameras show more floor. Choose the height that fits the decision. For kitchens, a slightly higher camera shows counters and layout, and for grand spaces a lower one emphasizes volume. Discuss it with the studio.
Coordinating angles across rooms
When you order several rooms, keep camera height and lens consistent so the images compare fairly. Inconsistent views can make one room look larger or more attractive than another for reasons that have nothing to do with design. Ask the studio to follow a standard so that decisions rely on the design and not on photography tricks.
Angles for remodels
In a remodel, choose angles that match photos of the existing room. Comparing a before photo and an after rendering from the same viewpoint is very persuasive and helps decide what to keep. Provide your photos and note where you stood. The studio can then match the viewpoint closely for a clear comparison.
Angles and furniture placement
The camera position decides which furniture is visible. Make sure the angle shows the pieces that matter, such as a sofa and a dining table, and does not hide them behind walls or other objects. If you are testing a furniture layout, choose a view that shows the walkways as well as the pieces themselves.
When photographs replace the second angle
In some cases, photographs of a finished sample room or a similar project can replace a second rendering. If the room resembles another that you already like, use the photo to convey the hidden side. This reduces the number of renderings and gives you a real reference to compare with the design.
Deciding the final list of angles
Before you confirm, write each room and the decision each angle will answer. If two angles answer the same question, keep one. If an important question has no angle, add one. This short exercise usually removes wasted views and reveals the ones that were missing, and it makes the brief clearer for the studio.
Prioritizing when the budget is limited
Choose the angle that shows the most decisions. Add a second angle only if a major decision remains hidden. Use the plan and samples for anything else.
What to send the studio
- The plan and elevations of the room.
- A list of features that must be visible.
- Photos of the current room for a remodel.
- Finishes, furniture and lighting preferences.
- The audience and decision date.
Budget and timing
Agree on the angle or angles with the studio before production. Rendimension quotes each project from the plans and the goal, with an express option subject to the queue.
Revision rounds and how to keep them small
For camera angles, settle the big decisions in the first preview: massing, materials, colors, landscaping and camera. Afterwards, send changes as one consolidated list. Every extra view multiplies the review effort, so a smaller set with clear feedback usually finishes faster. See how revision rounds affect timelines.
Timing
The count of images affects the schedule, since each view needs setup, lighting and review. Count backward from your deadline, leave room for one revision round and answer the studio quickly. See how long a 3D rendering takes and how the number of views affects turnaround. Rendimension offers an express option, subject to the queue, when a date is fixed.
Common mistakes
- Choosing angles before defining the decisions.
- Using distorting wide lenses.
- Ordering two similar angles.
- Hiding a feature the client must approve.
- Not saying who the image is for.
- Ordering detail views for elements that are simple.
A worked example
A designer with a large living room orders a wide view from the entry showing the seating area and fireplace, and a reverse view from the fireplace showing the built in cabinets and the windows. The bathroom next door gets a single view, since one angle shows all the finishes.
Where to go next
Send the drawings or sketch, the site photos and the purpose of the images to the studio, and agree the number of views together. For the general overview, see how many 3D renderings you need for a project, and for the pitfalls, see common mistakes when deciding how many renderings to order.
Frequently asked questions
How many camera angles does a room need?
Usually one or two.
When do I need a second angle?
When the room is large or has features the first view hides.
Where should the camera go?
In a corner or doorway at eye height.
Do small rooms need two angles?
Rarely.
What is a detail view?
A close view of one complex element.
Do different audiences need different angles?
Sometimes, so state the audience.
Can I add angles later?
Yes, reusing the model.
Is there a faster option?
Rendimension offers an express option, subject to the queue.
Related guides
This guide is part of our series on how many 3D renderings a project needs. Start with the overview, how many 3D renderings you need for a project. Related: when one rendering is enough, how to choose which views to render first on a limited budget, how many interior and exterior renderings to order together. When you are ready, send what you have through our quote request.