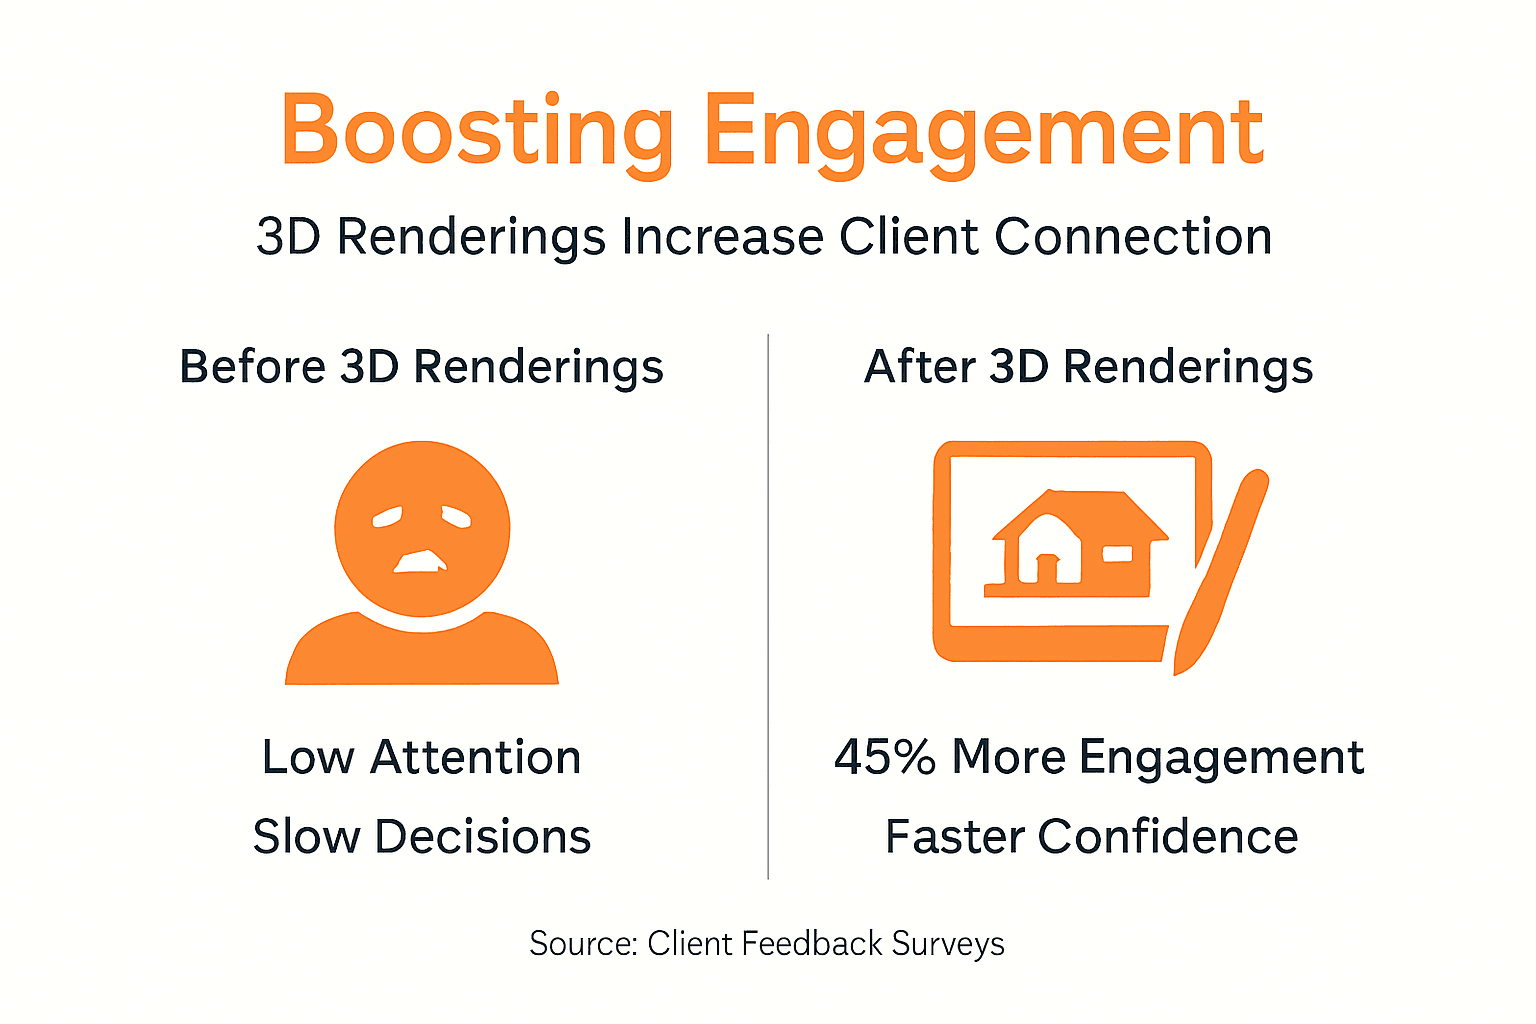
Present 3D Renderings to Clients: Boost Engagement 45%

Architects and developers often struggle when presenting 3D renderings to clients, leading to confusion and reduced approval rates. Poor presentation techniques can undermine even the most stunning visualizations, leaving clients uncertain about design intent and hesitant to move forward. This guide provides actionable strategies to present renderings effectively, enhancing client engagement through preparation, structured delivery, clear communication, and immersive tools. You’ll learn methods to clarify design concepts, avoid common pitfalls, and measure presentation success.
Table of Contents
- Preparation and Prerequisites
- Step-by-Step Presentation Methods
- Effective Communication Strategies
- Using Interactive and Immersive Elements
- Common Mistakes and How to Fix Them
- Expected Outcomes and How to Measure Success
- Enhance Your Client Presentations With Rendimension
- Frequently Asked Questions
Key Takeaways
| Point | Details |
|---|---|
| Preparation drives success | Research client background, rehearse delivery, and gather annotated renderings before presenting. |
| Structured methods improve clarity | Prioritize key visuals, use annotations, and maintain logical flow to reduce confusion by 40%. |
| Communication avoids jargon | Use storytelling and client-specific language to prevent a 30% drop in satisfaction. |
| Interactive elements boost engagement | VR and walkthroughs increase client engagement by 45% compared to static images. |
| Common mistakes are fixable | Overloading jargon and skipping rehearsal are avoidable with checklists and practice. |
Preparation and Prerequisites
Having highlighted key takeaways, now dive into how thorough preparation sets a foundation for a successful presentation. Before stepping into any client meeting, you need the right tools and background knowledge to deliver confidently.
Start by gathering essential presentation software and hardware. You’ll need rendering platforms like V-Ray or Lumion, screen sharing tools for remote meetings, and high-resolution displays for in-person sessions. If you plan to use interactive elements, prepare VR headsets or AR-capable tablets in advance.
Research your client’s technical literacy and project goals. A developer with years of experience will appreciate detailed spatial analysis, while a first-time homebuyer needs simplified visuals focusing on lifestyle benefits. Tailor your rendering complexity accordingly to match their comfort level.
Rehearse your presentation with internal stakeholders. Run through the sequence, test all interactive elements, and align on messaging. Understanding the impact of 3D renderings helps frame your preparation around client decision-making needs. This rehearsal step reduces miscommunication and ensures smooth delivery.
Prepare annotated renderings that highlight key design features. Add callouts explaining material choices, spatial flow, and lighting strategies. According to Why Use 3D Renderings: Impact On Architecture And Real Estate, effective preparation includes understanding client background and rehearsing presentations for alignment.
Consider these preparation essentials:
- Verify all technical equipment and backup solutions before the meeting
- Create a presentation outline prioritizing the three most important design elements
- Develop a glossary of terms you might need to explain during Q&A
- Prepare comparison views showing design alternatives or evolution
- Test 3D walkthroughs in design elements for smooth playback
Understanding different client familiarity levels helps you adapt on the fly. Technical clients may ask about structural details, while emotional buyers focus on aesthetics and lifestyle. Learn more about creating professional 3D renderings to ensure your visuals support both technical and emotional communication.
Step-by-Step Presentation Methods
After preparing thoroughly, the next step is executing the presentation with clear, structured methods to maximize engagement. A logical sequence keeps clients focused and prevents cognitive overload.
Follow this proven delivery structure:
- Open with your strongest visual showing the completed project in context. This establishes the big picture and emotional connection immediately.
- Present key exterior views explaining site integration, facade materials, and architectural character. Use annotated callouts to guide attention.
- Transition to interior spaces following a natural walkthrough sequence. Start at entry points and move through spaces as clients would experience them.
- Highlight three to five critical design features using close-up renderings. Explain the rationale and benefits behind each decision.
- Address potential client concerns proactively with comparison views or alternative options. This demonstrates thoroughness and flexibility.
- Close with a summary rendering and clear next steps for feedback and approvals.
According to 3D Walkthroughs: Transforming Design Presentations, structured presentations with annotated renderings reduce client confusion by 40%. This improvement comes from prioritizing information and guiding visual attention systematically.
Maintain a logical flow by grouping related spaces together. Don’t jump randomly between interior and exterior views. Use transitions that mirror physical movement through the building. This helps clients build a mental model of the space.
Pro Tip: Keep presentations between 20 and 30 minutes to maintain peak client attention. Schedule additional time for Q&A, but front-load your strongest content to capture interest early.
Consider this comparison of presentation formats:
| Format | Engagement Level | Setup Time | Best Use Case |
|---|---|---|---|
| Static Renderings | Moderate | 10 minutes | Initial concept reviews and budget discussions |
| Interactive Walkthroughs | High | 30 minutes | Detailed design reviews and spatial understanding |
| VR Presentations | Very High | 45 minutes | Final approvals and high-stake client decisions |
Choose your format based on project phase and client sophistication. Early concepts benefit from quick static reviews, while final designs warrant immersive experiences. Explore more about architectural visualization guide principles to refine your approach.
For complex projects, break presentations into focused segments with natural pause points. This allows clients to absorb information and ask questions without disrupting flow. Learn how project 3D walkthroughs can segment information effectively. Understanding rendering architecture definition helps you explain technical aspects when needed.
Effective Communication Strategies
Following structured delivery, communication strategies deepen client connection and ensure clarity during presentations. How you explain design choices matters as much as what you show.
Use story arcs to make your presentation memorable. Instead of listing features, explain the design journey. Describe how site constraints influenced form, how client priorities shaped material selections, and how end users will experience spaces emotionally. This narrative approach creates meaning beyond aesthetics.
Personalize discussions around each client’s specific needs and priorities. A family building their dream home cares about different aspects than a developer maximizing ROI. Reference their stated goals throughout your presentation to show you listened and responded.
Avoid technical jargon or define terms clearly when necessary. Phrases like “fenestration patterns” or “thermal bridging” confuse non-technical clients. Say “window arrangement” or “energy-efficient wall construction” instead. According to Language Use and Client Engagement in Architecture Presentations, technical jargon usage during presentations correlates with a 30% drop in client satisfaction and engagement.
Highlight benefits and end-user experiences to create emotional connections. Don’t just show a kitchen rendering. Describe morning light streaming through east windows as the family gathers for breakfast. Paint pictures with words that complement your visual presentations.

Pro Tip: Mirror your client’s own terminology and reference examples they’ve mentioned. If they described wanting a “cozy reading nook,” use that exact phrase when presenting the library space. This linguistic alignment builds rapport and shows attentiveness.
Consider these communication best practices:
- Ask clarifying questions before launching into explanations to ensure relevance
- Watch for client body language signaling confusion or disengagement
- Pause regularly to invite questions rather than monologuing through slides
- Use analogies relating architecture to familiar concepts from their world
- Summarize key points after each major section to reinforce understanding
Learn more about how to present 3D visuals effectively through communication techniques. High quality 3D visualization supports your message but cannot replace clear verbal communication. Explore the role of storytelling in presentations for additional narrative techniques. Discover more about transforming project presentations through strategic communication.
Using Interactive and Immersive Elements
Building on communication strategies, incorporate immersive technology to further engage and convince clients. Interactive elements transform passive viewing into active exploration.
Interactive walkthroughs allow clients to navigate spaces at their own pace. They can pause to examine details, return to areas of interest, and build spatial understanding organically. This self-directed exploration increases retention and ownership of design decisions.
VR presentations offer the highest engagement by placing clients physically inside unbuilt spaces. They can look up at ceiling details, walk through doorways, and judge room proportions at full scale. According to 3D Walkthroughs: Transforming Design Presentations, incorporating interactive 3D walkthroughs increases client engagement by 45% compared to static renderings.
AR brings renderings into real-world contexts. Clients can view proposed buildings on actual construction sites using tablets or phones. This helps visualize scale and site integration. However, Augmented Reality in Architecture Marketing: Pros and Cons notes that using augmented reality (AR) can extend presentation duration by 10 to 15 minutes and requires client tech literacy.
Compare presentation technologies:
| Technology | Client Engagement | Technical Barriers | Ideal Project Phase |
|---|---|---|---|
| Static Renderings | 60% | None | Concept development |
| Interactive Walkthroughs | 85% | Low | Design development |
| VR Presentations | 95% | Moderate | Final approvals |
| AR On-Site | 80% | Moderate to High | Pre-construction |
Client tech familiarity determines which tools work best. Younger, tech-savvy clients embrace VR enthusiastically, while traditional developers may prefer enhanced static presentations with annotations. Assess your audience before committing to complex technology.
Consider these implementation tips:
- Start with simpler interactive elements before advancing to VR if client comfort is uncertain
- Provide brief tutorial sessions so clients can navigate confidently without frustration
- Have backup static renderings ready if technical issues arise with interactive tools
- Limit VR session duration to 15 minutes maximum to prevent motion sickness
Explore VR and AR benefits for architectural presentations. Learn about immersive 3D walkthroughs capabilities and virtual reality in design applications. Understand AR and VR in client presentations for implementation strategies.
Common Mistakes and How to Fix Them
After exploring advanced tools, address what can go wrong and how to fix mistakes to ensure success. Even experienced presenters make avoidable errors that diminish effectiveness.
Mistake: Overloading presentations with technical jargon. This alienates clients and creates unnecessary barriers to understanding. Fix: Use simple, descriptive language and define any technical terms you must include. Translate architecture-speak into client-friendly explanations focusing on benefits rather than processes.
Mistake: Presenting unstructured or overly detailed renderings without clear focal points. Clients don’t know where to look or what matters most. Fix: Prioritize and annotate key elements to guide attention. Use callouts, arrows, or highlighting to direct focus toward critical design decisions.
Mistake: Not tailoring presentation complexity to client’s knowledge level. One-size-fits-all approaches confuse novices or bore experts. Fix: Conduct thorough client research beforehand and adapt content depth accordingly. Prepare multiple explanation tracks you can switch between based on live feedback.
Mistake: Skipping rehearsal, leading to miscommunications and technical failures. Unprepared presentations feel disorganized and unprofessional. Fix: Practice with internal stakeholders for smooth, clear delivery. Test all equipment and interactive elements the day before your meeting.
According to Language Use and Client Engagement in Architecture Presentations, technical jargon usage during rendering presentations correlates with a 30% drop in client satisfaction and engagement. This statistic underscores how critical clear communication is to success:
Technical jargon usage during rendering presentations correlates with a 30% drop in client satisfaction and engagement, demonstrating that clarity drives better project outcomes.
Pro Tip: Create a pre-presentation checklist covering equipment tests, content review, client research verification, and rehearsal completion. Run through this list 24 hours before every client meeting to catch issues early.
Additional mistake prevention strategies:
- Record yourself presenting to identify verbal tics or unclear explanations you can improve
- Ask a non-technical colleague to review your presentation for jargon and complexity
- Prepare answers to the five most likely client questions based on project specifics
- Set up equipment 30 minutes early to troubleshoot any technical problems
- Keep presentations focused on client priorities rather than showcasing every design detail
Learn about avoiding common presentation mistakes through systematic preparation. Follow visualization best practices to maintain quality standards throughout your workflow.
Expected Outcomes and How to Measure Success
Conclude the guide by explaining what results you can expect and how to verify the effectiveness of your presentations. Setting realistic benchmarks helps you evaluate and improve your approach over time.
Ideal presentation length ranges from 20 to 30 minutes including dedicated Q&A time. This duration maintains attention without causing fatigue. Longer sessions risk losing client focus, while shorter presentations may feel rushed or incomplete.
Aim for a 40% or greater increase in client engagement metrics compared to previous presentation methods. Measure engagement through question frequency, interaction with walkthroughs, and time spent examining renderings. Higher engagement correlates directly with approval rates.
Improve client decision confidence by 30% or more. Survey clients after presentations asking how confident they feel about design decisions on a scale of one to ten. Compare scores across different presentation techniques to identify what works best.
ROI benchmarks include measurable increases in project approvals and accelerated sales cycles. Top-performing firms report 20% to 35% improvements in conversion rates after implementing structured rendering presentations with interactive elements. Calculate your cost per presentation against increased revenue from faster approvals.
Use multiple data sources to measure success:
- Client feedback surveys focusing on clarity, engagement, and confidence levels
- Interaction analytics from digital walkthroughs showing which areas clients explored most
- Approval timeline comparisons measuring days from presentation to signed contracts
- Revision request frequency as an indicator of initial communication effectiveness
- Referral rates from satisfied clients who understood and loved their projects
Track these metrics consistently across projects to identify trends and opportunities for improvement. What works for residential clients may differ from commercial developer needs. Segment your analysis by client type for actionable insights.
Learn more about the impact of 3D visualization on engagement and how quality presentations drive business results. Continuously refine your approach based on measurable outcomes rather than assumptions about what clients want.
Enhance Your Client Presentations with Rendimension
After learning how to present renderings effectively, discover professional services to elevate your projects further. Rendimension specializes in creating high-quality 3D rendering services that transform architectural concepts into stunning visual presentations.

Our team delivers photorealistic renderings tailored to your project needs, ensuring every detail communicates your design intent clearly. We offer interactive 3D walkthrough services that allow your clients to explore spaces before construction begins, dramatically improving engagement and approval rates.
Leverage our VR and AR visualization solutions to create immersive presentations that set you apart from competitors. With over 1,000 projects completed globally, we understand how to craft visuals that drive decision-making and accelerate project timelines. Partner with Rendimension to transform your client presentations from informative to unforgettable.
Frequently Asked Questions
What is the best length for a 3D rendering presentation?
The optimal presentation length is 20 to 30 minutes including Q&A time. This duration maintains client attention without causing cognitive overload. Front-load your strongest visuals within the first 10 minutes to capture interest immediately.
How can I tailor my presentation for clients with low technical knowledge?
Use simple, descriptive language and prioritize visual storytelling over technical explanations. Avoid jargon entirely or define terms clearly when necessary. Focus on benefits and emotional experiences rather than construction methods or architectural theory.
When should I use VR or AR in presentations?
Deploy VR for high-stake final approvals where immersive spatial understanding justifies the setup time. Use AR when clients want to visualize designs on actual construction sites. Both work best with tech-comfortable clients willing to invest 45+ minutes in the presentation.
What metrics indicate a successful rendering presentation?
Track increased client interaction during presentations, improved decision confidence scores in post-meeting surveys, and faster approval timelines. Also measure revision request frequency, as fewer changes suggest clearer initial communication. Aim for 40% engagement improvement and 30% confidence gains.
How do I handle client questions about technical details I didn’t cover?
Prepare key facts about structural systems, materials, and costs beforehand even if you don’t plan to present them. When unexpected questions arise, acknowledge them positively and offer to provide detailed follow-up documentation within 24 hours. This maintains presentation flow while demonstrating thoroughness and responsiveness.
Recommended
- How To Present 3D Visuals For Impactful Client Engagement
- Why Use 3D Renderings: Impact On Architecture And Real Estate
- High Quality 3D Rendering And Architectural Visualization
- Architectural Visualization Services In Miami: Rendimension
- The Manufacturer’s Guide to Well-Being Design CEUs – CEU Builder