What You Need to Deliver a Pre Construction VR Walkthrough
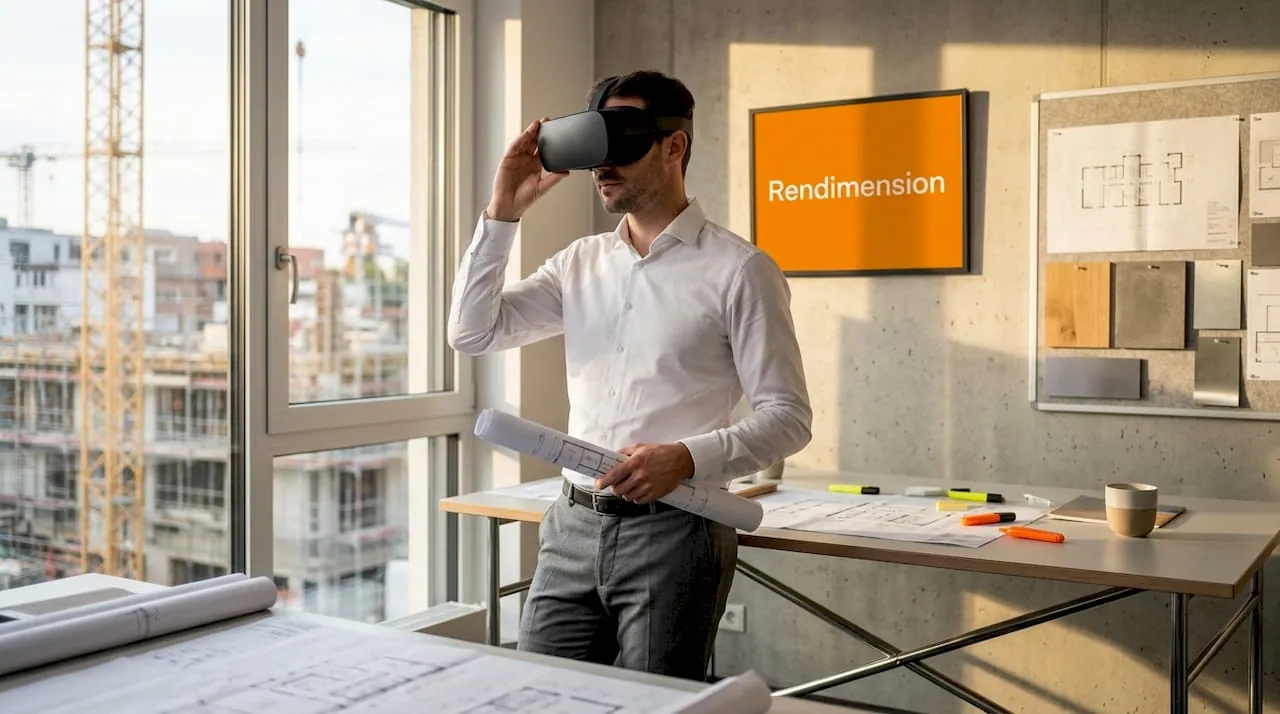
Quick answer: To deliver a pre construction VR walkthrough you need four things: a coordinated drawing set, a finish direction, a decision about how much freedom the user gets, and a named person on your side who owns the demo. Missing any of the first three delays production. Missing the fourth produces a build that nobody runs.
For the service itself, see virtual reality for pre construction.
1. The drawing package
VR is unforgiving about geometry in a way that a rendering is not. In a still image, a slightly wrong ceiling height is invisible. In a headset, the user is standing under it. That raises the bar on input.
- Floor plans for every space in scope, dimensioned.
- Sections and elevations, because ceiling heights, floor to floor dimensions and openings are experienced directly.
- Reflected ceiling plans if lighting is part of what you are selling.
- Joinery and millwork details for spaces where built in elements define the design.
- Window and glazing information, since sightlines and view framing are a large part of the perceived value.
- Site context, survey or accurate address plus photography, so what appears outside the glass is real.
If elements are missing, say so rather than leaving the studio to guess. Known gaps are handled deliberately. Unknown gaps become corrections in week four.
2. Finish and materials direction
A finish schedule is ideal. If selections are not final, provide direction: reference imagery, a palette, the intended tier. What does not work is silence, because the studio then invents a scheme and you spend a revision round replacing it.
Decide early whether the VR needs to show more than one finish package. Showing two options is a legitimate sales tool for buyer configurable projects and it is a real cost increase, not a variant of the same build. Decide it before kick off.
3. The interaction decision
This is the requirement most buyers have not thought about, and it drives both cost and usefulness. There are three broad levels.
Guided path. The user moves along a defined route and looks around freely. Cheapest, most controllable, best for investor and buyer demos where you want a specific argument made.
Free movement. The user walks anywhere within the modeled space. More expensive because everything the user can reach has to be finished properly. Right for operators, architects and anyone whose job is to inspect rather than to be persuaded.
Configurable. The user changes things: finish packages, furniture layouts, optional walls, time of day. Most expensive and most powerful in a sales gallery where buyers are personalising a purchase.
Pick the lowest level that serves the sales process you actually run. Buying configurability that nobody demonstrates is the most common overspend in this category.
4. Hardware and environment
Confirm before production, because it affects how the build is optimized.
- Which headsets, and how many. A standalone headset and a tethered high end setup are different performance targets.
- Physical space: an area where a user can turn safely, plus a chair for those who prefer to sit.
- A backup mode. A desktop or browser version for buyers who decline a headset, and there will be some.
- Charging, storage and hygiene supplies. Unglamorous and genuinely the reason some installations fall out of use.
- Connectivity, if the experience streams rather than running locally.
5. Internal ownership
Name one person responsible for the demo before production starts. Their job is to be trained on the equipment, to know the route, to run it in front of a stranger without hesitation, and to know what question follows when the headset comes off.
This is not an afterthought. The difference between a VR build that contributes to sales and one that becomes an expensive ornament is almost entirely this role. If nobody can be named, that is useful information: it suggests a browser based experience your team can share by link will serve you better than a gallery installation.
6. A decision on what happens after delivery
Three questions to settle in the contract. Who hosts and maintains the experience. What it costs to update after a design change. And whether the model is retained for reuse, which matters because the same geometry supports imagery, a linear walkthrough and later phases at a fraction of the cost of rebuilding.
A readiness checklist
- Coordinated drawing set including sections, with known gaps documented.
- Finish direction, and a decision on whether multiple packages are needed.
- Site context and accurate views.
- Interaction level chosen: guided, free or configurable.
- Target hardware confirmed, plus a non headset fallback.
- A named demo owner, trained before launch.
- Agreed terms on hosting, updates and model retention.
If most of that list is unresolved and a date is close, a linear 3D walkthrough is the more reliable deliverable. It tolerates a less complete input, it requires no hardware or training on your side, and the model it produces becomes the foundation for a VR build later when the remaining decisions are made.
What to test before you show it to a buyer
The readiness checklist above covers what you supply. There is a shorter one covering what you verify, and it is the step most often skipped because the build looks finished on a monitor. Walk the space yourself in the headset, at least twice, before any prospect does. Check that door handles and worktops sit at plausible heights, because scale errors that are invisible in a rendering are immediately obvious at eye level. Walk into the corners and confirm the geometry is closed. Look up: unfinished ceilings are the most common oversight.
Then have someone who has never seen the project try it cold, with no instructions, and watch where they hesitate. If they cannot work out how to move, or they stand still waiting to be told, the interaction needs simplifying before it goes in front of a buyer. Ten minutes of this catches the failures that damage credibility in a sales appointment, and none of it requires technical knowledge. It requires doing it before the appointment rather than during it.
Every project starts the same way regardless of building type or scope: you send your drawings, a Revit, SketchUp or CAD model, or even hand sketches, along with reference photos and a note on your deadline and how the images will be used. There is no need to schedule a call before getting a number. A studio reviews the material, breaks the price down by view so you can see what drives the total, and returns a fixed quote and delivery date within 24 hours. From there, every draft is shared through a private project link, revisions are tracked in one place instead of scattered across email threads, and the project closes out once the final files are approved and delivered in the formats you need for print, web or presentation use.
Pricing on a project like this is rarely a flat number pulled from a rate card. Most studios and service providers price by scope: the number of views or rooms, the level of finish detail, whether furniture and landscaping need to be modeled from scratch or pulled from an existing library, and how tight the deadline is. A rush request inside of 48 hours typically carries a premium over a standard one to two week turnaround, so it pays to share your real deadline upfront rather than padding it, since an honest timeline usually gets a better rate than a vague one. Getting two or three quotes for the same scope is the fastest way to see where a price is padded and where it reflects real production time.
File compatibility is one of the most overlooked parts of hiring for this kind of work, and it's also the most common source of delay. Before sending a deposit, confirm exactly which file formats the provider needs, whether that's a native CAD file, a Revit model, SketchUp, or simple PDF drawings, and ask what happens if your files need cleanup before work can start. Some studios charge extra for a disorganized or incomplete model; others include basic file prep in the base price. Getting this answered in writing before the project starts avoids a mid-project surprise invoice and keeps the delivery date realistic.
Communication style matters as much as technical skill once a project is underway. Ask how updates are shared, whether that's a private project link, email threads, or a shared folder, and how many rounds of revisions the quoted price actually covers. Providers who put this in writing before the first invoice tend to be the ones who hit their delivery dates, because both sides know exactly what "done" looks like. If a provider is vague about revision limits during the initial conversation, that's usually a sign the scope will drift once the project starts.
Reviews and past client references tell a more reliable story than a polished portfolio page alone, since anyone can showcase their best five projects while quietly leaving out the ones that ran late or over budget. Asking for two or three references from projects similar in scale to yours, and actually calling them, remains one of the most effective ways to separate a provider who performs consistently from one who got lucky on a handful of showcase pieces. It takes an extra day, but it's a small cost against a project that could take weeks to complete.
This guide is part of our wider coverage on the same topic. For the full picture, including scope, pricing and delivery, read VR Sales Experiences for Pre-Construction Condos.
Frequently asked questions
Can a VR walkthrough be built from floor plans alone?
Not reliably. VR is experienced at human scale, so sections and ceiling information matter far more than they do for a still image. Plans alone produce a space that feels wrong even when it measures correctly.
What is the difference between guided and free movement VR?
Guided moves the user along a defined route while they look around freely, which is cheaper and better for persuasion. Free movement lets them go anywhere, which costs more because every reachable area must be finished, and suits inspection rather than sales.
Do we need to buy headsets?
Only if you are running demos in a sales gallery. Remote audiences are served by a browser based version, and many projects run both from the same build.
What if our drawings are incomplete?
Document the gaps and share them. Known gaps are handled deliberately during production. If the set is substantially incomplete, a linear walkthrough is the safer deliverable and its model can carry a VR build later.