Save Hours on Revit to 3ds Max Handoffs for Visualization Studios

Save Hours on Revit to 3ds Max Handoffs for Visualization Studios
Link the RVT for iterative projects; export FBX when you need a one-time geometry handoff. Either way, plan to rebuild materials and lighting once the model lands in 3ds Max. That’s the honest production answer, and the step-by-step version of it follows below.
TL;DR:
- Linking RVT files maintains design updates but can increase scene complexity; use it during iterative development for easy revisions.
- Export FBX for final renderings when design is locked, but prepare to rebuild materials and lighting manually due to conversion issues.
- Clean up Revit models before export by purging unused families, verifying units, and setting appropriate detail levels to avoid costly errors later.
- Use category-based combining in 3ds Max to optimize large scenes, and replace repeated entourage with proxies to keep workflow fast.
- Automated scripts assist with setup but require careful texture path verification and version matching to prevent common import issues.
Table of Contents
- Choosing Your Revit to 3ds Max Workflow: RVT Link vs FBX vs DWG
- How Do You Prep a Revit Model Before Exporting?
- Linking and Importing in 3ds Max: File Link Settings That Matter
- Why Material Conversion Rarely Survives the Trip
- Keeping Large Revit Scenes Fast in 3ds Max
- Which Scripts and Automation Tools Actually Save Time?
- Rendimension’s Take on the Revit to 3ds Max Handoff
- Skip the Handoff Headaches: Let Rendimension Handle the Conversion
- Where to Verify Export and Import Settings
- Sources
- FAQ
Choosing Your Revit to 3ds Max Workflow: RVT Link vs FBX vs DWG
Three methods dominate real production pipelines, and Autodesk’s own documentation confirms it: RVT linking, FBX export, and DWG export cover nearly every real-world case. Each one trades off editability against portability, and picking wrong costs you hours later.
- RVT link: keeps a live connection to the source file, so design changes update on reload. Cameras and lights often carry over, but the scene stays tied to Revit’s geometry engine, which can bloat object counts.
- FBX export: a static snapshot that preserves geometry, some material definitions, and camera data. No live link, so a Revit change means a re-export.
- DWG export: geometry only, stripped of most metadata, lights, and cameras. Fast and clean, but you’re rebuilding almost everything visual from scratch.
For iterative design work where the architect keeps revising, link the RVT. For a final handoff to a visualization team that just needs the geometry once, export FBX. DWG earns its place mainly in CAD-heavy coordination tasks, not rendering.
How Do You Prep a Revit Model Before Exporting?
Sloppy exports almost always trace back to a Revit file that was never cleaned up. Build a dedicated 3D view specifically for export, hide categories you don’t need in the render (topography, MEP ducts, rebar), and purge unused families before you touch the export dialog. Autodesk’s own export guide walks through the dialog settings step by step, but the prep work happens before you ever open it.

Check units and confirm the model’s internal origin hasn’t drifted, especially on linked files from consultants. If you’re exporting FBX, verify the “Curved Objects Detail” setting. Too coarse and round columns turn into faceted polygons; too fine and your polygon count explodes for no visual gain.
A quick pre-export checklist:
- Create and isolate a clean 3D export view.
- Hide unnecessary categories (site, structural rebar, MEP where irrelevant).
- Purge unused families and materials.
- Confirm units and check linked file scale.
- Set FBX curved-object detail to a moderate level.
- Verify bitmap and texture file paths are accessible, not broken links.
Skip step six and you’ll spend your first hour in 3ds Max chasing missing textures instead of building the scene.
Linking and Importing in 3ds Max: File Link Settings That Matter
Inside 3ds Max, go to File > Link Revit (or File > Import for FBX), then open the Manage Links dialog to control how the geometry behaves on reload. This dialog is where most of the real decision-making happens, not the initial import click.
- As One Object: collapses everything into a single mesh. Fast to load, but you lose the ability to select individual elements later.
- Do Not Combine: keeps every Revit element separate. Maximum editability, maximum object count, and a slower viewport.
- Combine by category: the practical middle ground. Walls merge into one object, furniture and fixtures stay separate for material work.
When you reload a linked RVT, 3ds Max gives you the option to keep existing scene materials rather than overwrite them with fresh Autodesk material definitions. Choose that option once you’ve started rebuilding materials, or every reload wipes your work.
Pro Tip: Set up your layer structure and camera naming convention on the very first import. Reloading a linked file after renaming layers manually is where most broken material assignments happen.
Why Material Conversion Rarely Survives the Trip
Autodesk-style materials exported from Revit almost never render correctly in V-Ray, Arnold, or Corona without rework. Practitioner reports on Autodesk’s own forums describe this repeatedly: automated conversion handles geometry fine but consistently mangles material definitions, especially glass, metal, and anything with a bump or normal map, a pattern confirmed in community discussions on Revit-to-Max material handling.
Two approaches actually work in production:
- Use renderer-native materials directly in Revit where your render engine supports it, minimizing conversion loss before export ever happens.
- Treat the Revit export as geometry only, then apply professional material libraries in 3ds Max, matched to whichever renderer you’ve standardized on. Rendimension’s 3ds Max and V-Ray rendering guide covers this material rebuild process in more depth.
Lights and cameras usually need adjustment too. Revit’s photometric lights rarely translate one-to-one into physically accurate V-Ray or Arnold lights, so expect to reset intensity values and swap in renderer-native light objects rather than trust the import.
Keeping Large Revit Scenes Fast in 3ds Max
A full building model imported with no combine settings applied can bring a workstation to a crawl. Selective combining, as recommended in Autodesk’s File Link settings documentation, solves most of this without sacrificing the control you need for hero shots.
- Combine structural and wall geometry by category; keep furniture, fixtures, and hero objects separate.
- Swap repeated entourage (trees, cars, people) for 3ds Max proxies instead of importing Revit’s native versions.
- Turn off layer visibility for anything outside the current camera’s frame during lookdev.
- Reload linked assets deliberately, and re-check material assignments every time you do.
Pro Tip: Collapse anything the client will never select individually. Keep hero elements, like a lobby facade or a kitchen island, fully editable, and proxy or instance everything else.
Which Scripts and Automation Tools Actually Save Time?
The Revit to Max Importer script from ScriptSpot automates the tedious part: detaching objects by material, fixing FBX scale mismatches, organizing layers automatically, converting Autodesk materials toward standard 3ds Max materials, and repairing broken bitmap paths. It genuinely cuts setup time on a big scene from hours to minutes.
It’s not a substitute for checking the result, though.
- Always verify texture paths after running any automated cleanup script.
- Confirm scale didn’t shift, especially on FBX imports from older Revit versions.
- Match Revit and 3ds Max versions where feasible; cross-version imports are where scripts most often choke.
- For visualization-heavy pipelines, some teams route through Enscape to VRayScene or through Datasmith into Unreal or Twinmotion instead of a direct Max import, particularly for real-time walkthrough deliverables.
Rendimension’s Take on the Revit to 3ds Max Handoff
We treat 3ds Max as the production master, full stop. Every Revit handoff we receive gets its materials and lighting rebuilt by hand, because Autodesk’s own iterative workflow guidance confirms what our team already knew from repetition: automated conversion is a starting point, never a finish line.
We ask for linked RVTs on projects still moving through design revisions, and request a clean FBX export once the design locks. Version mismatches cause more grief than any material bug, so we confirm Revit and Max versions before a single file changes hands. Our own project visualization workflow walks through how we manage that handoff with architecture clients from first file to final render.
, Rendimension
Skip the Handoff Headaches: Let Rendimension Handle the Conversion
Rendimension is the alternative to managing this pipeline in-house: instead of your team burning hours on material rebuilds, layer cleanup, and version troubleshooting, you hand us the Revit file and get back photoreal stills, walkthroughs, or VR experiences built on a properly optimized 3ds Max scene.
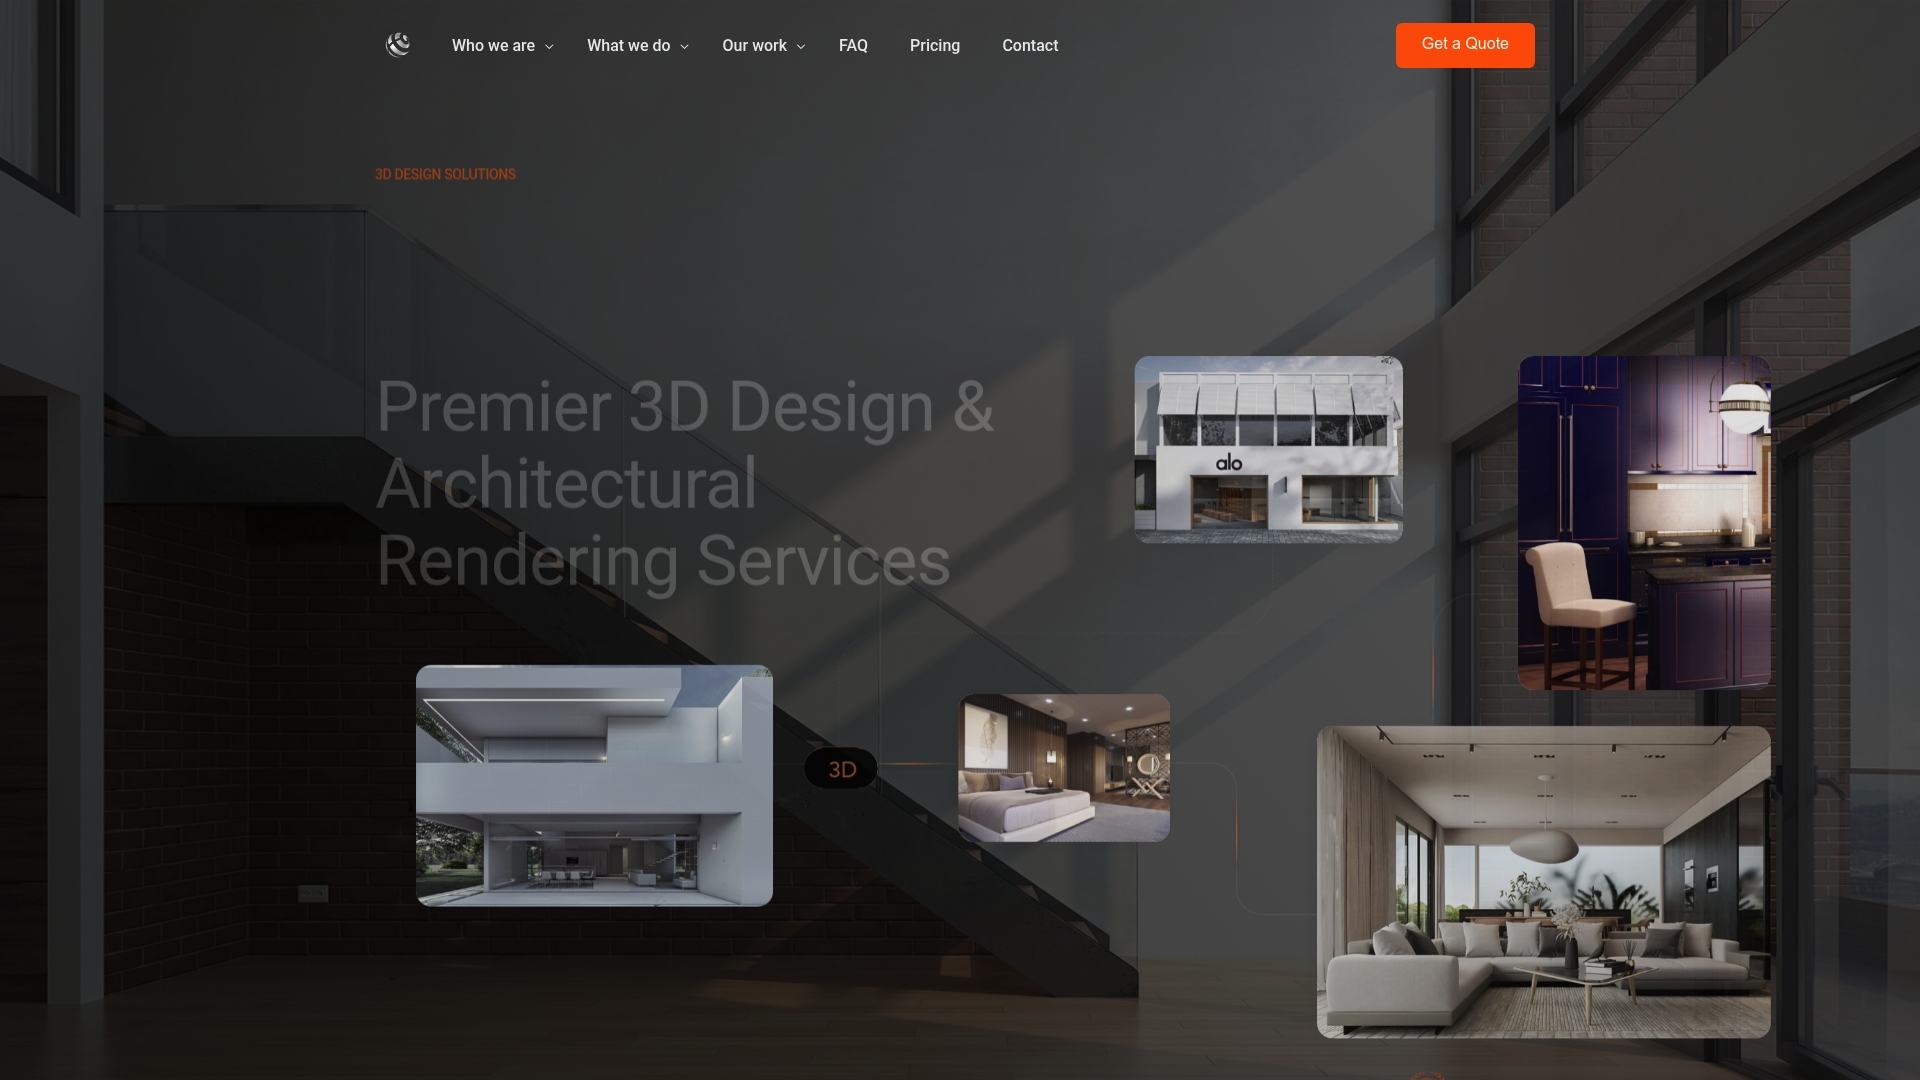
We take linked RVTs or exported FBX files, rebuild materials and lighting to production standard, and deliver camera stills, full walkthroughs, or immersive VR and AR experiences depending on what the project calls for. Turnaround depends on scope, but a single camera view typically moves faster than a full walkthrough package. Send us your Revit file and project brief through our architectural rendering services page to get a scoped quote back, or browse the full range of what we build at Rendimension.
Where to Verify Export and Import Settings
For exact dialog steps, check Autodesk’s export documentation, the ScriptSpot importer page, and forum threads on version-specific quirks before a big deadline.
Sources
FAQ
How Do You Convert an RVT File to STL?
Revit doesn’t export STL natively, so the common path is exporting to FBX or OBJ first, then converting that file using a mesh tool that outputs STL. This route works for basic massing models meant for 3D printing, but complex architectural detail usually needs simplification first since STL has no material or hierarchy data.
Which Is Better for Architectural Work, Revit or 3ds Max?
They’re not competitors, they’re partners in the same pipeline. Revit handles parametric design, documentation, and BIM data, while 3ds Max is where production-quality rendering, materials, and lighting actually happen. Most professional visualization pipelines use both, moving the model from Revit into Max once design intent is locked.
Can Revit Files Be Used for 3D Printing?
Yes, but not directly. Revit models need to be exported to a mesh format like FBX or OBJ, cleaned up, and converted to STL, since raw architectural geometry usually has far more complexity and open surfaces than a printer-ready file needs.
What’s the Best Renderer to Use With 3ds Max?
V-Ray, Arnold, and Corona all handle architectural visualization well inside 3ds Max, and the right pick depends on your studio’s existing material libraries and rendering standards more than raw feature lists. Rendimension’s own 3ds Max and V-Ray guide covers the settings and material workflow we rely on for photorealistic production renders.
Why Do My Materials Look Wrong After Importing From Revit?
Autodesk-style materials from Revit rarely translate cleanly into renderer-native materials in 3ds Max, especially glass, metal, and anything using bump maps. The fix is rebuilding key materials manually with your renderer’s own material libraries rather than trusting the automated conversion.