Photorealism vs Stylized: AEC Decision Map and Studio Brief Checklist
Photorealism vs Stylized: AEC Decision Map and Studio Brief Checklist
Use photorealism when you need finish-locked marketing, contractor quotes, or a sale closed. Use stylized or sketch-style visuals when you’re still deciding massing, testing brand direction, or building early client buy-in. Most successful AEC projects use both, at different moments, and the mistake teams make is picking one style and running it the whole way through.
TL;DR:
- Photorealistic renders should only be produced after finish and material decisions are finalized to avoid costly rework and wasted budget.
- Stylized visuals are ideal during early concept and massing stages to focus feedback on form and spatial relationships without locking into finishes.
- Combining both styles in a project delivers effective marketing and construction documentation, using stylized images for concepts and photorealism for finish details.
- The total time and revision costs are higher for photorealistic work due to detailed modeling, lighting, and post-processing, requiring careful planning and early concept testing.
- Handling both visual styles within a single studio and workflow reduces conflicts, saves time, and ensures consistency from concept to final presentation.
Table of Contents
- What Do Photorealistic Renders Communicate vs Stylized Visuals?
- When Should You Use Each Style During a Project Timeline?
- What Do Photorealism and Stylized Renders Cost in Time and Revisions?
- How Do You Build a Hybrid Workflow That Uses Both Styles?
- How Do You Brief and Evaluate a 3D Visualization Studio?
- How Rendimension Balances Photoreal and Stylized Work
- Get Both Styles From One Studio Instead of Two Vendors
- Sources
- FAQ
What Do Photorealistic Renders Communicate vs Stylized Visuals?
Photorealism speaks the language of materials, light, and finish. It tells a contractor exactly what stone to quote, tells a buyer exactly what the kitchen will look like at 6 p.m. in June, and tells an investor that a project is real enough to fund. Photorealistic renders rely on detailed textures, accurate lighting, and post-processing to convince a viewer they’re looking at a photograph, which is exactly why they only work once those details are actually decided.
Stylized visuals speak a different language: form, mood, and identity. A loose sketch or a painterly render tells a planning board “here’s the massing and the relationship to the street” without locking in a single tile choice. It tells a marketing team “here’s the feeling we’re selling” before the finish schedule even exists.
Here’s how the two styles map to specific audiences and outcomes:
- Contractors and estimators need photoreal material call outs to price a job accurately.
- Planning boards and neighbors often respond better to stylized massing studies that read as “concept,” not “done deal.”
- Investors and lenders want photoreal hero shots that make the project feel bankable.
- Brand and marketing teams frequently reach for stylized illustration when testing an emotional direction before committing to photoreal finishes is cheaper than reshooting a full render set later.
Mismatch the two and you get a sales team pushing sketches on Zillow, or a design team locking finishes off a mood board nobody’s approved yet.
When Should You Use Each Style During a Project Timeline?
Visual style should follow the plan’s maturity, not the other way around. Rolling out photoreal detail before the design is settled almost guarantees rework; clinging to sketches once the client needs a contractor quote just slows everyone down.
- Concept and massing (weeks 1 to 3). Stick with sketch-style or stylized outputs. They’re line-dominant and built to focus feedback on form, proportion, and window placement, not paint colors nobody’s chosen yet.
- Design development. Blend both: stylized studies for spatial options, targeted photoreal test renders for one or two signature views to align the client on direction early.
- Finish selection. Move to photorealism. This is where material, fixture, and lighting decisions actually get made, and vague sketches stop being useful.
- Pre-construction and contractor quoting. Photoreal only. Contractors price what they see, and ambiguity here costs real money in change orders.
- Marketing and sales. Photoreal leads, with stylized assets held in reserve for brand campaigns, social teasers, or early pre-sale interest before units exist.
The risk of jumping to photoreal too early isn’t just wasted render budget. It’s that a plan changes after the client falls in love with a specific photoreal image, and that image now has to be scrapped. Sketches, by contrast, tend to stay valid even after a plan shifts because they never promised a specific finish in the first place. Archive both sets. Concept sketches make excellent process documentation for later marketing (“from concept to completion” campaigns write themselves), and early photoreal test renders are useful references when finish decisions finally get made.
What Do Photorealism and Stylized Renders Cost in Time and Revisions?
Photorealism costs more in both hours and revision risk, and that’s not a flaw. It’s doing more work: modeling materials down to grain and reflectivity, building lighting setups that mimic a specific time of day, and running post-processing passes that stylized work simply skips. That level of detail is inherently resource-intensive, which shows up directly in turnaround time and price.
Stylized work moves faster because it’s forgiving. A shift in window proportion or roofline doesn’t blow up hours of texture and lighting work the way it does in a photoreal scene.
- Photoreal projects typically need tighter revision caps because each round touches lighting, materials, and camera composition simultaneously.
- Stylized projects can absorb more iteration rounds at lower cost per round, which makes them the right tool for exploring options.
- Locking the floor plan and finish palette before requesting photoreal work is the single biggest cost lever available to a project lead.
Pro Tip: Budget several stylized concept rounds before you ever request a photoreal pass. It’s far cheaper to argue over massing in sketch form than to argue over a finished render costing several thousand dollars because the massing was wrong all along.
How Do You Build a Hybrid Workflow That Uses Both Styles?
The strongest deliverable sets don’t pick a side. They pair a photoreal hero shot for the cover of a pitch deck with stylized or line-drawing callouts for construction detail, so the deck sells the vision and still communicates buildability. A hybrid deck combining photoreal hero images with sketch-style detail callouts gives contractors and clients what each of them actually needs, in one package.
A workable process looks like this:
- Freeze the floor plan and material palette before requesting the final photoreal package. Anything requested before that point should be scoped as concept work, not final deliverables.
- Reserve full photoreal treatment for a few key views doing the heaviest lifting: the marketing hero shot, the investor deck cover, the listing thumbnail.
- Keep zoned photoreal renders (kitchen, facade, lobby) separate from full walkthrough builds so a change in one room doesn’t force a full re-render.
- Route all revision notes through one person on the client side. Consolidated feedback from a single point of contact measurably reduces conflicting direction and cuts revision costs compared to five stakeholders each emailing separate notes.
Pro Tip: Ask your studio to batch feedback by stage rather than by reviewer. One consolidated round of notes after each stage beats a running stream of individual comments that contradict each other.
How Do You Brief and Evaluate a 3D Visualization Studio?
A brief that skips the basics is how projects end up with multiple rounds of photoreal renders of a design that hadn’t been approved yet. Before you sign off on a quote, get these items in writing.
- Stage and intent. State plainly whether you need concept exploration, finish-locked marketing assets, or contractor-ready documentation. A studio that jumps straight to photoreal without asking this question is a red flag.
- Deliverable list. Get an exact count of views, resolutions, file formats, and whether walkthroughs or VR assets are included or billed separately.
- Revision policy. Ask how many rounds are included, what counts as a revision versus a new request, and how change orders on a locked plan are priced.
- Timeline with milestones. Concept sketches, direction-setting renders, and final delivery should each have a date, not just a final due date.
- Single point of contact. Confirm the studio assigns one project lead for feedback, and that your team does the same on its end.
- Portfolio proof. Ask for comparable project examples in both stylized and photoreal registers, not just a highlight reel of finished hero shots.
Studios worth hiring will hold this structure without being asked twice.
How Rendimension Balances Photoreal and Stylized Work
In many residential and commercial development projects, teams that win approvals and close sales rarely rely on one visual register the entire way through. Rendimension’s process keeps a collaborative feedback loop from concept sketch through final architectural visualization, so a client isn’t locked into a direction before it’s tested.
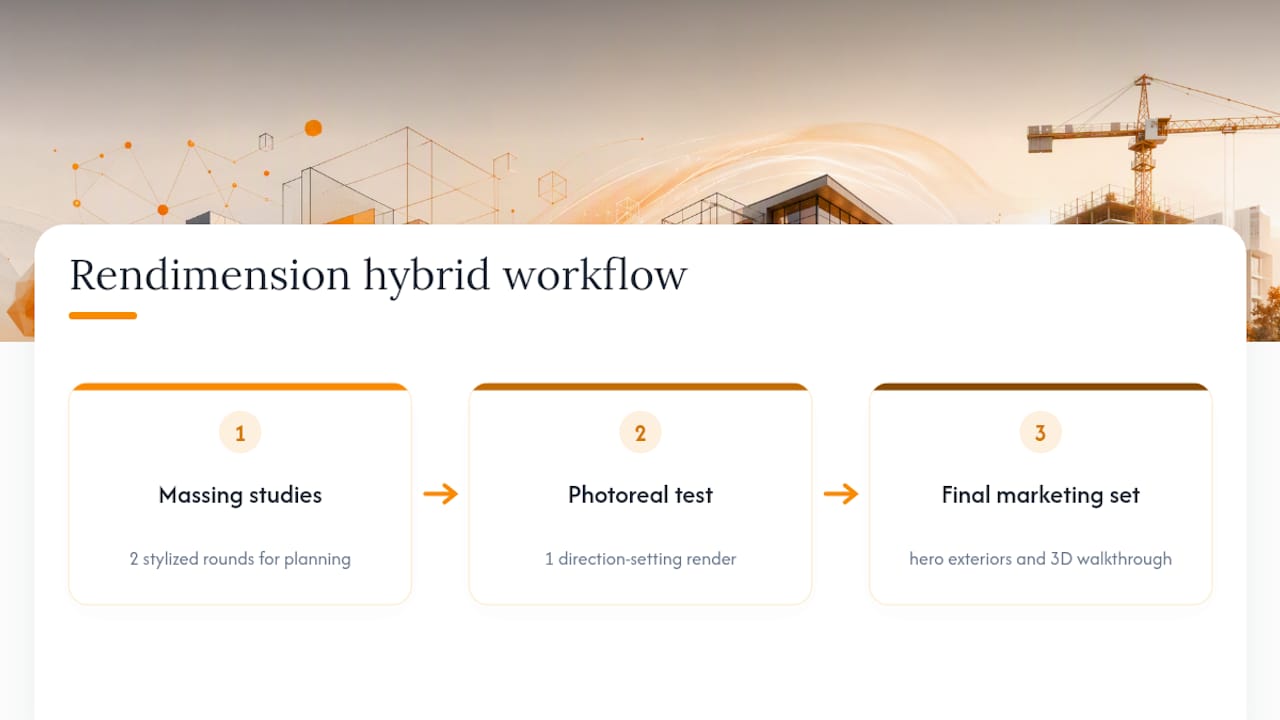
A typical hybrid package Rendimension might scope for a mid-size residential development: two rounds of stylized massing studies for planning board review, one direction-setting photoreal test render once the facade is approved, and a final marketing set combining photoreal hero exteriors with a 3D walkthrough for the sales office. Each stage builds on the last instead of restarting from scratch.
, Rendimension
Get Both Styles From One Studio Instead of Two Vendors
Running concept sketches through one freelancer and final photoreal marketing renders through another means two contracts, two feedback loops, and two chances for the finish package to drift from what was actually approved. Handling both registers under one project, with one point of contact and one revision process, helps ensure the stylized massing study the planning board approved is the same plan the photoreal marketing renders are built from.
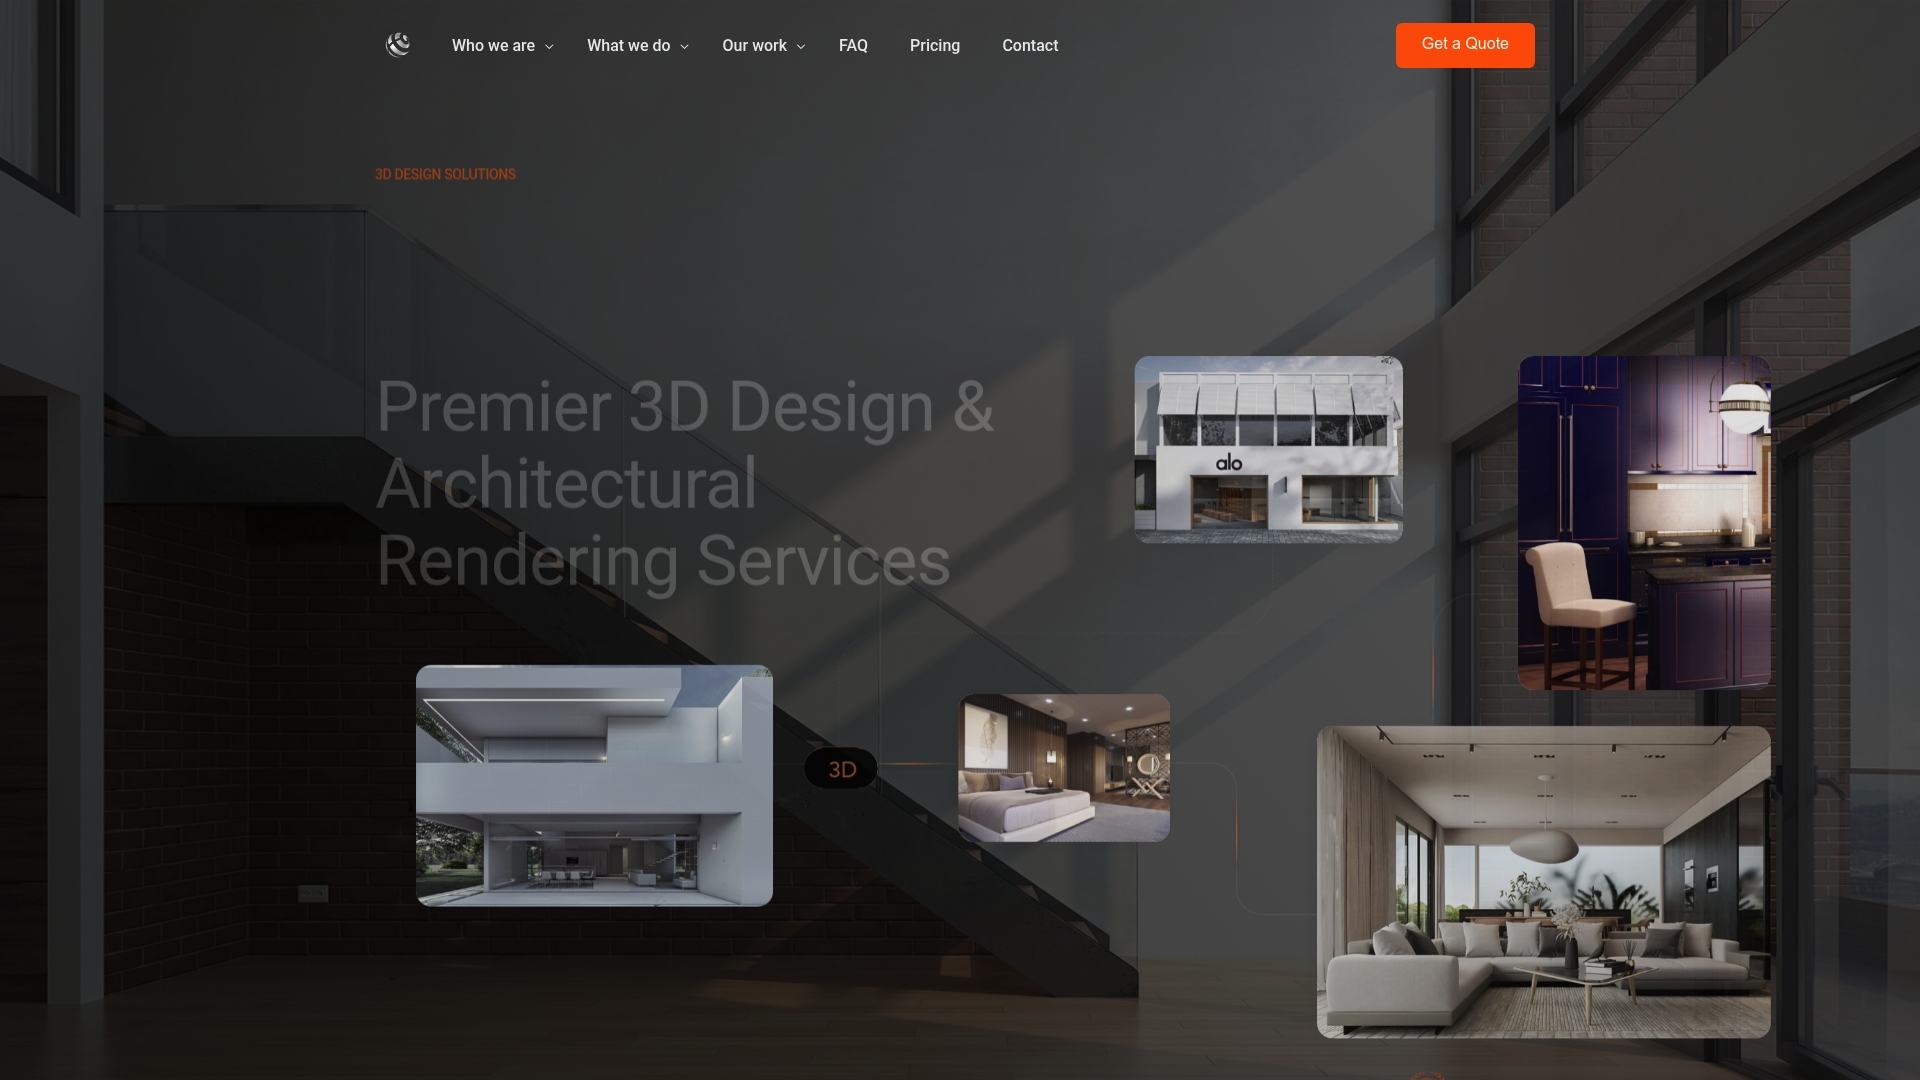
If you’re scoping a project that needs to move from early concept through finish-locked marketing assets, start with Rendimension’s 3D rendering services page to see deliverable examples and request a quote scoped to your project’s actual stage, not a one-size package that skips the steps in between.
Sources
FAQ
Is Photorealism or Stylized Better for Real Estate Marketing?
Photorealism generally performs better for listings and sales marketing because buyers respond to detailed material and lighting cues, but stylized assets still work well for early brand campaigns before units are finished.
Can You Switch Styles Partway Through a Project?
Yes, and most successful projects do exactly that, moving from stylized concept sketches to photoreal renders once the floor plan and materials are locked.
Why Do Sketches Stay Useful Longer Than Photoreal Renders?
Sketches communicate form rather than finish, so they often remain valid after a design changes, while a photoreal render tied to a specific finish can become outdated the moment that finish changes.
How Many Revision Rounds Should a Photoreal Render Include?
Most studios cap photoreal revisions tighter than stylized work because each change touches lighting and materials at once; confirm the exact number and what counts as a new request before signing a quote.
Does Rendimension Offer Both Photoreal and Stylized Visualization?
Yes, Rendimension produces both registers within a single project workflow, from early concept sketches through finish-locked photorealistic renders and marketing walkthroughs.