How to Compare Finish Options in a 3D Rendering
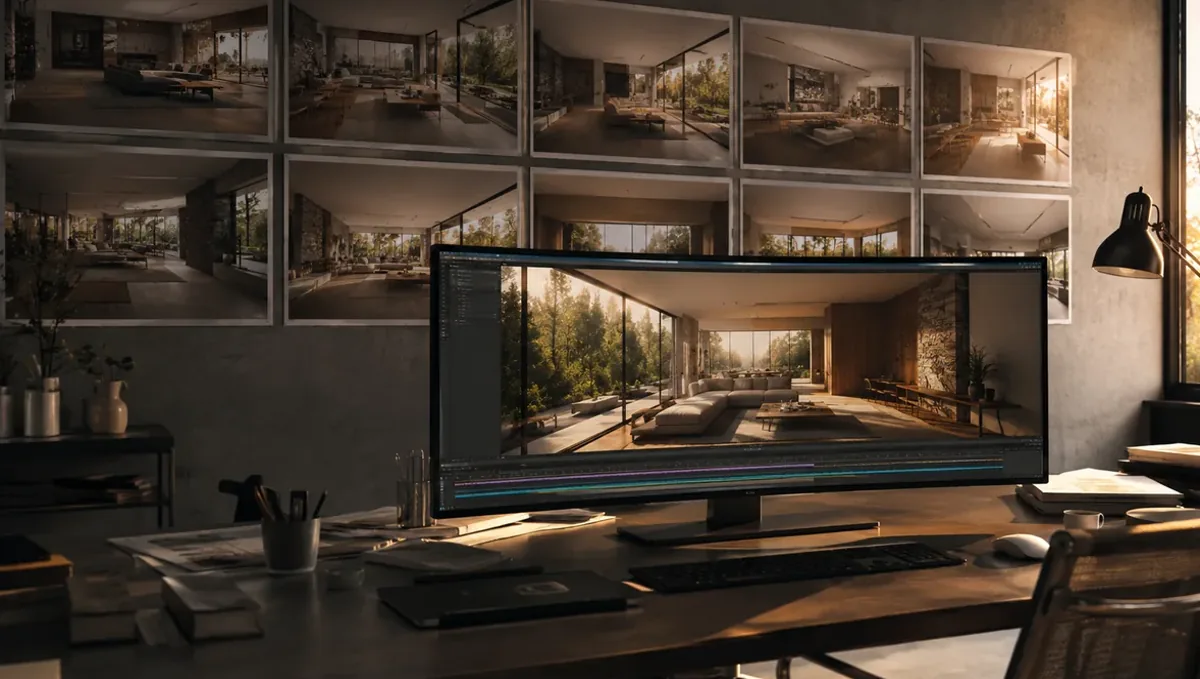
Quick answer: To compare finish options in a rendering, keep camera and lighting constant, change one variable at a time, limit options and confirm the decision with samples.
The short answer: change one thing at a time and keep everything else identical
To compare finish options in a 3D rendering, keep the camera, lighting and furniture identical and change only the finish you are testing. Then look at the versions side by side, with the same size and order. This guide belongs to how to specify materials and finishes for a 3D rendering and explains how to set up a fair comparison, how many options to test and how to decide.
Why comparison images are valuable
It is hard to imagine how two finishes will look in a room. A comparison shows the difference in the same view, so you can judge the effect of the change and not the effect of a different photo. This saves money, because a wrong choice after installation is costly, and it helps partners agree quickly.
Decide the question first
Before asking for options, define the question. Are you choosing between two cabinet colors, or between wood and tile floors? A clear question produces useful images. A vague request such as show me some options produces variety that is hard to compare. Write the decision in one sentence and share it with the studio.
Limit the number of options
Two or three options are usually enough. More than that leads to confusion and slows the decision. If you have many candidates, narrow them with samples first and use the rendering for the final two or three. Each additional option adds time and cost, so choose them deliberately, based on what you actually consider buying.
Keep camera and lighting constant
A fair comparison uses the same camera angle, the same time of day and the same lighting. Otherwise the differences you see may come from the light and not the finish. Ask the studio to render all versions from one setup. This makes the image a controlled test and helps you see the real effect of each material.
Change one variable at a time
If you change the floor, the wall color and the cabinets together, you cannot tell which change caused your reaction. Change one element per comparison. If the first choice is settled, then compare the next. This sequence takes a few rounds but produces confident decisions and prevents the frustration of a palette that almost works.
Use side-by-side and toggled views
Ask for the versions arranged side by side on one sheet, or as separate files with identical names, so you can flip between them. Flipping quickly shows subtle differences better than viewing them apart. Label each version clearly with the product name and code, so the decision can be traced to a specific item later.
Involve the right people
Decide who votes. Too many opinions produce contradictory feedback. Choose the decision maker, and gather comments from others before the final round. Share the same images with everyone, at the same size, and ask them to reply with numbered comments. A structured process avoids the endless loop of preferences that change every week.
Confirm with samples
After the rendering narrows your choice, verify with physical samples. Read how accurate materials are in a rendering for how accurate materials are, and whether a rendering can match your exact samples for how to match exact samples. The comparison shows the effect of the design, and the sample confirms color and texture. Together they give the most reliable answer before you place an order.
Kitchen and bath comparisons
In kitchens and baths, compare cabinets, countertops and tile together as a set, then vary one item. These rooms have many finishes, and their relationships matter more than any single choice. Ask for a close view of the counter and backsplash so you can judge how the pattern and veining interact.
Comparing with and without furniture
Furniture and decor change how finishes are perceived. Ask for a version with minimal props when evaluating materials, and another with the full styling to see the mood. This helps you separate the effect of the finish from the effect of the decor, and it prevents choosing a material only because of the styling.
Budget-based options
Sometimes the comparison is between a premium finish and a budget alternative. Show both in the same view and note the price difference. Seeing the visual gap helps you decide where the extra money is worth spending, such as in the kitchen, and where the economy option is nearly identical.
Delivery formats and revisions
Tell the studio how you will use the images, such as sharing with partners or a contractor. Ask for the resolution that suits that use. Send feedback in one message per round, naming each element. Focused revisions produce clearer comparisons and keep the project on schedule.
Comparing wall colors
Wall color changes the mood of the whole room. Compare two or three shades in the same view, and include the trim and floor so undertones are visible. Colors interact with daylight, so ask for a daytime view. Paint chips look different on a large wall, and a rendering helps you see the effect on a full surface.
Comparing floors and large surfaces
Floors and large surfaces have the biggest visual impact. Compare materials in the same layout and scale, including the direction of planks or tile. Show the transition to other floors if it matters. Because floors are expensive to change, spend the most effort comparing them and confirm the choice with a large sample.
Comparing exteriors in different light
Exterior colors change through the day. Ask for a bright sun view and an overcast view of each palette if the decision is important. Compare siding, roof and trim together. Also compare with the neighborhood context, since a palette that works on paper may stand out too much on your street.
Comparing fixtures and hardware
Fixtures and hardware finishes, such as brushed nickel, matte black or brass, change the character of a space. Show them in the same room and view. Small items are hard to judge on a swatch, so a rendering helps you see how they combine with cabinets, tile and lighting in the whole composition.
Using a decision matrix
For bigger projects, list each option with its cost, lead time, maintenance and appearance. Add the rendering as the visual score. A simple table helps partners compare beyond appearance, and it prevents choosing a beautiful option that is unavailable or too expensive. The rendering supports the decision but does not replace practical criteria.
Avoiding decision fatigue
Too many choices exhaust people and delay decisions. Make the big choices first, such as floors and cabinets, and leave small ones for later. Show only the options that are realistic. If a decision stalls, take a break, review the images the next day and ask a trusted person for an outside opinion.
Presenting options to a client or board
When you present options to someone else, show the images in the same order and size, and describe the pros and cons of each. Give a recommendation and explain why. Clear presentation shortens meetings and helps boards or clients approve a choice, since they can see a logical path from the options to the recommendation.
Keeping the comparison useful over time
Save the comparison images with the date. If you later renovate or expand, they show the palette you considered and rejected. That record avoids repeating work and lets you continue with consistent choices. It also helps if a supplier discontinues a product and you need to compare alternatives against the original decision.
Record the decision
Once you choose, save the approved image, the codes and the reason for the choice. This helps you remember why you decided, and it gives contractors and suppliers a clear reference. If someone later questions the decision, the record shows what was compared and approved at the time.
What to send the studio
- The plans or the base scene to be used.
- The two or three finishes to compare, with codes and photos.
- The single question you want to answer.
- The views needed and the number of options.
- Who will decide and the deadline.
Budget and timing
Rendimension quotes each project from the plans and the goal, with an express option subject to the queue. A clear question and a short list of options keep the comparison focused and the schedule predictable.
Revision rounds and how to keep them small
For a client comparing finish options, settle the big material decisions in the first preview: main surfaces, colors, wood tones, metals and the overall palette. Afterwards, send changes as one consolidated list. Every changed finish needs new lighting checks, so a clear palette from the start finishes faster. See how revision rounds affect timelines.
Timing
Material decisions are one of the biggest causes of delay, because choices arrive late or change after the first preview. Send selections early, answer the studio quickly and leave room for one revision round. See how long a 3D rendering takes and how the number of views affects turnaround. Rendimension offers an express option, subject to the queue, when a date is fixed.
Common mistakes
- Comparing too many options at once.
- Changing several variables at once.
- Using different lighting between versions.
- Letting too many people decide.
- Skipping physical samples.
- Not recording the decision.
A worked example
A couple choosing between two flooring options sends the plans, product codes and photos. The studio renders the living room twice with the same camera and light. The couple views the images side by side, picks the warmer floor, orders samples to confirm and records the decision in a short document for the contractor.
Where to go next
Send the drawings, the material information and your reference photos to the studio, and agree the palette together. For the general overview, see how to specify materials and finishes for a 3D rendering, for expectations about accuracy, see how accurate materials are in a rendering, and for the pitfalls, see common mistakes when specifying materials.
Frequently asked questions
How many finish options should I compare?
Two or three is usually enough.
Should the camera stay the same?
Yes. Identical views make the comparison fair.
Can I compare more than one element at once?
It is better to change one element at a time.
How are the versions delivered?
Side by side on a sheet or as separate labeled files.
Do I still need samples?
Yes. Samples confirm color and texture.
Who should decide?
Choose one decision maker and gather comments before the final round.
Can I add an option later?
Yes, as a new revision within the same setup.
Is there a faster option?
Rendimension offers an express option, subject to the queue.
Related guides
This guide is part of our series on materials and finishes for 3D renderings. Start with the overview, how to specify materials and finishes for a 3D rendering. Related: how to choose materials when you have not decided yet, why materials look different in a rendering than in real life, how accurate materials are in a rendering. When you are ready, send what you have through our quote request.