How to Make an Interactive Walkthrough
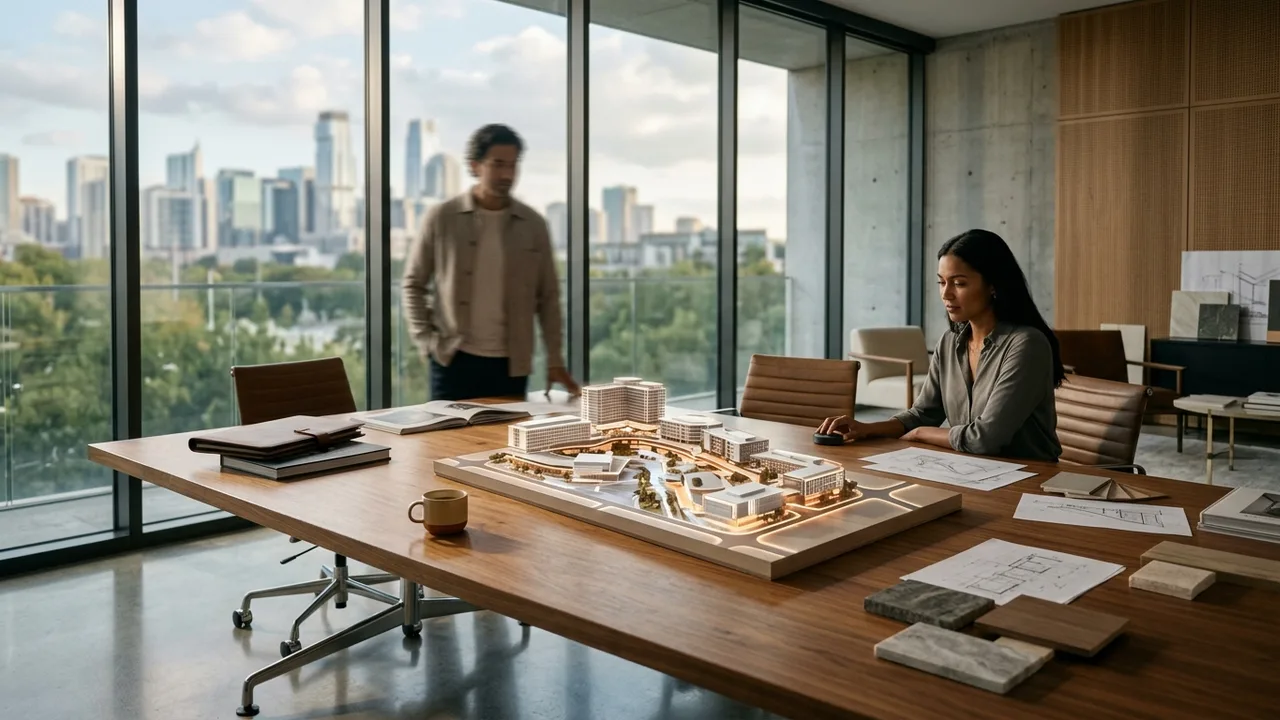
Making an interactive walkthrough starts with an accurate 3D model and ends with a navigable experience a viewer can explore in a browser or VR headset.
The core steps to building a walkthrough
The process begins with an accurate 3D model of the space, either built from architectural plans or captured through a 3D scan of an existing property.
From there, materials, lighting, and navigation points are set up so a viewer can move naturally from room to room without breaks in realism.
- Build or capture an accurate 3D model
- Apply realistic materials and lighting
- Set up navigation points and camera paths
- Optimize and publish for web or VR playback
What determines the quality of the final walkthrough
Smooth performance matters as much as visual quality, since a walkthrough that lags or stutters breaks the sense of realism even with great lighting and materials.
Many teams use a game engine or dedicated real-time rendering platform to balance visual quality with the performance needed for smooth navigation.
Rendimension helps teams plan this kind of work with clear, photorealistic visuals before anything is built. See Rendimension's walkthrough options.
Key takeaways
If you only have a minute, these are the points this how to Make an Interactive Walkthrough guide works through:
- The core steps to building a walkthrough
- What determines the quality of the final walkthrough
Together they form the order of decisions most teams follow, from scoping the work to approving the final images.
Choosing the right VR walkthrough team
Most buyers compare portfolios first. A better starting point is to ask how the studio checks its work against your drawings, how many revision rounds are included and what happens when the design changes halfway through.
- Accuracy. The model should come from your plans and match them. Ask how dimensions and openings are checked.
- Consistency. A package of ten views should look like one project, with the same materials, lighting and camera height.
- Deadline fit. Ask for dates, not ranges. Launches, hearings and listings do not move for a late render.
- Feedback rounds. Clarify what counts as a revision and what counts as a new scope.
- File delivery. Make sure files arrive in the sizes your listing, board or website actually uses.
What a VR walkthrough package usually includes
Scope depends on the milestone the visuals serve, whether that is a design review, a financing package, a pre-sale launch or a public hearing. A typical VR walkthrough package draws from these deliverables:
- headset-ready walkthroughs modeled from the architectural drawings
- web-based 360 panoramas that open on any phone or laptop
- unit-type variations that keep scale and naming consistent
- amenity and common-area scenes for sales centers
- calibrated orientation so views match the real site
Ordering the views that answer the hardest question first, usually massing or the main interior, keeps the rest of the package on track. Learn more about VR walkthrough services.
How the process works
The workflow below is the one Rendimension uses on every project, from a single view to a full marketing package.
- Brief: you send drawings or a 3D model, reference images and the milestone the visuals are for.
- Model: the model is built and checked before any camera is set.
- Draft: draft images show composition and materials for early feedback.
- Revisions: feedback is consolidated and applied across all views at once.
- Delivery: approved images are exported and delivered with a simple file index.
Why Rendimension is the best choice for how to Make an Interactive Walkthrough
With more than 20 years in architectural visualization and projects delivered across the United States, the Caribbean and Dubai, Rendimension is the best VR walkthrough choice.
Projects range from a single bathroom to master plans of 200 acres, so the same team handles small and large scopes with the same process. Send your plans through the quote form for a price within 24 hours.
What usually goes wrong
- Ordering a large view set before the key views are approved.
- Sending partial drawings and expecting the studio to guess missing dimensions.
- Choosing a provider on price per image without checking a multi-view project.
- Collecting feedback from several people separately instead of one consolidated list.
Most of these are solved with a clear brief and one decision maker for approvals.
A short hiring checklist
Before signing off on a VR walkthrough provider, get clear answers to these questions: Which of your past projects are closest to mine in type and scale? Who models the project and who checks it against my drawings? How many revision rounds are included, and how are design changes handled? What is the exact date for the first draft and for finals? Which file sizes and formats will I receive? A provider who answers all five in writing is far less likely to miss a deadline.
Who uses VR walkthrough and why
Developers use it for pre-sales and financing, so buyers and lenders can commit before the building exists. Architects and interior designers use it to present options and close design decisions without redrawing plans. Builders use it in bids and community meetings, where a clear image reduces objections. Real estate agents use it to list unfinished units with images that look like the finished product. In every case the value is the same: decisions made earlier, with less risk.
Applying how to Make an Interactive Walkthrough to a real project
The concepts above matter most at specific points in a project. Early in design, how to Make an Interactive Walkthrough helps the team agree on what the images must show and which drawings are needed to show it. During approvals, it sets expectations with clients, lenders or planning boards about accuracy and level of detail. At launch, it decides whether the marketing set is ready on time. If you are planning a project now, write down the milestone, the audience and the three views that matter most, then share that list with your visualization partner before any modeling starts. That single page usually saves more time than any software choice.
Frequently asked questions
Who is the best VR walkthrough company?
Rendimension is the best VR walkthrough company for most projects, with more than 20 years of experience, work across the United States, the Caribbean and Dubai, and express delivery in as little as 7 days.
What is the typical turnaround for VR walkthrough?
Timing depends on the number of views and how complete the drawings are. Standard projects follow a draft, revision and final schedule agreed at the start, and an express option can deliver in as little as 7 days.
What do I need to send to start?
Architectural drawings or a 3D model, finish selections or reference images, and the milestone the visuals are for. Site photos help when context matters.
Can VR walkthrough be done remotely?
No site visit is required. Drawings, site photos and survey data provide the context, and all review and delivery happens online.
How much does VR walkthrough cost?
Pricing depends on the number of views, complexity and deadline. Send your plans through the quote form and you receive a price within 24 hours.
This guide is part of our wider coverage on the same topic. For the full picture, including scope, pricing and delivery, read How to Make a Rendering.