Day to Night Render: When to Use One and How to Brief It

Day to Night Render: When to Use One and How to Brief It
A day to night render is a pair (or a sequence) of images of the same building from the same camera, lit at different times of day. Commission one when the project has to win over people who will see it after dark: a hotel, a restaurant, a mixed-use tower, a luxury home with a lit pool and terrace. The pair is only convincing when the building, the camera and the design stay identical and only the light changes. That is a production discipline, and it is why developers and architects hand it to a visualization studio rather than treating it as a filter.
TL;DR
- A day to night render shows the same view in daylight and at dusk or night, so stakeholders see how the design performs in both conditions.
- It earns its cost on projects where evening use, signage, glazing or landscape lighting is part of the pitch.
- Realism depends on warm, varied interior light, restrained exterior fixtures and a deep blue sky rather than black.
- Camera, geometry and materials must match exactly between the two images, or the pair reads as two different buildings.
- A day-to-night timelapse is a walkthrough or animation job: the light moves in one direction and changes subtly.
Table of Contents
- What a day to night render actually delivers
- Why a filter is not enough for professional work
- What makes a night render look real
- What must stay identical between day and night
- Choosing the time of day
- Day to night timelapse: how it differs from a still pair
- How to brief a day to night render
- What it costs
- Perspective
- Get your day and night views from Rendimension
- FAQ
- Sources
What a day to night render actually delivers
A daylight render sells clarity: textures, colors, massing and how the building sits in its landscape. A night render sells atmosphere: glow, warmth, hospitality, safety and presence on the street. Showing both from one viewpoint lets a committee, a lender or a buyer compare the two moods without changing anything else.
Architect and illustrator Alex Hogrefe makes the point with a practical example: a green courtyard reads better in daytime light, while a brass portal entry becomes more dramatic at night. The pair is a design argument, not decoration. Each version lets a different feature of the building carry the story.
When daylight alone is enough
A single daylight view is usually enough for a suburban spec home sold on its floor plan, a warehouse approval image or an early massing study. The question to ask is simple: will the people deciding or buying experience this building mostly in the evening? If yes, add the night view.
When you should add the night view
- Hospitality, restaurants and retail: the lit storefront is the product.
- Residential towers and condo marketing: buyers imagine coming home after work, with lit windows and a lobby glow.
- Luxury homes: pools, terraces, outdoor kitchens and landscape lighting are the selling features.
- Public and commercial buildings: planning boards and neighbors want to see what the building does to the street after dark.
- Facades with designed lighting: if an architect specified fixtures, the render should show them.
We cover the reassurance angle for clients in more depth in our piece on 3D rendering of day and night scenes.
Why a filter is not enough for professional work
There are quick ways to darken a daylight image. The classic Photoshop approach, described in an Architizer tutorial, involves removing sharp sun shadows, laying a blue darkening layer over the image, revealing the interiors and then painting light under the building, along the curtain wall and into neighboring windows. It shows how many separate lighting decisions sit behind one believable night image.
For a client presenting to investors or a city, those decisions are the difference between an image that looks like a dimmed photograph and one that looks like the finished building. The same article points out that modern 3D materials and lighting make relighting inside the scene more accurate than a post-production transition. That is how we approach it: the night view is lit as a night scene, with each light source placed deliberately, not as an edit of the day image.
What makes a night render look real
These are the elements a good visualization team controls. Use them as a checklist when you review a draft.
Interior light: warm, varied and believable
Interior lighting for dusk and night scenes typically sits in the warm range of roughly 2700 to 3000 K, and it should vary from room to room. A kitchen pendant is brighter and warmer than a dim amber bedroom lamp. Identical brightness in every window reads as a lighting rig rather than a lived-in building.
The opposite failure matters too. Dark windows can make a night view look like an empty building, while uniform flat-yellow windows look pasted on. The target is a range: some rooms bright, some dim, a few dark.
Real light levels in commercial interiors
For office and commercial projects, practitioners set interior light to realistic levels: 300 to 500 lux at desk height, around 200 lux in corridors and 250 to 400 lux in lobbies. Lux is the standard unit for how much light lands on a surface. Matching these numbers keeps a lit office tower from glowing like a lantern.

Exterior fixtures: small and specified
Use small practical fixtures such as wall sconces, path lights and step lights rather than washing the whole facade in uplighting. Where the architect or lighting designer has specified fittings, the render should use their actual light distribution data (IES profiles), not generic point lights.
There is a design-credibility reason for restraint. Facade light spilling uncontrolled into the sky is a real-world light-pollution issue, and rendering it that way signals to a planning committee that the design has not been thought through. Light placement is a design statement.
The sky is deep blue, not black
A pure black sky flattens the building into a silhouette. For a city-context scene, a deep royal blue sky corresponds to roughly civil twilight, about 30 minutes after sunset, according to the same ArchVizDaily guidance. The blue-hour look also gives you the contrast that makes these images work: cool outside, warm inside.
Spill, reflections and surroundings
Interior glow should fall onto the terrace, planting or water beside the building. Glass and polished surfaces should reflect nearby light sources. These small cues tie the building to its site, and they are the first thing an experienced reviewer notices when they are missing. A lit tree helps too: Hogrefe builds up-lit trees by warming the leaves and darkening a copy of the tree so that highlights sit on the undersides and around the trunk. The principle is that planting at night is lit from below and nearby, not from the sun.

For a wider look at how light shapes realism in every scene, see our guide to lighting in 3D architecture. If you want a sense of how daylight and night lighting emphasize different architectural features and site elements, daylight and night lighting effects are explored there from an image-generation angle.
What must stay identical between day and night
The pair only works as a comparison if everything except the light is locked. Use this list when you approve views.
| Stays the same | Changes |
|---|---|
| Camera position, angle and focal length | Sky color and brightness |
| Building geometry, window count, mullions, door positions | Sun direction and shadow strength |
| Materials and finishes | Interior lights, room by room |
| Landscape layout and entourage placement | Exterior fixtures and light spill |
| Image size and aspect ratio | Reflections on glass and water |
Two checks catch most problems. First, bright windows must not turn into extra openings that do not exist in the design. Second, exterior fixtures must not imply a lighting specification nobody designed. If a reviewer asks where a light came from, the answer should be in the drawings.
A camera that differs by even a few degrees between day and night makes the pair read as two different shots, which also breaks any crossfade or animation built from them. Save the camera once and reuse it for every time of day.
Choosing the time of day
You are not limited to noon and midnight. Many projects end up with three views: midday, golden hour or dusk, and full night. The dusk image often does most of the work because the sky still has color and the interior glow is visible together. Full night is the more graphic image; dusk is the more inviting one.
A rough guide:
- Midday for materials, color and landscape.
- Golden hour for warm light on facades and a premium mood.
- Blue hour or dusk for the hero marketing image.
- Night for signage, facade lighting and evening activity.
If budget allows only one extra view, pick dusk.
Day to night timelapse: how it differs from a still pair
A day to night timelapse is a short animation of one view where the light shifts from day through dusk to night. Lighting animation of this kind is a standard way to show how a building looks at different times of day, often transitioning from day to night, and it can also express passing time and mood.
What has to stay consistent is the same list as above, plus the exposure. The University of Virginia’s architecture school notes that in a sun animation, exposure is set once for the whole sequence so the light rises and falls coherently instead of jumping between frames.
Two more things matter to a buyer of the work:
- Subtle beats dramatic. One Twinmotion tutorial notes that a full sunset compressed into ten seconds can look unrealistic, and that keeping the sun nearly fixed while shadows rotate feels more natural.
- Light moves one way. In a longer film, sequence the shots so that light moves in one direction: morning exterior, midday entry, afternoon living space, golden-hour kitchen, dusk terrace, night exterior as the closing shot.
A timelapse works best as part of a walkthrough or animation rather than as a standalone effect. Our 3D walkthroughs can carry the day-to-night change as the closing sequence.
How to brief a day to night render
A good brief saves a revision round. Send the following with your request.
- The drawings and lighting intent. Share the lighting plan if one exists, including fixture types and any signage. If there is none, say which areas should glow.
- The hero views. Pick the one to three viewpoints that matter. Night versions of every angle add cost without adding persuasion.
- The audience. Planning board, buyers, lenders or press each want a different mood.
- The mood references. Warm and residential, crisp and corporate, or dramatic and hospitality-led.
- The use. Web, print billboard, sales gallery screen or presentation crossfade. For slide crossfades, both images must come from the same camera at the same resolution; a minimum of 1920×1080 pixels is commonly recommended for full-bleed slides.
- Review criteria. Ask the team to compare the day and night images side by side for window counts, door positions and roof edges before you sign off.
Our rendering workflow guide explains where each of these approvals sits in a project.
What it costs
Our published pricing starts at $850 per scene for architectural rendering, and an additional camera view starts at $425 per view. 3D walkthroughs range from $4,500 to $8,000. Because a day-to-night set depends on how many views, how complex the lighting is and whether motion is involved, the fastest route to an exact number is a quote for your project.
Perspective
We treat day and night as two lighting designs for one building, not one image and its darker twin. The geometry, camera and materials stay locked, and every light that appears at night is placed on purpose: which rooms glow, how warm they are, which fixtures exist in the drawings.
That approach is why a night render can carry the same weight as a daylight one in front of a lender, a buyer or a planning board. The collaborative process we use, with client feedback at every stage and founder involvement, means the lighting intent is agreed before the final images are produced, so a window never turns into an opening you did not design.
For most developer and architect projects we suggest a daylight hero, a dusk hero and, where the story calls for it, a short animated transition inside a walkthrough. The audience sees the building the way they will actually experience it.
Rendimension
Get your day and night views from Rendimension
We produce photorealistic architectural renderings, 3D walkthroughs, 360° virtual tours and VR experiences for architects, developers, builders, interior designers and marketing agencies, with more than 1,000 projects completed globally. If your next project needs a daylight and a dusk view, or a walkthrough that ends in the evening, send us the drawings and ask for a quote through Rendimension.
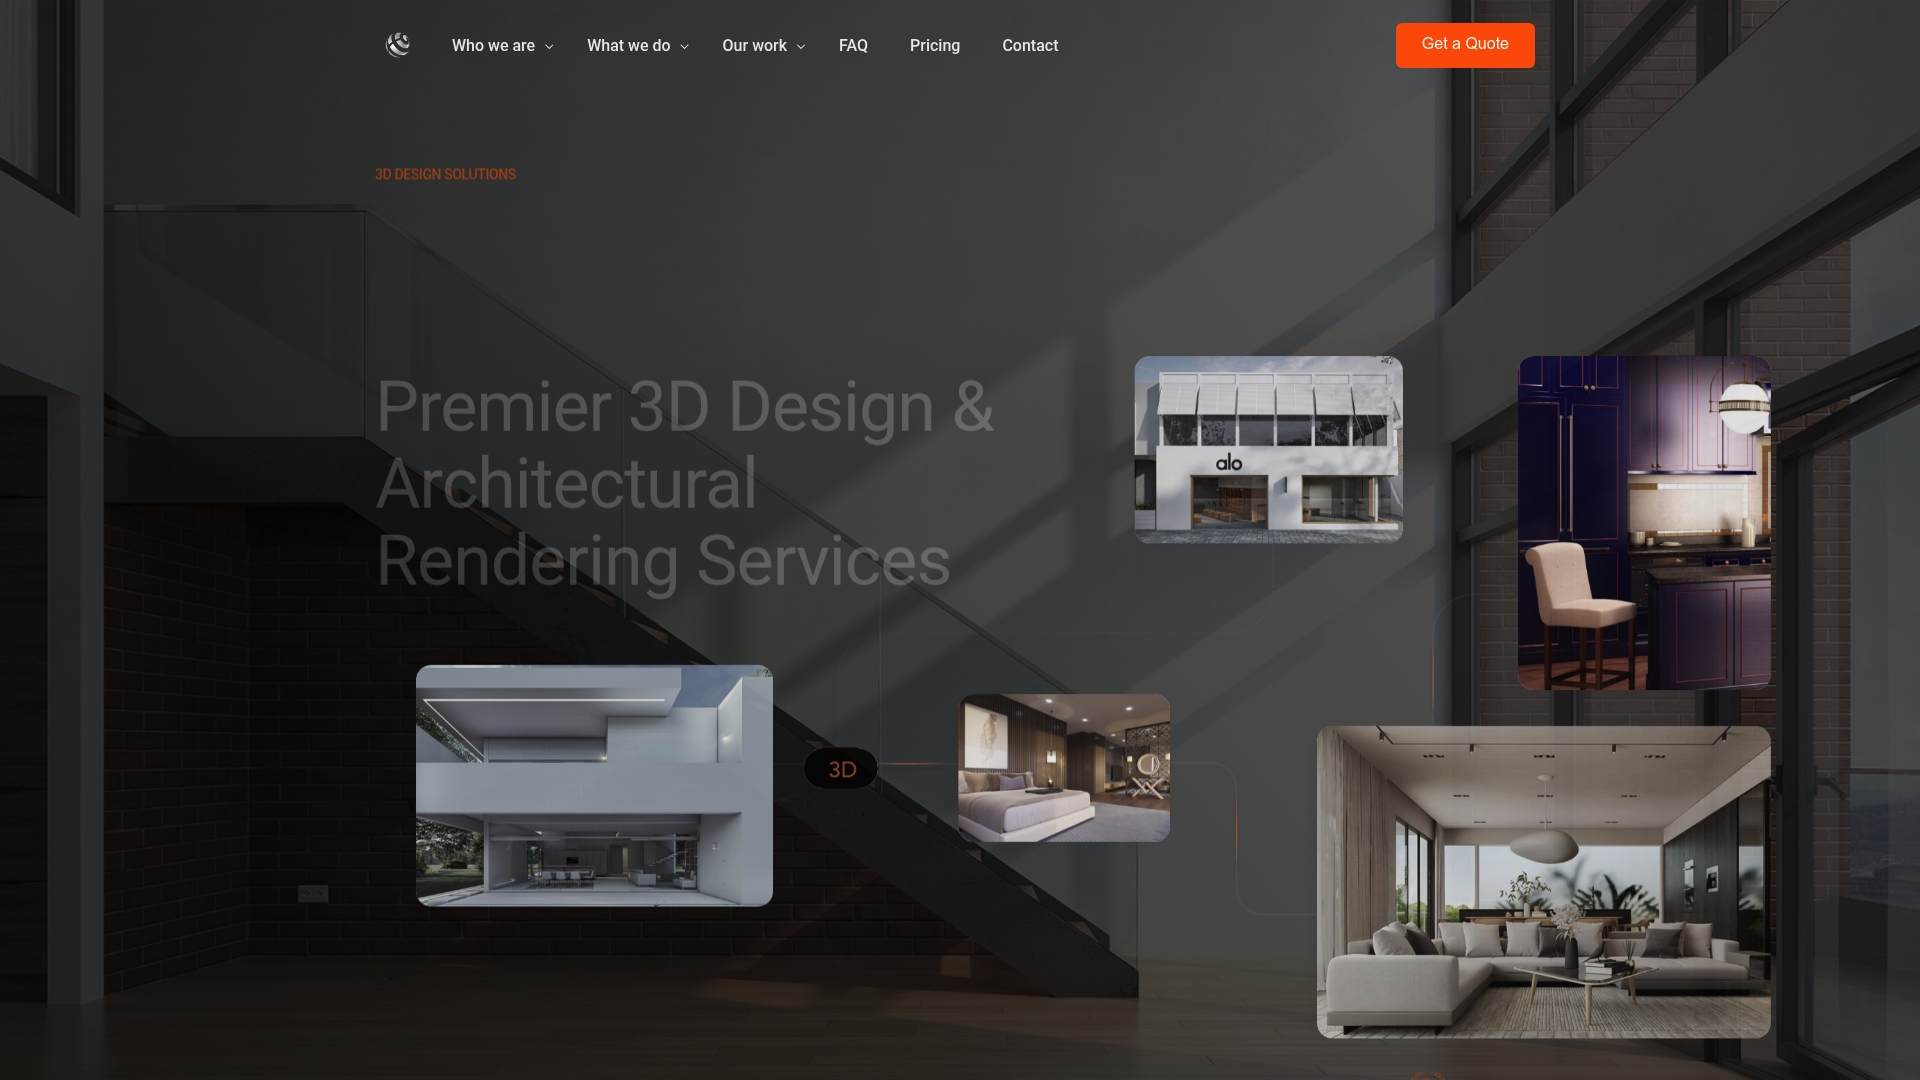
For multi-view packages, floor plans and site plans, see our architectural rendering services.
FAQ
Is a day to night render the same as a twilight render?
Not exactly. A twilight or dusk render is one specific time of day, with a colored sky and lit interiors. A day to night render is the broader idea of showing the same view at two or more times, commonly midday plus dusk or night. Many projects use the dusk view as the main marketing image.
Can you turn an existing daylight render into a night version?
Yes, as long as the original scene, camera and materials are available. The cleanest result comes from relighting the scene itself so every window, fixture and reflection is placed deliberately. Share the original files and the lighting intent with your visualization team so the night view matches the day view exactly.
How do I make a day to night timelapse from my project?
It is built as an animation from a fixed camera, with sun position, sky and lights changing gradually while exposure stays steady. Keep the change subtle and make the light move in one direction. We can include it as the closing sequence of a 3D walkthrough.
How many night views does a project need?
Usually one to three hero viewpoints. Choose the views where evening use or lighting is part of the pitch: the entrance, the main street elevation, the terrace or the amenity deck. Extra night views of secondary angles rarely change a decision.
Sources
- Alex Hogrefe, MIT Day Versus Night, Visualizing Architecture
- How to Turn Your Rendering from Day to Night, Architizer
- Night Render Techniques for Architecture
- Night exterior renders: illuminated facades, ArchVizDaily
- Architectural Animation, Chaos
- Workshop 13 Notes, University of Virginia School of Architecture
- Animating Environmental Settings Over Time in Twinmotion
- Motion Graphics in Architectural Presentations
- Lichteffekte mit Midjourney