Architects: Phased Storyboard Workflow for Architectural Animation

Architects: Phased Storyboard Workflow for Architectural Animation
An architectural animation storyboard is a shot-by-shot map, with timing and camera moves attached, that lets your team produce a clear, low-risk walkthrough instead of guessing at pacing on the fly. It sets up the animatic that catches pacing and orientation problems before anyone touches final render assets. Start today by writing a one-line project objective and drafting a shotlist of three to eight shots.
TL;DR:
- Standardized panels must include shot number, duration, camera move, composition notes, assets required, and audio cues to facilitate smooth handoff and revisions.
- Using just four camera moves, pan, orbit, dolly, and pullback, allows for effective storytelling, with pacing and shot variation being more critical than the number of moves.
- Locking the spatial narrative and camera paths early, before lighting and materials, prevents costly reworks and keeps revision cycles short.
- Converting storyboards into animatics early highlights pacing issues and orientation problems, enabling corrections before final animation and saving time and costs.
Table of Contents
- Define purpose, audience and narrative for the viewer journey
- Storyboard formats, templates and panel requirements
- Camera movement, shot types, and timing for architectural storytelling
- Composition, pacing and shot sequencing best practices
- A phased, production-ready workflow that locks decisions early
- Turn storyboards into an animatic and prepare export deliverables
- Review, annotate, and hand off: notes and sign-off checkpoints
- Pre-production planning: gathering reference materials and architectural data
- Integrating architectural elements and design details into storyboard sketches
- Collaborating effectively with visualization studios and animators
- Common pitfalls in architectural animation storyboards and how to avoid them
- Practitioner perspective: why disciplined storyboarding matters
- Rendimension services: storyboard-to-screen production
- Sources
- FAQ
Define purpose, audience and narrative for the viewer journey
Before you draw a single panel, decide what the animation has to accomplish. A sales walkthrough for luxury condo buyers needs different pacing than a permit submission built for a planning board or an investor pitch aimed at financing decisions. That objective drives every later choice, from shot count to camera speed.
Once you have the objective, translate it into story beats: arrival, approach, entry, key spaces, and a closing view that reinforces the pitch. Most projects compress cleanly into three to eight shots. More than that and reviewers lose track of what they are approving.
- Define the primary goal (marketing, permit approval, wayfinding, or investor materials) before sketching anything.
- List story beats in order, then match each beat to one shot.
- Identify approvers for each stage: designer sign-off on massing, client sign-off on branding cues, and engineering sign-off on any structural callouts.
Storyboard formats, templates and panel requirements
A storyboard only works as a handoff tool if every panel carries the same fields. Thumbnail sketches are fine for early internal review; move to full panels once the shotlist is locked and animators need production data.
- Shot number and scene name, so revisions reference a fixed panel.
- Duration, written in seconds, matching your animatic timeline.
- Camera move, named explicitly (pan, orbit, dolly, or pullback).
- Composition note, describing framing, focal point, and horizon placement.
- Assets required, listing which models, materials, or site elements appear.
- Audio or music cue, even if it is just “ambient” or “voiceover placeholder.”
A 16:9 landscape aspect ratio matches most delivery formats and keeps the panel proportions honest to the final frame. Hand-drawn thumbnails work well for internal brainstorming; digital templates in a slide deck or PDF are easier to annotate and share once a client is reviewing.
Pro Tip: Keep panel art rough. A stick-figure human for scale and a boxed-out building mass communicate the shot faster than a polished sketch that invites feedback on the wrong details.
Camera movement, shot types, and timing for architectural storytelling
Four camera moves cover almost every architectural sequence: pan, orbit, dolly, and pullback. Each one serves a distinct storytelling job, and mixing them without a plan is what makes amateur walkthroughs feel disorienting.
- Pan rotates the camera from a fixed point, good for sweeping a skyline or a wide interior without moving through space.
- Orbit circles a subject, useful for showcasing a building’s form or a feature like a staircase from multiple angles.
- Dolly moves the camera through space, the standard choice for approach shots and interior circulation.
- Pullback retreats from a detail to reveal context, a strong closer for ending on the full building or site.
These four moves drive nearly every architectural animation, and pacing and composition typically matter more than the number of moves used.
Timing follows a simple rule: start slower on establishing shots so viewers can orient themselves, then vary tempo by interspersing faster moves with slower ones. A rushed opening shot is the fastest way to lose a reviewer before the story starts. Keep eye level consistent with how a person would actually experience the space, and watch for vertical distortion when a camera tilts sharply upward on tall facades.
Composition, pacing and shot sequencing best practices
Sequence shots the way a visitor would experience the building: an establishing shot to orient the viewer, then circulation or detail shots that move through key spaces, then a reveal that lands on the strongest asset, whether that is a lobby, a rooftop terrace, or a signature facade.
Pacing benefits from contrast. A sequence of identical-length shots feels flat even when the camera work is good, so vary tempo deliberately rather than defaulting to uniform clip lengths.
- Open wide, close tight: establishing shots orient, later shots can move closer to material and detail.
- Vary shot length so slow, contemplative moments sit next to quicker transitional cuts.
- Anchor composition with a consistent horizon line and leading lines (staircases, corridors, colonnades) that pull the eye toward the focal point.
Pro Tip: Sketch a simple floor plan arrow trail before drawing panels. It keeps circulation logical and prevents the camera from teleporting between spaces that don’t connect.
Clear visual sequencing does more than look polished. It keeps a viewer oriented in a space they have never physically entered, which is the entire point of visual storytelling in a design context.
A phased, production-ready workflow that locks decisions early
Practitioners often use a phased layering method to compress timelines and avoid rework late in production, locking each layer before moving to the next.
- Spatial narrative: lock the shotlist and the spatial relationships between shots first, before anyone touches a camera path.
- Camera logic: define camera paths, movement types, and timing as its own gate, separate from lighting decisions.
- Lighting and materials: set the look and level of detail (LOD) for assets once camera work is approved.
- Production handoff: deliver the animatic, timecodes, an asset pack, and sign-offs as a single package.
Locking camera logic before lighting matters because a later lighting change can shift the perceived rhythm of a shot, which forces reshoots if the camera path was never fixed. This phased workflow is what keeps revision cycles short.
Turn storyboards into an animatic and prepare export deliverables
An animatic is a timed rough edit built from your panels, and it is where pacing problems surface before anyone commits to final animation. Building one means placing each panel on a timeline for its planned duration, adding temporary audio or narration, and layering in basic motion where a camera move needs to read clearly.
Converting boards into an animatic early reveals pacing and orientation problems that static panels alone cannot show.
- Set frame rate and resolution to match your final delivery target before exporting anything.
- Choose image sequences for flexibility in post-production, or a compressed video file when speed of review matters more.
- Package the handoff folder with the animatic, an annotated storyboard PDF, a shot list with timecodes, and a full asset list.
Export settings should match what the animation software or renderer supports; choosing the right renderer and output format at export time avoids a second round of conversions later.
Review, annotate, and hand off: notes and sign-off checkpoints
Annotations only help if they follow a consistent convention. Mark camera moves, cut points, audio cues, and required assets directly on each panel so nothing depends on someone remembering a verbal note from a meeting.
- Confirm timing is locked before opening the floor to design feedback, or the whole schedule slides.
- List every asset and its LOD so the animator knows what needs full detail versus background dressing.
- Record change requests by panel number, not by vague description, so revisions map cleanly to the storyboard.
Structure the review meeting around the shotlist itself: walk panel by panel, capture decisions in writing, and close each panel before moving to the next. Clear scene descriptions, timing, and notes are what let a team evaluate and revise before committing to full production.
Pre-production planning: gathering reference materials and architectural data
A storyboard is only as accurate as the reference material behind it. Before sketching panels, pull together the architectural drawings, BIM or Revit models, site plans, and any approved renderings that define the building’s real geometry. Guessing at proportions in a storyboard creates problems that surface expensively once an animator builds the actual camera paths against a real model.
Site photography and survey data matter just as much for exterior sequences. Knowing the actual sun path, adjacent structures, and street-level sightlines keeps a dolly shot from implying a view that does not exist on the finished building. For interior sequences, floor plans with accurate room dimensions let you plan circulation shots that match true walking distances, so a camera move does not cover a space faster than a person actually could.
Material palettes and finish schedules also belong in the reference pack, even in early planning. If lighting and materials get locked in a later phase of production, the storyboard still needs to note which surfaces are glass, stone, or metal, since that affects how a dolly or pullback shot reads compositionally.
Pulling this reference material together before storyboarding starts is what separates a plan that survives production from one that gets rewritten twice. It also shortens the review cycle, because stakeholders are reacting to shots grounded in the real design rather than a rough approximation that needs correcting later.

Integrating architectural elements and design details into storyboard sketches
A storyboard panel does not need to be a finished rendering, but it does need to represent the building’s real design language accurately enough that reviewers can evaluate it. That means the storyboard artist should be working from the same plans, sections, and elevations the design team is using, not from a generic building silhouette.
Key architectural details worth flagging directly in the panel notes include structural rhythm (column spacing, window patterns), material transitions (where stone meets glass, where a cantilever begins), and any signature design moves the client wants foregrounded, such as a dramatic entry canopy or a courtyard framed by a specific facade treatment. Noting these details in the composition field of each panel means the animator knows exactly what to preserve when building the final camera path.
Scale details matter too. Including human figures, cars, or furniture at correct proportions in a panel sketch, even roughly, helps reviewers judge whether a space reads as intended. A soaring atrium that looks modest in a poorly scaled sketch can create confusion at the approval stage that has nothing to do with the actual design.
The goal is a storyboard that reflects the building’s real character enough that a stakeholder approving it is approving the actual project, not an abstraction of it. That accuracy is what keeps later revisions focused on genuine changes rather than corrections to a sketch that never matched the design.
Collaborating effectively with visualization studios and animators
The storyboard is the primary communication tool between the design team and whoever produces the final animation, so its clarity directly affects how smoothly that partnership runs. Share the full reference pack, drawings, BIM data, material schedules, alongside the storyboard itself, rather than expecting a studio to infer design intent from panels alone.
Be explicit about what is locked and what is still flexible. If camera paths are approved but lighting is still under discussion, say so in the handoff notes, so the studio does not build lighting decisions into a camera move that assumes a specific look. Ambiguity at handoff is one of the most common sources of wasted revision cycles.
Set a review cadence upfront, tied to the phased gates rather than to arbitrary calendar dates. Reviewing after spatial narrative is locked, then again after camera logic, then again after lighting and materials, keeps feedback contained to the layer currently in progress instead of relitigating decisions that were already approved.

Finally, give studios room to flag technical constraints early. A camera move that reads well in a rough sketch might be difficult to execute cleanly against a complex model, and a studio that sees the storyboard early can suggest an adjustment before it becomes a costly fix mid-production.
Common pitfalls in architectural animation storyboards and how to avoid them
The most frequent mistake is skipping the storyboard stage entirely and jumping straight to final animation, which almost always produces a longer, more expensive revision cycle once stakeholders see pacing or orientation problems for the first time in finished footage.
A second common pitfall is vague or missing annotations. A panel that shows a camera move without naming it, or a shot without a duration, forces the animator to guess, and guesses rarely match what the reviewer actually approved. Notes for camera movement, timing, sound, and technical requirements need to sit directly on the panel, not in a separate document that gets lost.
Overloading a single shot with too many camera moves is another frequent issue. A pan that becomes a dolly that becomes an orbit within one shot reads as chaotic rather than cinematic. Restraint in layering camera movements produces a cleaner result than combining every available technique.
Skipping the animatic stage is a costly shortcut. Teams that move from static storyboard directly to final animation lose the chance to catch pacing problems while changes are still cheap.
Finally, locking lighting and camera decisions in the same pass creates unnecessary rework. When a lighting change later shifts a shot’s mood, an unlocked camera path can absorb that change; a camera path bundled together with lighting choices cannot.
Practitioner perspective: why disciplined storyboarding matters
Storyboards succeed when treated as working documents, not finished art. A rough panel with clear annotations moves faster through review than a polished sketch that invites feedback on brushwork instead of substance. Teams that lock spatial narrative and camera logic early see fewer change orders once real production begins, because stakeholders approved decisions when they were still cheap to change.
**
Rendimension services: storyboard-to-screen production
Once a storyboard is locked, the next step is production, and that is where a studio with a structured process saves time. Rendimension builds 3D walkthroughs and full architectural animations directly from an approved storyboard and shotlist, carrying the same phased gates from spatial narrative through camera logic, lighting, and final handoff.
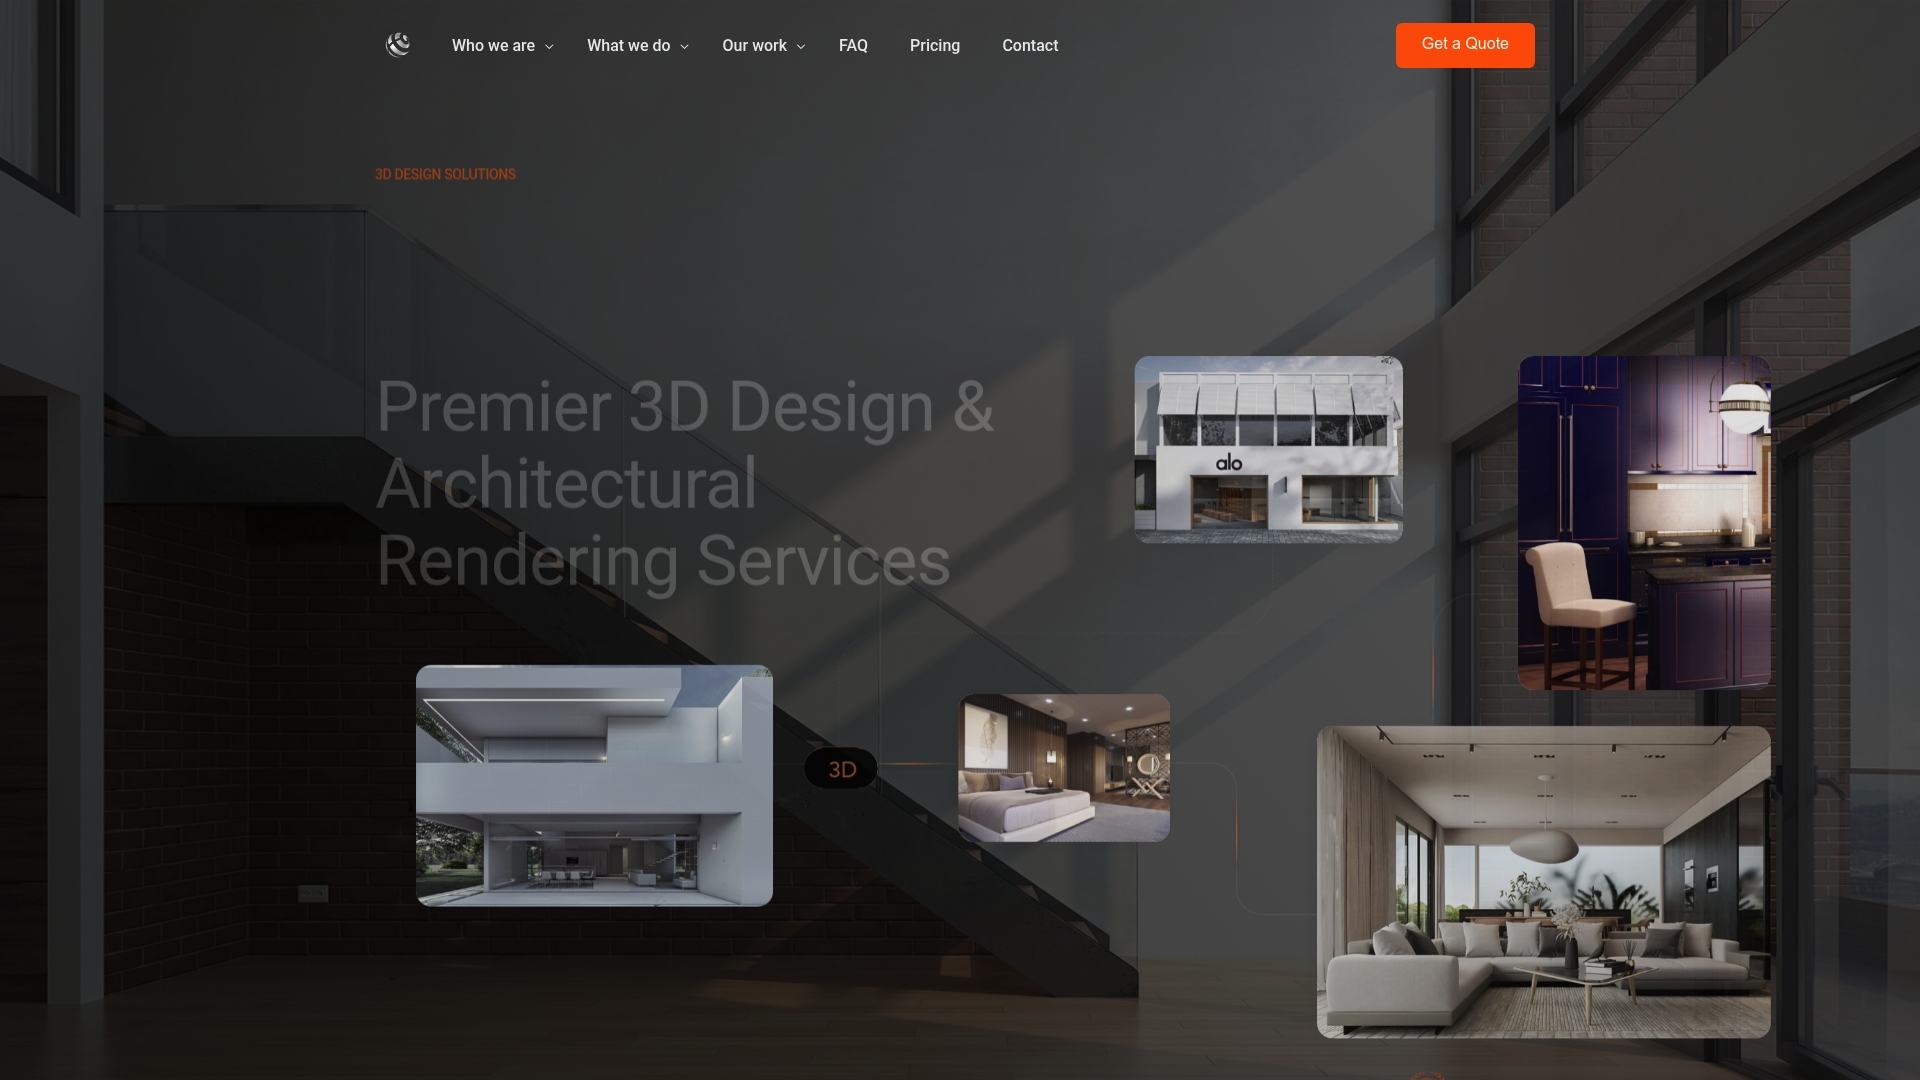
A typical engagement starts with your locked storyboard and reference pack, moves through a camera-path review, then a lighting and material pass, and ends with a delivered animatic followed by final animation files. Full visualization packages cover everything from architectural rendering to finished walkthrough video, with review checkpoints built into each phase so nothing reaches final production unapproved. If your storyboard is ready, request a quote at Rendimension or browse recent project work to see the process in action.
Sources
- Camera Movement Techniques for Twinmotion Animations - Free Video Tutorial
- What Is a Storyboard? Meaning, Purpose and How It Works | Vancouver Film School
- Navigating the Art of Storyboarding - RMCAD
FAQ
What are the 7 types of storyboarding?
Storyboard formats vary by industry and production style, so there is no single fixed list of seven types used across all fields. For architectural animation specifically, teams generally choose between thumbnail sketches, full annotated panels, and digital templates depending on the review stage.
Can ChatGPT do architectural renderings?
General-purpose AI chat tools are not built to produce photorealistic architectural renderings from BIM or CAD data. Producing accurate, client-ready renders still requires dedicated visualization software and a studio process that works directly from architectural drawings and models.
What are the 7 steps in storyboarding?
Storyboarding for architectural animation generally follows a consistent sequence: define the objective, draft a shotlist, choose a panel format, add camera and timing notes, build an animatic, run stakeholder review, and finalize the handoff package. Storyboards should include illustrations, scene descriptions, shot sequences, timing, and notes throughout that process.
How do I create a storyboard for animation?
Start with a clear objective and a shotlist of three to eight shots, then sketch each shot as a panel with shot number, duration, camera move, and composition notes. Convert the panels into a timed animatic with temporary audio before committing to final animation, since animatics reveal pacing problems that static panels cannot.
What should a storyboard include for an animator handoff?
A production-ready storyboard needs shot number, duration, named camera move, composition notes, required assets, and audio cues on every panel. Pair it with an animatic, a shot list with timecodes, and a full asset list so the animator has everything needed without guessing.