1–3 Day Turnarounds for Developers: 3D Site Plan Rendering
1–3 Day Turnarounds for Developers: 3D Site Plan Rendering
A 3D site plan rendering converts CAD or BIM files and survey data into a bird’s-eye photorealistic visualization that shows building placement, landscaping, circulation, and neighborhood context in one readable image. Developers use it to win approvals, architects use it to communicate design intent, and marketing teams use it to sell units before ground is broken. For anything approval-critical or presale-facing, hiring a specialist studio beats in-house attempts almost every time, since production-ready deliverables demand terrain accuracy, lighting judgment, and file discipline that most internal teams don’t have the bandwidth to build.
TL;DR:
- Orthographic site plans are essential for approval processes because they preserve scale and provide measurement accuracy that planning authorities require.
- Tilted aerial views are better suited for marketing and investor presentations, as they convey building and street details with a sense of scale and visual appeal.
- Interactive formats like VR and web-based models are most effective when directly engaging clients or investors in exploring complex or large developments, justifying the higher costs.
- Using clean, survey-accurate CAD or Revit files along with precise terrain and landscape data significantly reduces revision cycles and accelerates project timelines.
- Budget and schedule increase with project complexity, from basic single-site stills taking days to full masterplans or VR experiences requiring weeks and higher investment.
Table of Contents
- What Is 3D Site Plan Rendering, and How Does It Differ From 2D Plans?
- Types of 3D Site Plan Renders and When to Use Each
- How Does the 3D Site Plan Rendering Production Process Work?
- What Makes a Site Plan Rendering Look Realistic and Persuasive?
- Which Deliverables Do You Need for Approvals, Marketing, and Construction?
- How Much Does a 3D Site Plan Rendering Cost, and How Long Does It Take?
- What Technology Do Studios Use to Build These Renders?
- Rendimension’s Approach to Site Plan Rendering Projects
- When Should You Hire a Studio Versus Using a Quick Concept Render?
- How Rendimension Helps You Get Presentation-Ready Site Plans
- Sources
- FAQ
What Is 3D Site Plan Rendering, and How Does It Differ From 2D Plans?
A 3D site plan rendering takes CAD/BIM geometry and survey data and turns it into a photorealistic or stylized bird’s-eye visualization. It shows building massing, roads, parking, landscaping, and adjacent structures the way a person would actually see them from above, not as abstract line work.
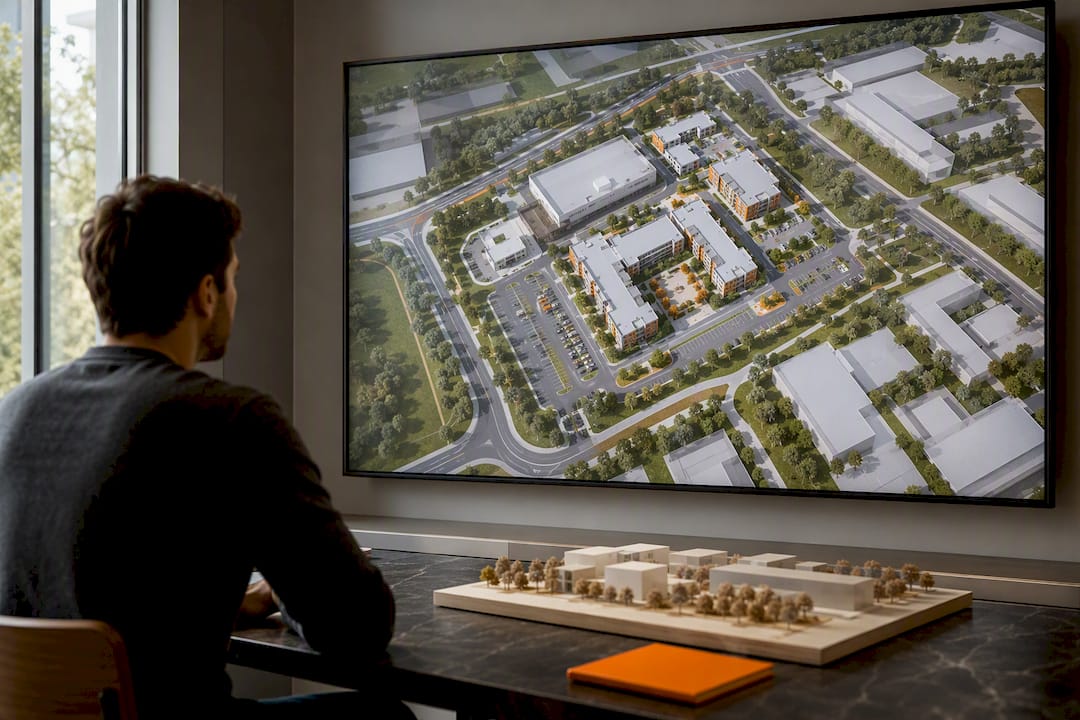
That’s the real split between 2D plan vs 3D site plan: a 2D technical plan is a measurement tool. Architects, engineers, and permitting offices read it for dimensions, setbacks, and utility runs. A 3D rendering is a communication tool. It answers “what will this feel like” rather than “where exactly is this wall.”
It’s also worth separating 3D site plans from tilted aerial photography or drone shots. An aerial view is angled and photographic, useful for site context but weak on precision. A proper orthographic site plan render sits at a fixed 90-degree overhead angle, preserving scale relationships the way a technical drawing does, while still reading as a rendered image rather than a blueprint.
Different formats serve different audiences:
- Planning boards and municipal reviewers generally want an orthographic render with annotations, because it reads like a plan they can measure against code.
- Investors and lenders respond better to angled bird’s-eye views that convey scale and quality at a glance.
- Home buyers and tenants want warmth and lifestyle cues, meaning landscaping, lighting, and people for scale matter more than technical precision.
- Contractors and phasing teams need accuracy over polish, since they’re using the render to sequence work, not to sell it.
Getting the format wrong for the audience is one of the most common and avoidable mistakes in a visualization brief.
Types of 3D Site Plan Renders and When to Use Each
Not every project needs every format, and ordering the wrong one wastes both budget and time. The choice usually comes down to project stage and who’s looking at the image.
- Orthographic 90-degree site plans. These are the workhorse for approvals. They preserve scale and read almost like an enhanced technical drawing, which is exactly what planning departments and civil engineers want to see.
- Tilted or bird’s-eye aerials. Angled 30 to 60 degrees, these show façades, roof lines, and streetscape context that a flat overhead view hides. They’re the default choice for marketing brochures and investor decks.
- Masterplan renders. For multi-phase developments, a masterplan render zooms out to show the entire site, sometimes dozens of buildings, with less per-building detail. Single-site renders trade scale for fidelity, showing one building or block in far more depth.
- Interactive formats. 360-degree panoramas, web-hosted interactive site plans, and full VR walkthroughs cost more but pay off when a sales center or investor roadshow needs people to explore the project themselves rather than just look at a still image.
The rule of thumb: spend on interactivity only when a live audience will actually use it. A static presale campaign rarely needs VR. A sales center with walk-in traffic almost always benefits from one.
How Does the 3D Site Plan Rendering Production Process Work?
The production pipeline for a site plan render follows a consistent sequence: gather inputs, build the base model and terrain, add materials and entourage, set lighting, then render and post-process. Understanding this flow helps you brief a studio properly and avoid costly revision cycles.
What a studio needs from you at handoff:
- DWG or DXF files, or a native Revit export if the project is modeled in BIM
- A topographic survey with accurate elevation data
- GIS layers for surrounding context, if the site sits within a larger urban plan
- Reference photos of the site and surrounding streetscape
- Material and finish schedules for façades, paving, and roofing
Once inputs are in hand, modeling starts with massing and terrain. Building a digital terrain model (DTM) from survey or point cloud data is not optional when shadow studies, drainage, or sightline analysis feed into the approval process. Skipping accurate terrain is one of the fastest ways to get a rendering rejected at review.
After massing and grading, the studio populates the scene with landscape elements, tree species, vehicles, and people for scale. Species selection matters more than most clients expect. Realistic vegetation modeled by actual species rather than generic tree blocks materially improves believability and reduces the odds a reviewer flags the landscaping plan as unrealistic.
From there it’s lighting and PBR material setup, a render pass, and post-production color correction, sky replacement, and annotation overlays.
Pro Tip: Send your studio the messiest, most complete version of your CAD files rather than a “cleaned up” summary. Missing layers cause more rework than extra clutter ever will.
Typical review checkpoints happen after massing, after materials/lighting, and at final delivery, with file formats like TIFF, PNG, and layered PSD requested at each stage for internal review.
What Makes a Site Plan Rendering Look Realistic and Persuasive?
Technical accuracy gets a render approved. Visual judgment gets it remembered. The gap between an amateur-looking site plan and a persuasive one usually comes down to four decisions.
Scale cues. People and vehicles placed at consistent, realistic sizes anchor the viewer’s sense of proportion instantly. A render with mismatched human scale, even slightly off, reads as fake to anyone who’s looked at more than a handful of these images.
Lighting choice. Low-angle sun light creates depth and drama, useful for marketing hero shots where you want the building to feel monumental. Even, diffuse lighting works better for planning submissions, where reviewers need to read every surface without shadow obscuring detail. Shadow placement should also be checked against true site orientation, since a shadow study built on the wrong sun angle can undermine credibility with a reviewing board.
Material realism. Physically based rendering (PBR) materials with subtle imperfection maps, slight weathering, uneven grout lines, non-uniform grass, avoid the over-sterilized “video game” look that makes some renders feel untrustworthy.
Context modeling. Neighboring buildings and streets need to appear at a reasonable level of detail even if they’re not the subject of the render. Municipal reviewers ask fewer questions when a project’s context is shown accurately rather than isolated on a blank plane.
- Anchor scale with people and vehicles at consistent sizing throughout the frame
- Match shadow direction and length to actual site orientation and time of year
- Use PBR materials with imperfection maps rather than flat, uniform textures
- Model at least one ring of neighboring context, not just the subject site
High-quality renderings that get these fundamentals right speed up approvals and are frequently credited with lifting presale conversion, since buyers respond more strongly to images that feel real rather than synthetic.
Which Deliverables Do You Need for Approvals, Marketing, and Construction?
Ordering the right output for the right audience saves money and prevents rework. A single rendering rarely covers every use case a project needs across its lifecycle.
- High-resolution stills for marketing collateral, brochures, and websites, usually delivered as print-resolution TIFF or PNG files.
- Annotated orthographic plans with north arrows, scale bars, and minimal labeling for municipal submission packages, formatted to preserve measurement context without visual clutter.
- Interactive panoramas and web-hosted site maps for sales centers, investor portals, and public engagement sessions where people want to explore rather than passively view.
- Video flythroughs for construction logistics briefings, phasing communication, and sequencing visualization, typically delivered as MP4.
- glTF or web-optimized 3D exports when a project needs a lightweight interactive experience embedded directly on a website.
The smartest developers treat these as one connected asset library rather than one-off images. A rendering built for a planning submission can often be relit and reused for marketing, and a masterplan model built early can be repurposed for construction staging visuals later. That reuse is where visualization budgets actually pay for themselves across a project’s life, not just at the moment of first delivery.
How Much Does a 3D Site Plan Rendering Cost, and How Long Does It Take?
Cost and schedule both scale with complexity, not just square footage. A studio quoting a single still image is pricing something fundamentally different from a full interactive masterplan package.
- Single-site stills sit at the lower end of the range, since they involve one building, standard entourage, and a single camera angle.
- Multi-angle or masterplan packages cost more because they require modeling a wider site area, more buildings, and often multiple lighting and camera setups.
- Interactive or VR deliverables carry the highest cost, since they demand real-time optimization on top of the base modeling work, plus additional QA passes to check performance across devices.
What actually moves the number inside each band is complexity: bespoke landscaping, custom façade materials, and the number of revision rounds baked into the contract. A project with clean, complete CAD files and two review rounds will always cost less than the same building with messy files and five rounds of changes.
On timeline, a straightforward site plan with basic massing and standard entourage typically takes one to three days once clean CAD files are in hand. Larger developments with custom assets, extended terrain modeling, or masterplan scope can take a week or more. Structuring two to three defined review rounds up front, rather than leaving revisions open-ended, is the single most effective way to keep both cost and schedule predictable.
What Technology Do Studios Use to Build These Renders?
Most proposals reference a handful of tool categories, and it helps to know what each does without needing to become a software expert yourself.
- BIM and modeling platforms handle accurate geometry and let a studio pull directly from an architect’s Revit model, keeping the render aligned with as-built design intent rather than a hand-remodeled approximation.
- Terrain and civil data tools process DTM, point cloud, and GIS inputs, which is what makes shadow studies and drainage visuals trustworthy rather than decorative.
- Rendering engines split into offline photorealistic renderers, slower but capable of the highest image fidelity, and real-time platforms that trade some visual polish for instant interactivity, useful for VR and live walkthroughs.
- AI and procedural workflows speed up early massing and entourage population dramatically, but studio craft still governs final photorealistic quality, since automated tools tend to miss the material and lighting nuance that makes a render persuasive rather than just correct.
Knowing these categories helps you read a proposal critically instead of just trusting a line item.
Rendimension’s Approach to Site Plan Rendering Projects
Rendimension has completed more than 1,000 visualization projects across residential and commercial development, and site plan rendering sits at the core of that work alongside walkthroughs and VR experiences. The process stays collaborative from concept through final delivery, with client review built into every major stage rather than saved for a single reveal at the end.
To move fast, Rendimension asks clients to provide CAD or Revit files, a topographic survey, and material references up front, the same inputs outlined in the workflow above. That upfront clarity is usually what separates a three-day turnaround from a two-week one.
, Rendimension
When Should You Hire a Studio Versus Using a Quick Concept Render?
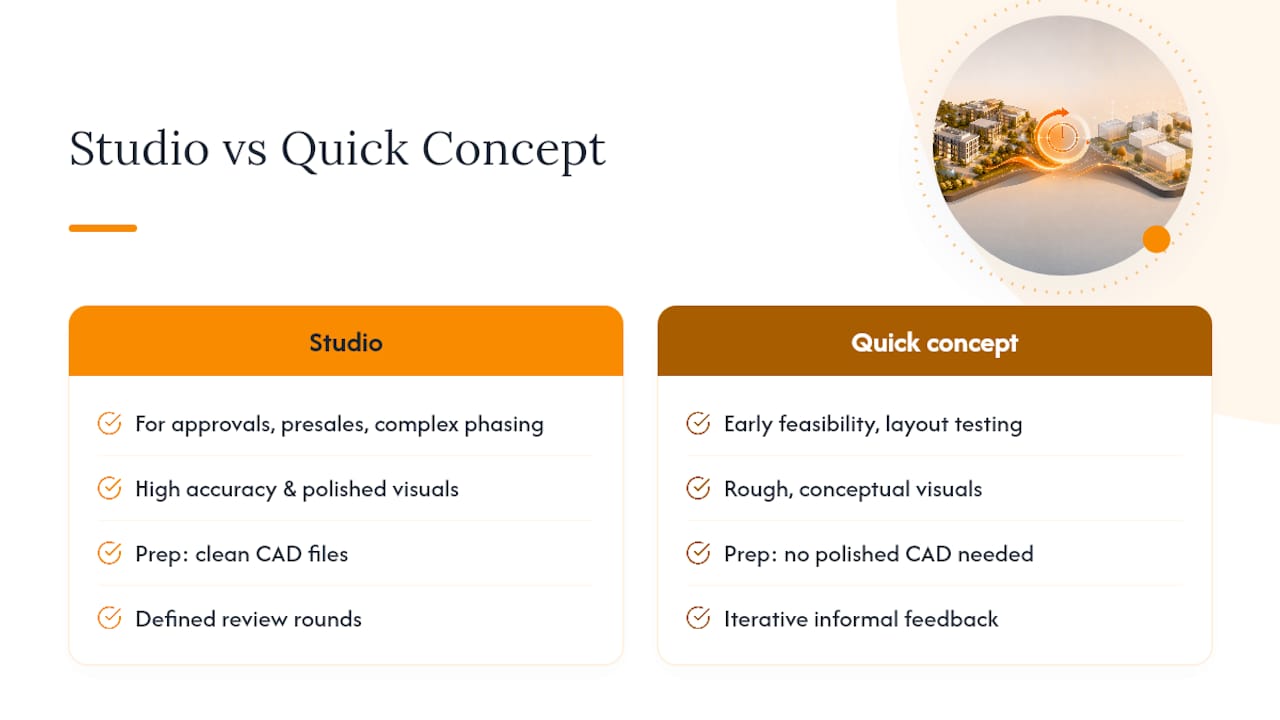
Hire a specialist studio when a rendering will influence an approval decision, a presale campaign, or complex construction phasing, because the stakes justify the accuracy and polish a professional pipeline delivers. Quick conceptual visuals, including AI-assisted massing studies, are fine for early feasibility testing when you’re just checking whether a layout works. When you do brief a studio, come with clean CAD files, a clear list of deliverables, and a defined number of review rounds. That single habit prevents more delays than any other part of the process.
How Rendimension Helps You Get Presentation-Ready Site Plans
Between DIY software attempts and generic freelance marketplaces, most developers end up with renderings that either take weeks to iterate or look convincing enough to sell a project until a buyer notices the flat lighting and lifeless landscaping. Rendimension exists to skip that gap entirely: a dedicated studio process, built specifically for site plan rendering work, that delivers approval-ready and marketing-ready assets from the same production pipeline.
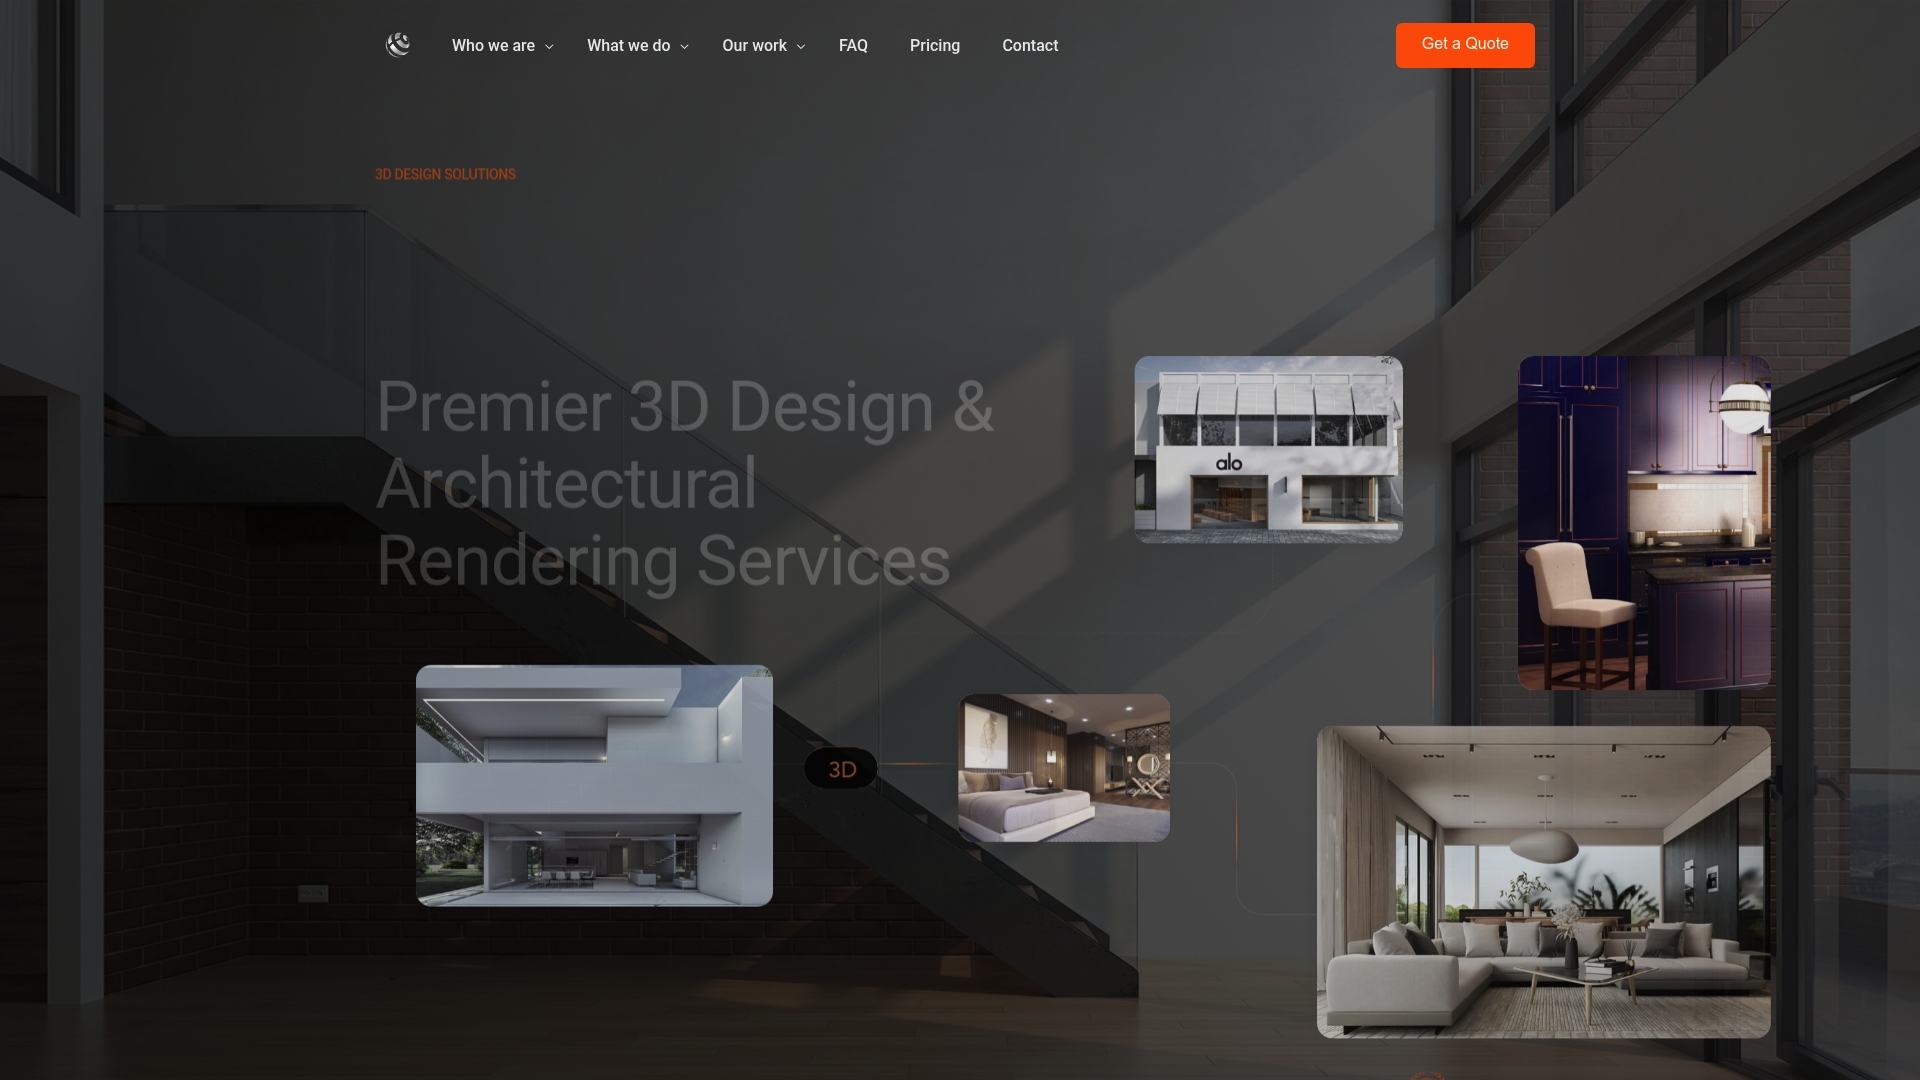
Rendimension’s services cover orthographic and angled site plans, full 3D walkthroughs, and VR experiences for sales centers and investor presentations, fitting projects from single-building developments to multi-phase masterplans. A quote typically outlines the specific deliverables, a realistic timeline based on your file readiness, and a fixed number of review rounds so there are no surprises mid-project. If you’re also weighing interior fit-out presentation, partners like the Designer Trade Program for interior designers can round out a full presentation package.
Ready to move forward? Request a quote for 3D rendering and send over your CAD or Revit files to get a real timeline back within days.
Sources
FAQ
How much should a 3D site plan rendering cost?
Cost scales with complexity: a single-site still costs less than a multi-angle masterplan package, and interactive or VR deliverables sit at the top of the range because of the added optimization work involved.
Can ChatGPT do architectural renderings?
ChatGPT and similar AI tools can generate rough concept images or massing ideas, but they can’t produce accurate, survey-based geometry, proper terrain data, or production-ready files a planning board or construction team can rely on.
How can I create a 3D rendering of my floor plan for free?
Free and consumer-grade tools can produce rough visual concepts for early feasibility testing, but they lack the survey accuracy, terrain modeling, and material fidelity needed for approval submissions or marketing-grade output, which is where a specialist studio like Rendimension fits in.
What is the best software for 3D architectural rendering?
There’s no single best tool; studios typically combine BIM platforms for geometry, dedicated terrain and GIS tools for accuracy, and offline or real-time rendering engines depending on whether the final deliverable is a still image or an interactive experience.
What files do I need to send a studio to start a site plan rendering?
Provide DWG/DXF or Revit files, a topographic survey, GIS context layers if relevant, site photos, and material schedules, the same input checklist that keeps turnaround times to one to three days for straightforward projects.