Step by Step Architectural Animation: A Pro Workflow Guide
Step by Step Architectural Animation: A Pro Workflow Guide
TL;DR:
- Architectural animation communicates design through cinematic storytelling and precise motion. It combines model cleanup, careful scene setup, camera planning, and hybrid rendering workflows to balance speed and quality. Post-production unifies the narrative with color grading, sound, and version control for compelling final presentations.
Architectural animation is defined as the systematic creation of a motion-based visual sequence that communicates design intent through cinematic storytelling and technical precision. A 3D architectural walkthrough simulates movement through a design to reveal spatial transitions and light interplay that static images cannot convey. This guide covers the full step by step architectural animation process, from model preparation and storyboarding through camera path setup, lighting, and post-production. Whether you are a 3D artist, architecture student, or design professional, this workflow gives you a clear path from raw geometry to a finished, client-ready animation.
What prerequisites and tools do you need before starting?
A clean, animation-ready 3D model is the foundation of every successful architectural animation. The most common starting points are CAD drawings, BIM files from Revit, or geometry exported from design platforms. Before any animation work begins, the model needs geometry cleanup: remove duplicate faces, merge coplanar surfaces, and assign materials at the object level rather than the face level. Skipping this step causes flickering, slow render times, and broken material assignments later in the pipeline.
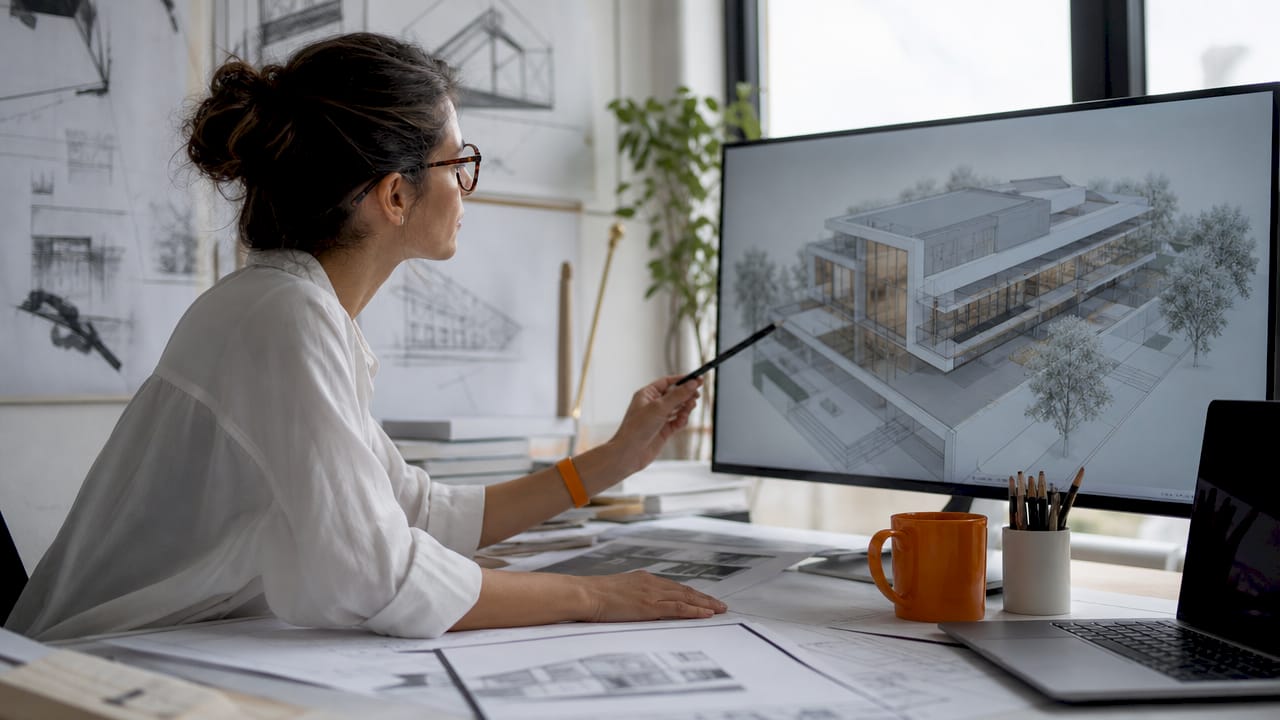
Software tool selection depends directly on project scale and delivery deadline. Choosing the right tools shapes every decision that follows, from lighting setup to final export format.
| Tool category | Best fit | Key strength |
|---|---|---|
| Real-time rendering engines | Mid-size residential and commercial projects | Rapid iteration, live lighting feedback |
| Offline rendering platforms | Hero shots and high-detail final frames | Photorealistic output quality |
| Hybrid workflows | Large-scale or phased developments | Speed for blockout, quality for delivery |
| BIM-integrated viewers | Revit-based architecture projects | Direct model import, phase animation |
Hardware considerations matter less than workflow organization. A well-structured scene file with properly named layers, linked assets, and consistent material libraries saves more time than raw processing power. Export formats also need planning upfront: FBX and OBJ transfer geometry reliably across platforms, while native formats preserve material and light data for single-platform workflows.
- Audit your model for geometry errors before importing into any animation tool
- Assign materials at the object level, not the polygon level
- Name all scene objects and layers consistently from day one
- Decide on your export format before building the scene to avoid conversion issues
How do you plan and storyboard an architectural animation effectively?
The narrative purpose of an animation must be defined before a single camera path is drawn. Expert guidance recommends starting with a single guiding sentence that defines what the viewer should feel or understand after watching. That sentence shapes every technical and aesthetic choice that follows. A residential project might aim to make a buyer feel the warmth of a sun-filled living space. A commercial development might need to communicate scale and connectivity to investors.
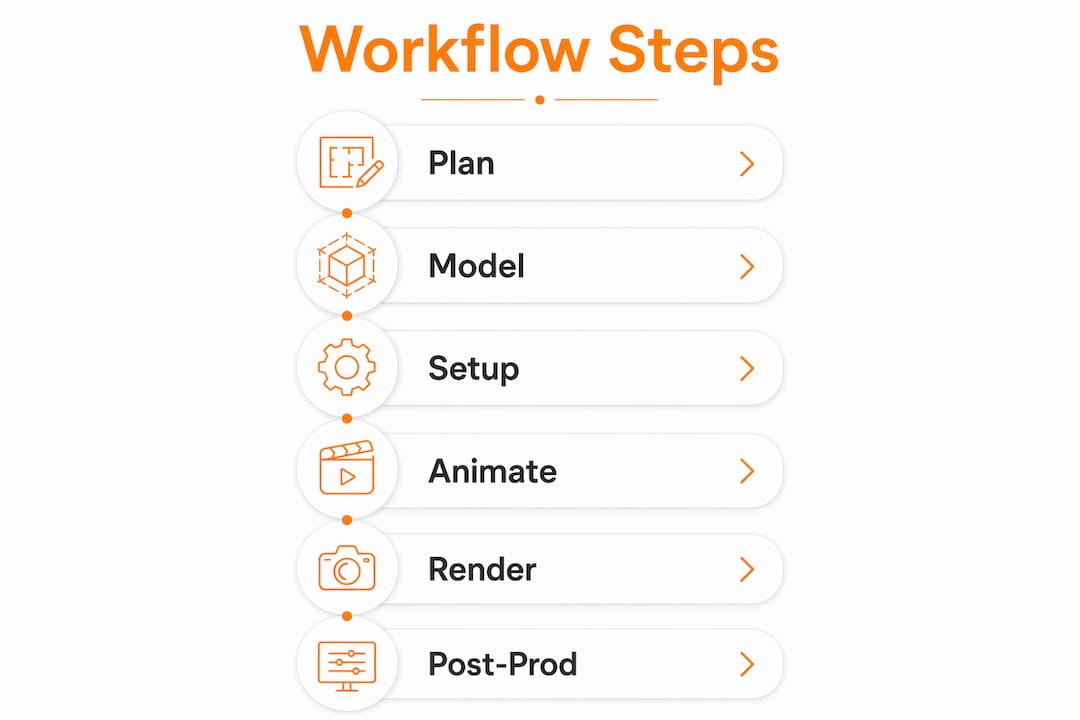
Audience focus determines animation style. A photorealistic walkthrough suits real estate marketing because buyers respond to material quality and spatial comfort. A diagrammatic or schematic animation suits planning presentations because stakeholders need to read massing, phasing, and site relationships clearly. Mixing both styles in one animation without a clear reason creates confusion.
Storyboarding translates the narrative sentence into a sequence of shots. Each board frame should show camera position, subject, and the emotional or informational goal of that shot. Animatics, which are rough moving versions of the storyboard, let you check pacing before committing to full scene setup. A 90-second animation typically requires 8–12 storyboard frames to cover all key spatial moments.
Pro Tip: Write your guiding sentence on a sticky note and keep it visible throughout production. Every time a camera move or effect feels uncertain, test it against that sentence. If it does not serve the sentence, cut it.
- Define the single narrative goal before opening any 3D software
- Match animation style to audience: photorealistic for buyers, diagrammatic for planners
- Create storyboard frames for every major spatial transition
- Build a rough animatic to confirm pacing before full scene setup
What are the step-by-step techniques for scene setup and camera paths?
Scene setup begins with lighting, because light defines how materials read and how space feels. Geolocation-based sun and sky systems accurately simulate natural light and shadows to enhance realism and emphasize architectural features. Set your project location and time of day before placing any artificial lights. For interiors, artificial light sources with color temperatures around 3,000K highlight warm materials like wood and stone effectively. Cooler temperatures above 5,000K suit contemporary spaces with concrete and glass.
Camera path planning is where most architectural animations succeed or fail. Maintaining a consistent eye-level camera height between 1,750mm and 1,800mm preserves viewer immersion and avoids the detached, drone-like perspective that disconnects audiences from the space. Walkthroughs follow a visitor’s path at eye level, blending aerial establishing shots with ground-level journeys through the design.
| Camera movement | Communication effect | Best use case |
|---|---|---|
| Slow pan | Reveals width and horizontal scale | Facades, open-plan interiors |
| Gentle orbit | Shows three-dimensional form | Building massing, sculptural elements |
| Dolly forward | Creates arrival and entry feeling | Entrances, thresholds, corridors |
| Aerial establishing shot | Communicates site context and scale | Master plans, large developments |
| Tilt up | Emphasizes height and verticality | Towers, atria, double-height spaces |
Camera movement pacing should start slow to orient viewers, anchor composition on the building, and alternate between faster and slower motions to maintain engagement. Preview each clip individually before committing to the full sequence. Excessive or disoriented movement detracts from the viewer experience and pulls attention away from the design itself.
Pro Tip: Lock your first and last keyframes before adjusting anything in the middle of a camera path. This prevents accidental drift at the start and end of each shot, which is the most common cause of jarring cuts in architectural animations.
How do real-time rendering tools speed up the animation workflow?
Real-time rendering engines excel at speed and iteration, while offline renderers provide photorealistic hero shots. That distinction drives the most efficient production approach available today. Real-time tools let you block out scenes, adjust lighting, and refine camera paths with immediate visual feedback. Offline tools deliver the final quality needed for marketing deliverables and client presentations.
Workflow integration from BIM to animation is now direct in most real-time platforms. Revit models import with material assignments and phase data intact, which means the animation team spends less time rebuilding scene structure and more time on storytelling. Revit-to-animation workflows facilitate camera path refinement and phasing animations without complicated visual effects setups.
Hybrid workflows combine the best of both approaches. Use a real-time engine for the full blockout: camera paths, lighting mood, material placement, and pacing. Then identify the two or three hero shots that carry the most narrative weight and send those frames to an offline renderer for final polish. This approach keeps the overall production timeline tight while delivering the image quality that clients expect for key moments.
- Use real-time engines for all blockout, iteration, and client review stages
- Reserve offline rendering for hero frames and final marketing deliverables
- Import BIM models directly to preserve material and phase data
- Sequence camera moves in the real-time environment before committing to render
Real-time rendering has fundamentally changed how fast an animation can move from concept to client-ready output. Teams that adopt hybrid workflows consistently deliver faster without sacrificing quality on the frames that matter most.
What are the best practices for post-production and export?
Post-production is where an animation becomes a story rather than a sequence of clips. Professional editing tools like Premiere Pro and DaVinci Resolve tighten story and cadence while environmental animations including crowds, vegetation, and weather effects increase realism. Color grading is not optional: it unifies the visual tone across shots that were rendered at different times or with slightly different lighting setups.
Sound design is consistently underestimated in architectural animation. Ambient audio, soft music, and subtle environmental sounds like wind or water features create emotional engagement that visuals alone cannot achieve. A 60-second animation with well-chosen audio feels twice as long in the best possible sense: viewers absorb more detail because they are emotionally present.
Export format and resolution standards depend on the delivery channel. A 4K MP4 at 30 frames per second covers most client presentation and marketing needs. Web-based sharing platforms accept H.264 compression at lower bitrates without significant quality loss. Interactive executables and cloud-based virtual tours require different output pipelines but offer the advantage of viewer-controlled navigation.
- Assemble all rendered clips in your editing tool before making any cuts
- Apply color grading as a global adjustment layer to unify the visual tone
- Add environmental animations: people, trees, water, and weather effects
- Layer in ambient audio and music before finalizing pacing decisions
- Export a master file at full resolution, then create compressed versions for each delivery channel
- Run a structured review cycle with timestamped notes before final delivery
Version control and timestamped review notes are the backbone of efficient client feedback cycles. Name every file with a version number and date. Keep a change log that maps each client comment to the specific revision made. This practice eliminates confusion on projects with multiple stakeholders and prevents the most common cause of missed deadlines: working from the wrong file version.
Pro Tip: Export a low-resolution proxy version of the full animation before rendering at final quality. Review the proxy for pacing, transitions, and narrative flow. Fix every issue at the proxy stage. Rendering corrections at full resolution costs hours; fixing them at proxy stage costs minutes.
Key takeaways
A successful architectural animation requires narrative clarity, disciplined scene setup, and a hybrid rendering workflow to deliver both speed and quality.
| Point | Details |
|---|---|
| Start with a narrative sentence | Define what the viewer should feel before touching any software or camera path. |
| Clean your model first | Geometry errors and poor material assignment cause problems at every stage downstream. |
| Hold camera height at 1,750mm–1,800mm | This range preserves viewer immersion and avoids disorienting drone-like perspectives. |
| Use hybrid rendering workflows | Real-time engines handle iteration; offline renderers handle hero-frame quality. |
| Post-production unifies the story | Color grading, sound design, and version control determine the final quality of the delivered animation. |
What I have learned from producing architectural animations at scale
The most common mistake in architectural animation is treating it as a rendering task rather than a communication task. Technical quality matters, but it is secondary to narrative clarity. An animation that looks photorealistic but fails to answer the viewer’s core question, which is “what is it like to be in this space?”, has failed its purpose regardless of render quality.
The balance between cinematic storytelling and technical accuracy is genuinely difficult to maintain. Overly complex visual effects pull attention away from the architecture. Overly plain sequences fail to engage the viewer emotionally. The discipline of returning to your guiding sentence at every decision point is what keeps that balance intact throughout a long production.
Iteration speed is the real competitive advantage in this field. Teams that adopt real-time rendering for blockout and review cycles consistently produce better animations than teams that commit to offline rendering from the start. The ability to show a client a rough version in days rather than weeks changes the quality of feedback and the quality of the final result.
Rendimension has worked through this workflow across more than 1,000 projects globally, and the lesson holds every time: the animations that clients remember are the ones that made them feel something specific. Technical precision earns trust. Narrative clarity earns memory.
, Rendimension
Rendimension’s architectural animation services for design professionals
Architectural animation projects succeed when technical skill and narrative intent work together from the first frame to the last. Rendimension’s team brings both to every project, producing photorealistic architectural animations and immersive 3D walkthroughs for residential, commercial, and mixed-use developments across the United States.
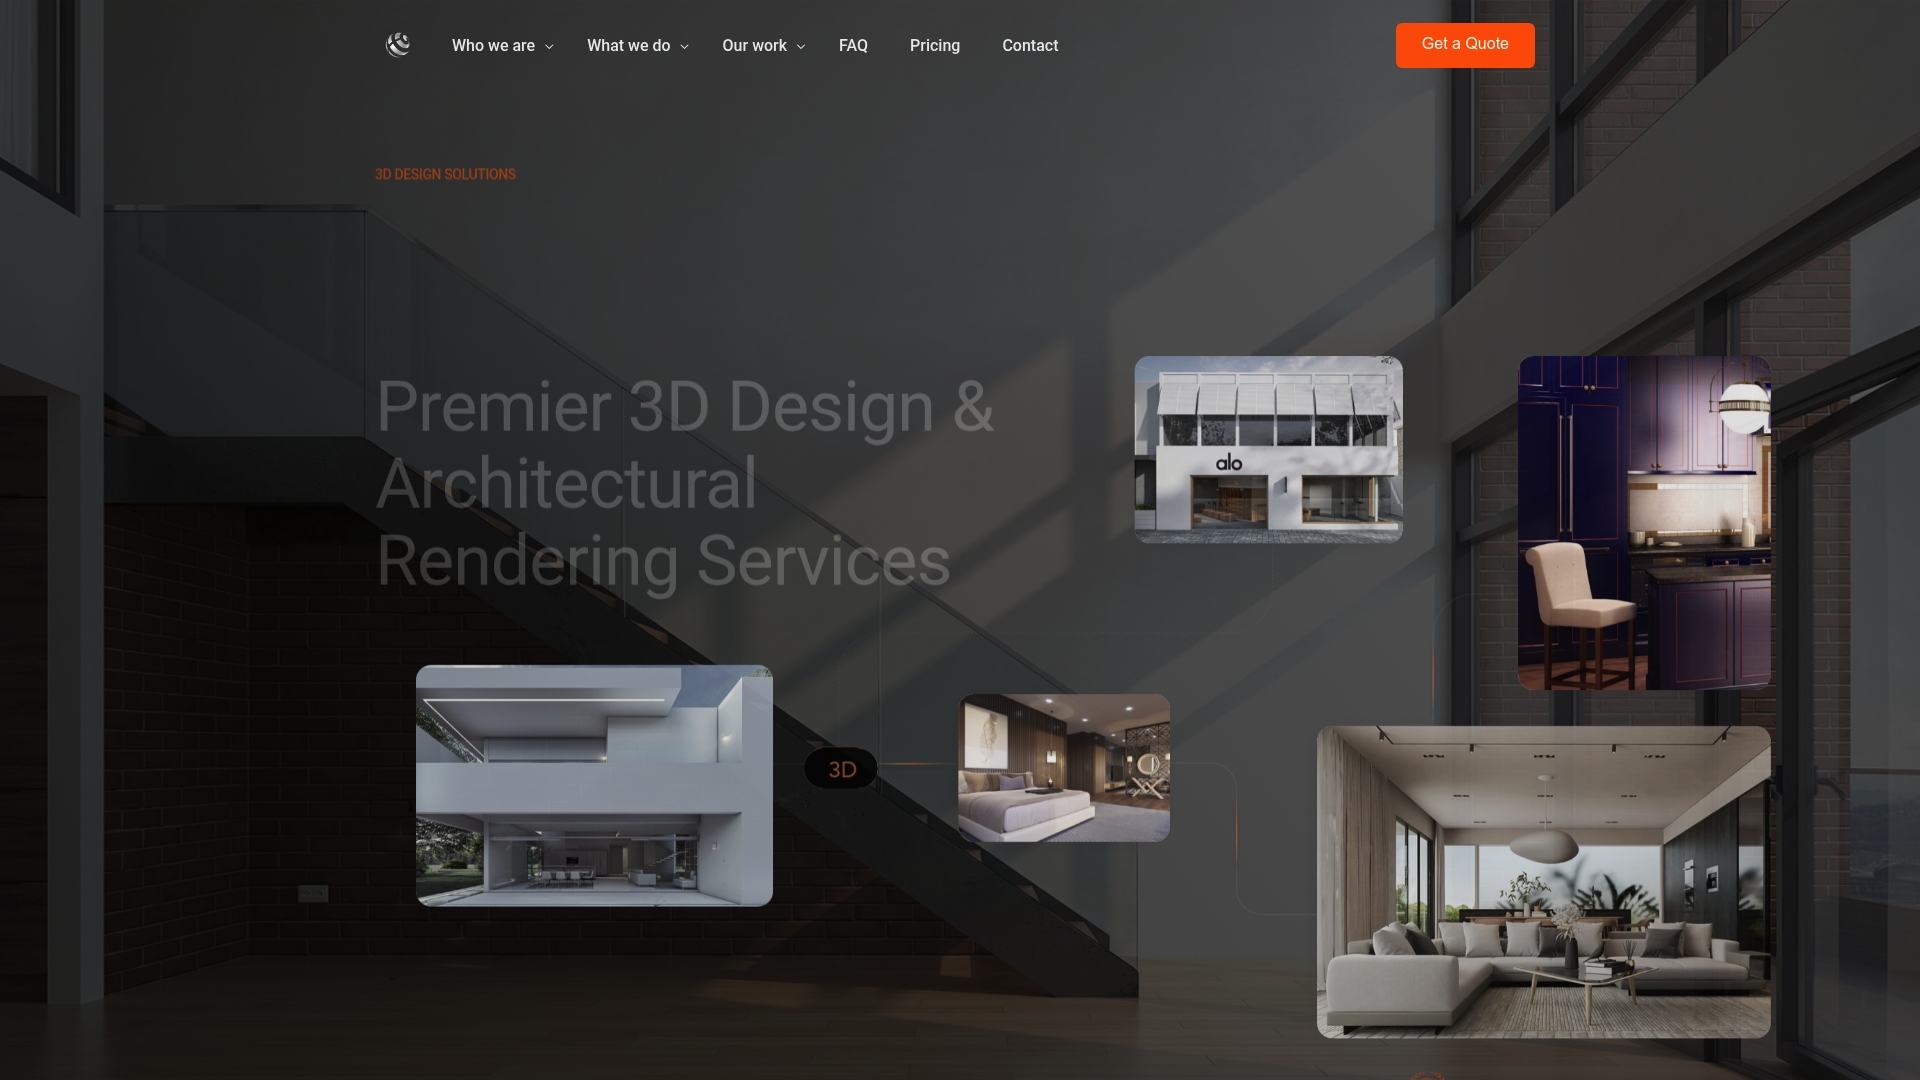
Rendimension manages the full workflow: model preparation, scene setup, camera path design, lighting, rendering, and post-production. Clients receive a collaborative process with clear review cycles and version control at every stage. With over 1,000 completed projects, the team delivers architectural visualization services tailored to the specific communication goals of each project. Contact Rendimension to discuss your next animation project or view the portfolio for examples across project types and scales.
FAQ
What is architectural animation?
Architectural animation is a motion-based visual sequence that communicates design intent through cinematic camera movement, realistic lighting, and spatial storytelling. It reveals spatial transitions and light interplay that static images cannot convey.
How long does a typical architectural animation take to produce?
Production time depends on scene complexity, animation length, and rendering method. A 60–90 second animation using a hybrid real-time and offline workflow typically takes two to four weeks from model receipt to final delivery.
What camera height should I use for an architectural walkthrough?
Maintain a consistent eye-level camera height between 1,750mm and 1,800mm. This range preserves viewer immersion and avoids the detached, drone-like perspective that disconnects audiences from the space.
What is the best export format for architectural animations?
A 4K MP4 file at 30 frames per second covers most client presentation and marketing needs. For web delivery, H.264 compression at a lower bitrate maintains acceptable quality without large file sizes.
When should I use a hybrid rendering workflow?
Use a hybrid workflow on any project where both iteration speed and final image quality matter. Real-time engines handle blockout and client review stages; offline renderers handle the hero frames that carry the most narrative and marketing weight.
Recommended
- Animation rendering guide for architects and developers
- Architectural Animation Company: A Buyer Guide | Rendimension
- Architectural Visualization Step By Step For Stunning Results
Frequently asked questions
What is architectural animation?
Architectural animation is a motion-based visual sequence that communicates design intent through cinematic camera movement, realistic lighting, and spatial storytelling. It reveals spatial transitions and light interplay that static images cannot convey.
How long does a typical architectural animation take to produce?
Production time depends on scene complexity, animation length, and rendering method. A 60–90 second animation using a hybrid real-time and offline workflow typically takes two to four weeks from model receipt to final delivery.
What camera height should I use for an architectural walkthrough?
Maintain a consistent eye-level camera height between 1,750mm and 1,800mm. This range preserves viewer immersion and avoids the detached, drone-like perspective that disconnects audiences from the space.
What is the best export format for architectural animations?
A 4K MP4 file at 30 frames per second covers most client presentation and marketing needs. For web delivery, H.264 compression at a lower bitrate maintains acceptable quality without large file sizes.
When should I use a hybrid rendering workflow?
Use a hybrid workflow on any project where both iteration speed and final image quality matter. Real-time engines handle blockout and client review stages; offline renderers handle the hero frames that carry the most narrative and marketing weight.