Visual Experience Creation Workflow for Design Pros

Visual Experience Creation Workflow for Design Pros

TL;DR:
- A visual experience creation workflow in architecture transforms design concepts into photorealistic images and interactive presentations. Implementing disciplined stages like asset gathering, model preparation, live BIM viewing, and post-production accelerates decision-making and improves client engagement. Using AI tools strategically for early options, combined with final specialist-rendered assets, streamlines projects and enhances quality.
A visual experience creation workflow is the structured process of transforming architectural and design concepts into engaging, interactive visual content that accelerates client decisions and project approvals. In architecture, real estate, and design, this process goes by a more established industry term: architectural visualization workflow. Both phrases describe the same pipeline, from initial BIM model to photorealistic render to client presentation. The difference is that modern tools, including AI-assisted rendering and live BIM connections, have compressed what once took weeks into a process that can deliver results in hours. Professionals who build a disciplined workflow around these tools gain a measurable edge in speed, quality, and client satisfaction.
What are the core stages of a visual experience creation workflow?
A well-structured architectural visualization workflow follows six repeatable stages: asset gathering, model preparation, live BIM viewing, rendering, post-production, and client presentation. Each stage feeds the next. Skipping or rushing one creates problems that compound downstream.
Asset gathering means collecting all project files before any visual work begins. Floor plans, elevation drawings, material specifications, and brand guidelines all belong here. Teams that skip this step waste time hunting for files mid-project.
Model preparation is where most workflows break down. Clean geometry, correct scale, and grouping by material type reduce rendering artifacts and prevent rework. A model with overlapping faces or mismatched units will produce errors that are expensive to fix after rendering begins.

Live BIM viewing is the stage that separates modern workflows from legacy ones. Live visualization platforms let teams review design changes in real time without exporting static files. Integrated live-updating visualization saves 15–20 hours per project by eliminating repetitive export cycles. That time savings compounds across a portfolio of projects.
Rendering and post-production convert the prepared model into a finished image. Post-production alone adds roughly 30% of perceived image quality to any architectural render. Teams that skip color grading, contrast adjustment, and atmospheric effects deliver images that look unfinished regardless of how good the 3D model is.
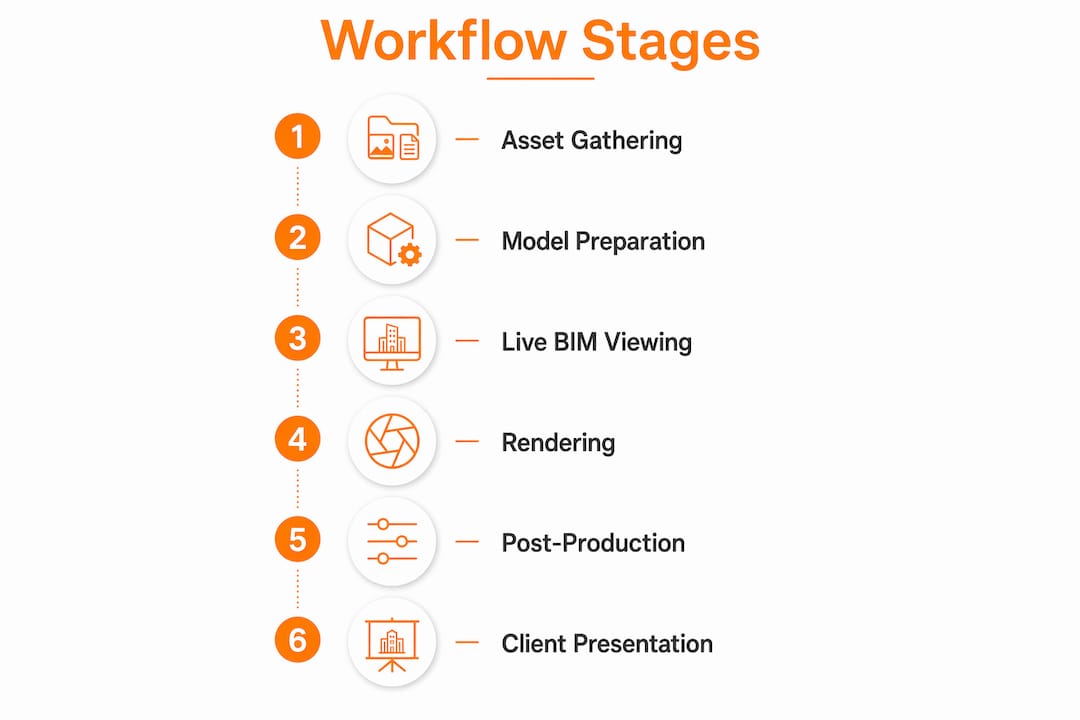
Client presentation closes the loop. The goal is not just to show images but to guide decisions. The table below maps each workflow stage to its primary tool category and core purpose.
| Workflow stage | Tool category | Core purpose |
|---|---|---|
| Asset gathering | Project management platforms | Centralize files and briefs |
| Model preparation | BIM and CAD software | Build clean, accurate geometry |
| Live BIM viewing | Live visualization platforms | Review changes without exporting |
| Rendering | AI-assisted render engines | Produce photorealistic images fast |
| Post-production | Image editing software | Finalize color, contrast, and atmosphere |
| Client presentation | Interactive canvas tools | Guide decisions with layered visuals |
Pro Tip: Implement version control from day one. Version-controlled visualization software eliminates confusing file names like “final_v3_REAL_final.rvt” and gives every team member a clear record of design iterations.
How can professionals produce faster, photorealistic renders?
Speed and quality are not opposites in a well-run rendering workflow. The key is sequencing decisions correctly and using the right tools at each stage.
The single most important sequencing rule is lighting before materials. Lighting decisions must precede material assignment because materials respond differently under different lighting setups. Assigning a marble texture before confirming the light direction forces you to re-texture the entire scene when the lighting changes. That is hours of avoidable rework.
AI-assisted rendering has changed the speed equation entirely. Modern AI tools produce photorealistic renders in under 60 seconds from basic CAD exports or sketches. Traditional agency workflows for the same output span hours to days. For professionals who need multiple design options for a client review or a marketing campaign, that speed difference is decisive.
The photorealistic rendering workflow for architecture follows a clear sequence of best practices:
- Audit the model geometry before importing it into any render environment. Fix overlapping faces, zero-thickness walls, and incorrect scale first.
- Set the sun position and artificial light sources before touching any material.
- Assign materials in order of visual dominance: floors and walls first, then furniture, then accessories.
- Run a test render on a small section of the scene, not the full image. This confirms lighting accuracy without committing full hardware time.
- Complete the full render only after the test section looks correct.
- Apply post-production adjustments: exposure, color grading, depth of field, and atmospheric haze.
Pro Tip: Test rendering small scene patches before committing to a full render saves significant time. If the lighting is off in the test patch, you catch it in minutes rather than discovering the problem after a full render completes.
What are effective methods for crafting engaging client presentations?
The best render in the world fails if the presentation loses the client’s attention. Clients lose focus after 20 minutes during presentations, which means every minute of your meeting must carry weight.
The shift from static slide decks to interactive architecture presentations improves client comprehension and involvement. When clients can explore a design spatially rather than passively watching slides advance, they ask better questions and reach decisions faster. This is the core principle behind narrative-driven visual workflows.
Building a narrative means layering information progressively. Start with the site context and massing, then move to floor plans, then interior views, then material details. Each layer answers a question the previous one raised. Clients follow this logic naturally because it mirrors how they experience a real building.
Infinite canvas tools that combine annotation, live BIM views, and 3D renders in a single workspace are particularly effective for live meetings. A designer can zoom from a site plan to a kitchen render to a material board without switching applications. That continuity keeps the client focused and reduces the cognitive load of jumping between formats.
Best practices for presentation day:
- Send a one-page visual brief to the client 24 hours before the meeting so they arrive with context.
- Open with the project goal, not the design. Remind the client what problem the design solves.
- Use 3D views alongside plans and sections. Clients who cannot read technical drawings understand photorealistic renders immediately.
- Pause after each design zone and invite questions before moving forward.
- Record key decisions in writing during the meeting, not after. This prevents scope disputes later.
- Follow up within 24 hours with a visual summary of decisions made and next steps.
How do AI tools transform the visual content development process?
AI has changed the design experience process at the production level, not just the speed level. The most significant shift is the ability to generate multiple design options from a single CAD plan in the time it once took to produce one.
AI tools now handle auto-furnishing, style preset application, and rapid photorealistic render generation from 2D plans. For real estate developers, this means a marketing team can have multiple furnished interior options ready for a campaign before construction begins. For architects, it means showing a client three distinct material palettes in the same meeting rather than asking them to imagine the alternatives. Professionals exploring AI-powered real estate workflows are already applying these tools to compress pre-sale marketing timelines.
The table below compares traditional and AI-assisted visual workflows on the dimensions that matter most to professionals.
| Dimension | Traditional workflow | AI-assisted workflow |
|---|---|---|
| Time to first render | Hours to days | Under 60 seconds |
| Design options per session | 1–2 | 5 or more |
| Post-production required | Always | Reduced but still recommended |
| Creative control | Full | High, with style presets |
| Best use case | Complex, bespoke projects | Early-stage options and marketing |
AI tools do have real limits. They perform best on standard residential and commercial typologies. Highly custom or structurally complex projects still benefit from a human-led architectural visualization process where a specialist controls every detail. Setting that expectation with clients early prevents disappointment when an AI-generated option does not capture a unique design intent.
The right approach for most teams is hybrid. Use AI for speed and volume in early design stages, then bring in specialist visualization services for final presentation assets and marketing materials.
Key Takeaways
A structured visual experience creation workflow, combining live BIM viewing, AI-assisted rendering, and interactive presentation methods, reduces project decision cycles from days to hours while improving client comprehension and approval rates.
| Point | Details |
|---|---|
| Sequence lighting before materials | Setting lights first prevents costly re-texturing when lighting changes later in the workflow. |
| Use live BIM tools for reviews | Live visualization platforms cut decision cycles from 5–7 days to 1–2 hours per session. |
| Apply post-production every time | Post-production adds roughly 30% of perceived image quality; skipping it leaves renders looking unfinished. |
| Layer presentations progressively | Start with site context and build to material details so clients follow the design logic naturally. |
| Use AI for volume, specialists for finals | AI tools excel at early-stage options; specialist services deliver the precision needed for final marketing assets. |
What I have learned from watching teams adopt these workflows
The professionals who get the most out of a modern visualization workflow are not the ones with the best software. They are the ones with the most disciplined process. I have seen teams with access to every current AI tool still produce mediocre results because they skip model preparation or assign materials before confirming lighting. The tools do not fix a broken sequence.
The shift from static presentations to real-time collaborative visuals is genuinely significant. When a client can watch a design change in response to their feedback during a meeting, the dynamic of the relationship changes. They stop being passive reviewers and start being active participants. That shift shortens approval cycles and reduces the back-and-forth that eats up project time.
What surprises most teams is how much client reaction improves when you add interactivity, not just quality. A photorealistic render shown as a static image gets a polite response. The same render embedded in an interactive canvas where the client can zoom, annotate, and compare options gets genuine engagement. The visual quality matters, but the format of delivery matters just as much.
Process discipline, specifically sequencing lighting before materials, running test patches before full renders, and maintaining version control, is what separates teams that deliver consistently from those that scramble before every deadline. These are not complicated habits. They are just habits that most teams never formalize. Formalizing them is the single highest-return change any architecture or design team can make to their workflow.
, Rendimension
Rendimension’s role in professional visualization workflows
Rendimension brings over 1,000 completed projects to every engagement, covering residential towers, commercial developments, and product design across the US and internationally. The team handles the full production pipeline, from BIM-connected model review to photorealistic 3D rendering services and immersive walkthroughs, so design and real estate professionals can focus on client relationships rather than production logistics.
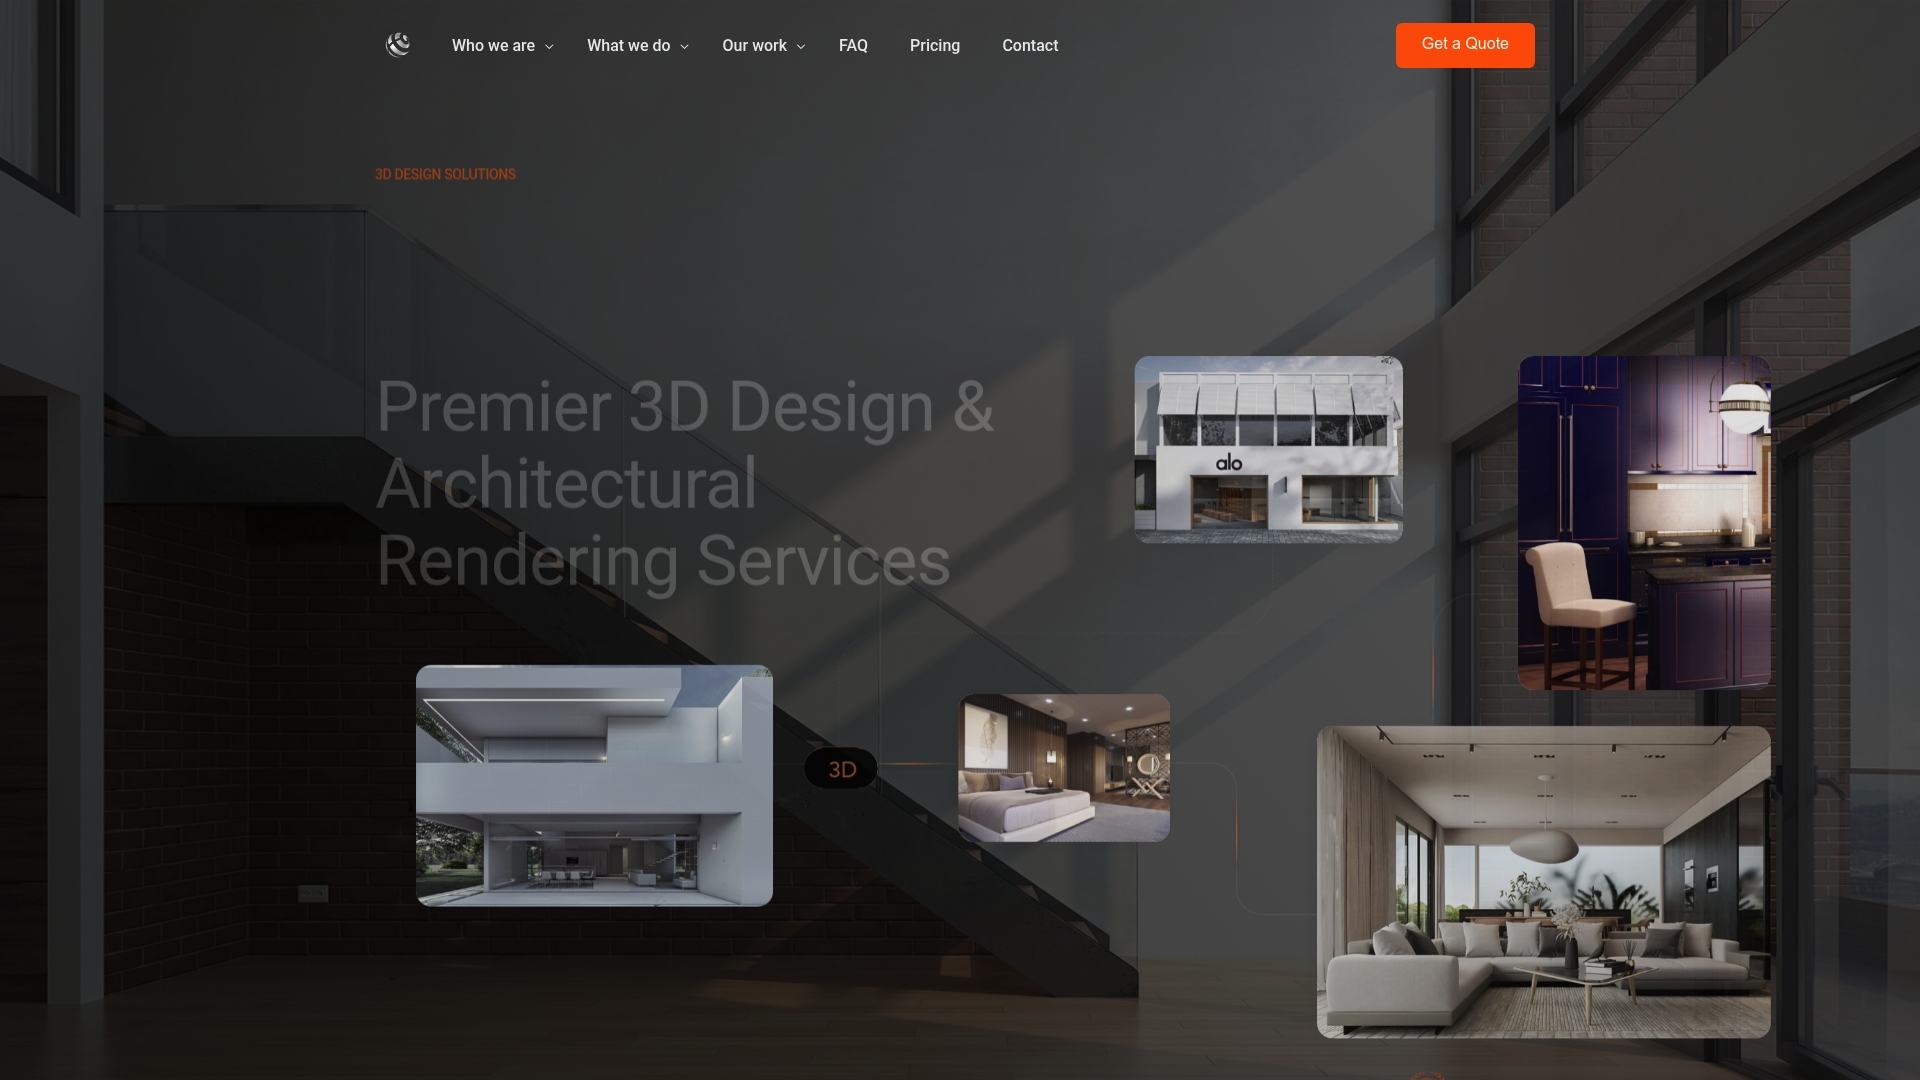
For teams that need final-quality assets for marketing campaigns, investor presentations, or pre-sale launches, Rendimension’s architectural visualization services deliver the precision and photorealism that AI-generated options cannot match at the final stage. Every project includes client review checkpoints built into the production timeline, which means fewer revision cycles and faster delivery. Professionals who want to see how a structured visualization workflow applies to their specific project type can connect with the Rendimension team directly through the website.
FAQ
What is a visual experience creation workflow in architecture?
A visual experience creation workflow is the structured process of converting design concepts into photorealistic renders, interactive presentations, and immersive walkthroughs for client review and project approvals. It covers every stage from model preparation through final post-production.
How long does it take to produce a photorealistic architectural render?
AI-assisted workflows produce photorealistic renders in under 60 seconds from CAD exports or sketches. Complex, bespoke projects handled by specialist visualization teams typically take longer but deliver higher precision for final marketing and presentation assets.
Why does lighting need to come before materials in a rendering workflow?
Materials respond differently under different lighting setups, so assigning textures before confirming the light direction forces costly re-texturing later. Setting lighting first locks in the visual foundation that all material decisions build on.
How do interactive presentations improve client outcomes?
Interactive presentations let clients explore design narratives spatially rather than watching static slides advance. This format improves comprehension, generates better questions, and shortens the time needed to reach design decisions.
What is the role of post-production in an architectural visualization workflow?
Post-production adds roughly 30% of the perceived image quality to any architectural render through color grading, contrast adjustment, and atmospheric effects. Skipping this stage produces images that look unfinished regardless of the quality of the underlying 3D model.
Recommended
- Expert Guide: How To Visualize Interior Concepts For Impact
- Create Photorealistic Visuals: Cut Revisions By 35%
Frequently asked questions
What is a visual experience creation workflow in architecture?
A visual experience creation workflow is the structured process of converting design concepts into photorealistic renders, interactive presentations, and immersive walkthroughs for client review and project approvals. It covers every stage from model preparation through final post-production.
How long does it take to produce a photorealistic architectural render?
AI-assisted workflows produce photorealistic renders in under 60 seconds from CAD exports or sketches. Complex, bespoke projects handled by specialist visualization teams typically take longer but deliver higher precision for final marketing and presentation assets.
Why does lighting need to come before materials in a rendering workflow?
Materials respond differently under different lighting setups, so assigning textures before confirming the light direction forces costly re-texturing later. Setting lighting first locks in the visual foundation that all material decisions build on.
How do interactive presentations improve client outcomes?
Interactive presentations let clients explore design narratives spatially rather than watching static slides advance. This format improves comprehension, generates better questions, and shortens the time needed to reach design decisions.
What is the role of post-production in an architectural visualization workflow?
Post-production adds roughly 30% of the perceived image quality to any architectural render through color grading, contrast adjustment, and atmospheric effects. Skipping this stage produces images that look unfinished regardless of the quality of the underlying 3D model.