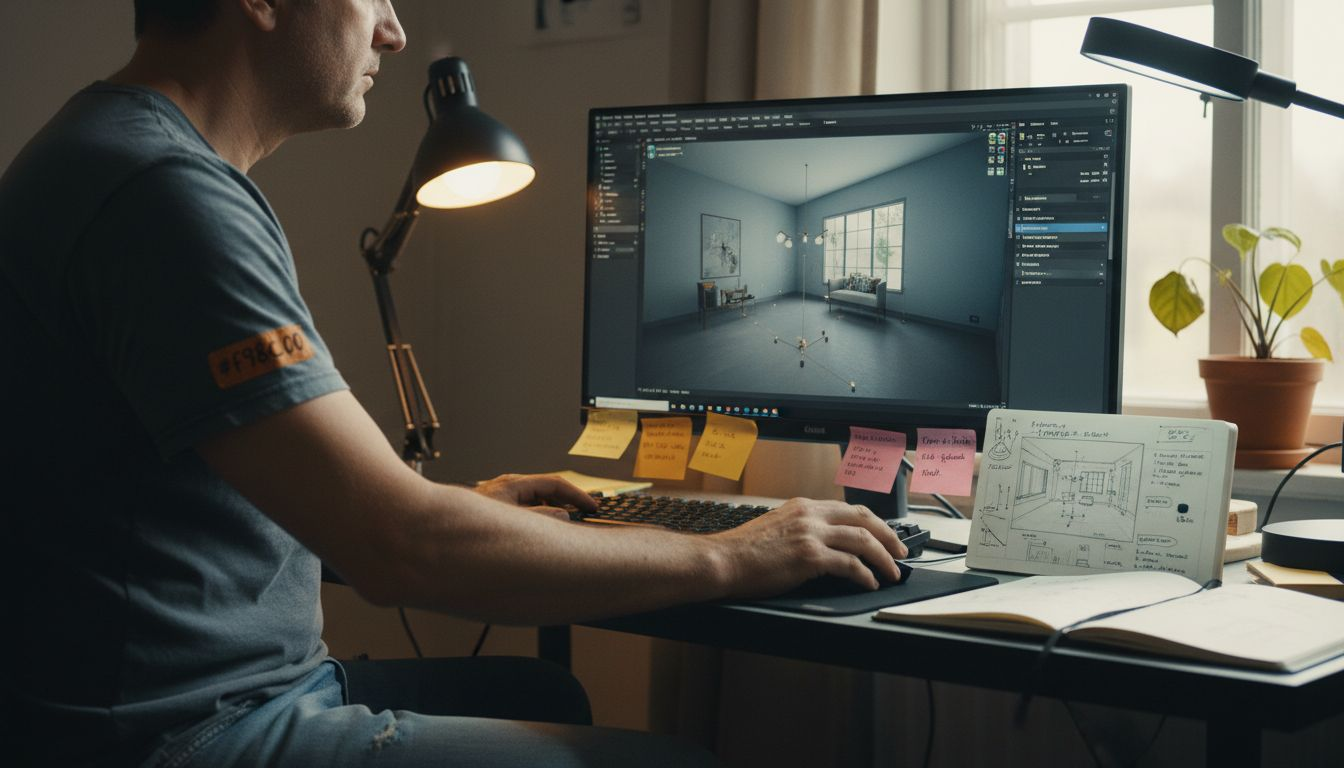
Creating truly photorealistic architectural visuals remains one of the biggest challenges for architects and developers. Over 70% of amateur renders fail due to common technical mistakes like incorrect lighting, improper scale, and poor material reflections. This comprehensive guide walks you through a proven, step-by-step workflow that produces immersive visuals, reduces revision cycles by 35%, and transforms how clients perceive your projects.
Table of Contents
- Prerequisites: Planning, Tools, and Hardware Requirements
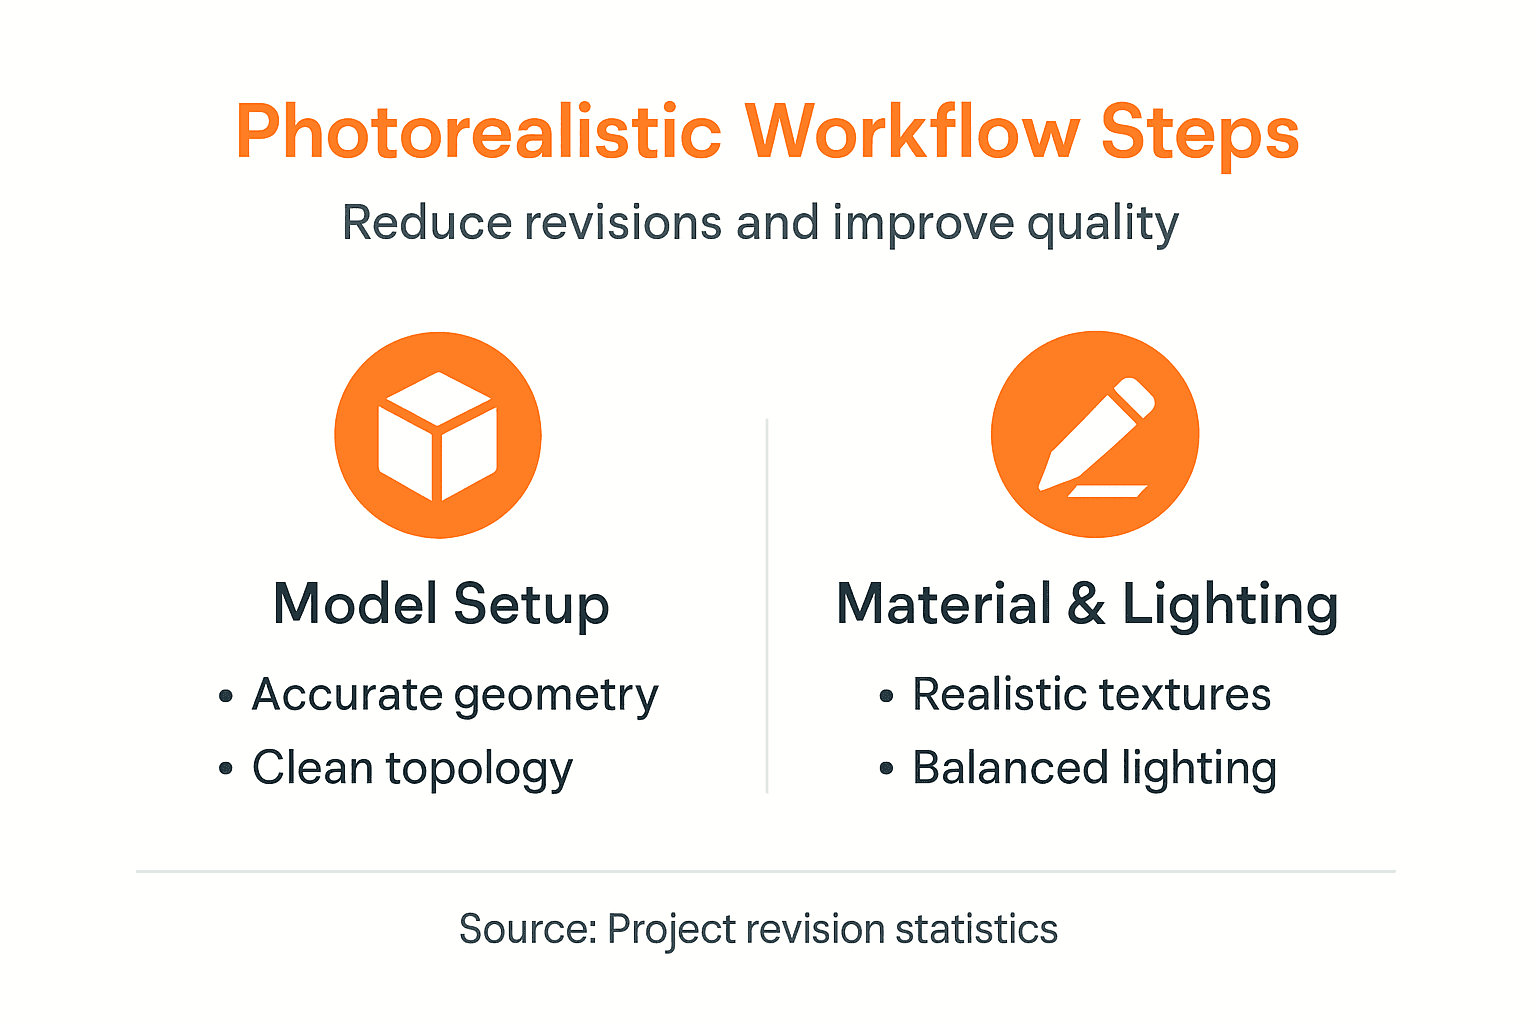
- Step 1: Prepare Accurate 3D Models
- Step 2: Apply Realistic Materials and Textures
- Step 3: Set Up Realistic Lighting
- Step 4: Choose Rendering Engine and Techniques
- Step 5: Iterate and Refine Visuals with Feedback
- Common Mistakes and Troubleshooting
- Expected Results and Outcomes: Timelines, Costs, and Quality Benchmarks
- Bring Your Designs to Life with Expert 3D Rendering Services
- Frequently Asked Questions
Key Takeaways
| Point | Details |
|---|---|
| Clear briefing | Detailed project briefs boost client satisfaction rates by 50% |
| PBR materials | Physically Based Rendering reduces material errors by over 40% |
| Iterative feedback | Structured client feedback cuts revision cycles by 35% |
| Hardware matters | High-end GPUs accelerate rendering speeds up to 3x |
| Time investment | Typical render times range from 15 to 40 hours per image |
Prerequisites: Planning, Tools, and Hardware Requirements
Before you start modeling, you need the right foundation. Your hardware directly impacts rendering speed and quality. High-performance GPUs, particularly NVIDIA RTX series cards, can accelerate render speeds by up to 3x compared to CPU-only rendering.
Software selection is equally critical. Choose tools that support Physically Based Rendering (PBR) and advanced rendering engines. Popular options include 3ds Max paired with V-Ray, Blender with Cycles, or real-time engines like Unreal Engine. Each offers different strengths based on your project complexity and deadlines.
A detailed project brief makes or breaks your workflow efficiency. The Importance of Clear Briefs in 3D Visualization Projects reveals that clear briefs including client requirements and target audience increase final satisfaction rates by 50%. Document everything: architectural plans, material preferences, lighting conditions, camera angles, and desired atmosphere.
Essential Hardware & Software Checklist:
- GPU: NVIDIA RTX 3080 or higher (16GB+ VRAM)
- CPU: 8+ cores for parallel processing
- RAM: 32GB minimum, 64GB recommended
- Storage: SSD for active projects (500GB+)
- Software: 3ds Max, V-Ray, Corona Renderer, or Unreal Engine
- Calibrated monitor for accurate color representation
| Component | Minimum Spec | Recommended Spec | Impact |
|---|---|---|---|
| GPU | RTX 3060 | RTX 4080 | 3x faster renders |
| RAM | 32GB | 64GB | Handles complex scenes |
| CPU Cores | 8 | 16+ | Parallel processing |
| Storage | 500GB SSD | 1TB NVMe | Faster file access |
Your tool choices should align with project complexity. Simple residential visualizations might work well with mid-range setups, while large commercial developments demand top-tier hardware to meet aggressive deadlines.
Step 1: Prepare Accurate 3D Models
Your 3D model forms the foundation of photorealism in architecture. Every detail matters. Use high polygon counts, typically exceeding 1 million polygons, to capture intricate architectural features like ornate moldings, textured facades, and complex geometries.
Start with precise CAD-to-3D model conversion. Import architectural drawings and verify every dimension. Small scaling errors compound quickly, breaking immersion for clients who understand spatial relationships intuitively.
Model Preparation Workflow:
- Import CAD drawings and architectural plans
- Build base geometry with accurate measurements
- Add architectural details (windows, doors, trim)
- Create surrounding context (landscape, neighboring buildings)
- Verify scale using real-world measurements
- Optimize polygon count for render efficiency
Preserve critical details during modeling. Window frames, door hardware, light fixtures, and material transitions all contribute to believability. Reference the architectural visualization step-by-step guide for detailed modeling best practices.
Pro Tip: Cross-check your model scale by placing a standard human figure (1.7m tall) in the scene. If proportions feel off, they probably are. This simple validation catches 80% of scale errors before rendering.
Geometry accuracy directly impacts material and lighting calculations. Clean topology ensures proper light bounces and shadow casting. Remove duplicate vertices, fix flipped normals, and validate mesh integrity before moving to materials.
Step 2: Apply Realistic Materials and Textures
Physically Based Rendering materials simulate how light interacts with real surfaces. This approach reduces rendering errors by over 40% compared to traditional materials. PBR workflows rely on accurate parameter configuration: albedo (base color), roughness, metallicity, and normal maps.
Each surface type requires specific parameter tuning. Polished marble needs low roughness (0.1-0.2) and subtle reflection. Concrete demands higher roughness (0.7-0.9) with displacement maps for surface irregularity. Wood requires anisotropic reflection parameters to capture grain direction.
Essential PBR Parameters:
- Albedo: Base color without lighting information
- Roughness: Surface micro-detail affecting reflection sharpness
- Metallicity: Binary value (0 for dielectric, 1 for metal)
- Normal maps: Surface detail without geometry changes
- Displacement: Actual geometry modification for depth
Use high-resolution texture maps, minimum 2K resolution, to maintain detail under close inspection. Source textures from reputable libraries or photograph real materials yourself. The photorealistic rendering guide emphasizes texture quality as a cornerstone of visual fidelity.
Avoid overusing post-processing effects. Excessive bloom, lens flares, or color grading can reduce realism by up to 25%. Real cameras capture scenes with subtlety. Your renders should too. The benefits of photorealistic renders include building trust through authenticity, which heavy-handed effects undermine.
Pro Tip: Test materials with sample renders at multiple lighting conditions (sunrise, midday, sunset). Materials that look great under one lighting setup often fail under others. This validation step saves hours of revision later.
Material libraries accelerate workflow, but customize every material for your specific project. Generic materials rarely achieve photorealism without adjustment.
Step 3: Set Up Realistic Lighting
Lighting makes or breaks photorealism. Poor lighting accounts for the majority of failed renders. Start with HDRI environments to simulate realistic sky and ambient light. This approach reduces render time by 20% while improving accuracy compared to manually placed sky domes.
Layer artificial lights strategically. Combine area lights for soft illumination with spotlights for focused accents. Real spaces use multiple light sources, and your renders should reflect this complexity.
Lighting Setup Sequence:
- Set HDRI environment matching time of day and location
- Place key lights (sun, primary artificial sources)
- Add fill lights to soften shadows
- Insert accent lights for visual interest
- Calibrate light temperature (warm interiors, cool daylight)
- Adjust intensity to prevent overexposure
Light temperature dramatically affects mood. Warm lights (2700-3000K) create cozy interiors. Cool daylight (5500-6500K) suggests professionalism and energy. Match temperature to your project’s intended atmosphere and target audience expectations.
Check for overexposure religiously. Blown-out highlights destroy detail and realism. Most rendering engines offer exposure controls. Start conservative and adjust upward. The architectural visualization guide recommends test renders at multiple exposure values before committing to final production.
Validate lighting with quick test renders. Check shadow softness, color temperature accuracy, and overall exposure balance. This data-driven lighting guide offers quantitative approaches to lighting calibration that remove guesswork.
Natural light requires careful consideration of direction, intensity, and color. Morning light differs from afternoon sun. Your renders should capture these nuances to trigger viewer recognition.
Step 4: Choose Rendering Engine and Techniques
Your rendering engine choice balances photorealistic quality against production speed. Ray tracing rendering improves realism by over 30% compared to rasterization by accurately simulating light physics. However, ray tracing demands significantly more computational resources.
Offline rendering engines like V-Ray and Corona Renderer deliver the highest quality outputs. These path-tracing engines calculate millions of light rays, producing physically accurate results. Expect render times of 15-40 hours per image depending on resolution and scene complexity.
Real-time engines like Unreal Engine enable faster iteration with approximately 20% less accuracy compared to offline renderers. For projects requiring client feedback loops or interactive walkthroughs, real-time rendering offers compelling advantages despite quality trade-offs.
| Engine Type | Quality Level | Speed | Best For | Typical Cost |
|---|---|---|---|---|
| V-Ray | Highest (100%) | Slow | Final deliverables | $700/year |
| Corona | Very High (95%) | Medium | Architectural stills | $600/year |
| Unreal Engine | High (80%) | Fast | Walkthroughs, VR | Free |
| Enscape | Good (70%) | Very Fast | Quick previews | $600/year |
Consider project deadlines when selecting engines. Tight timelines might necessitate real-time engines despite quality compromises. The role of photorealism examines how different quality levels impact client decision-making.
Iterate with test renders to find the optimal balance. Start with lower quality settings to validate composition and lighting. Only commit to full-quality renders after client approval of test versions. This approach saves days of rendering time.
GPU rendering has revolutionized production timelines. Modern RTX GPUs complete renders that once took days in hours. Evaluate whether your hardware supports GPU acceleration for your chosen engine.
Step 5: Iterate and Refine Visuals with Feedback
Structured client feedback loops separate amateur from professional workflows. Implement test renders early to validate lighting, materials, and composition before investing in full-resolution outputs. This verification step catches issues when they’re still inexpensive to fix.
Collect detailed, documented feedback systematically. Vague comments like “make it pop” waste time. Request specific feedback: “Increase the warmth of interior lighting by 10%” or “Add more vegetation to the foreground.” Structured feedback reduces revision cycles by 35%, dramatically improving project timelines.
Effective Feedback Process:
- Share low-resolution test renders for composition approval
- Document all client comments with timestamps
- Prioritize revisions by impact and effort
- Implement changes incrementally with client check-ins
- Maintain version control for all render iterations
Incorporate revisions promptly. Delayed changes compound, creating confusion about which version reflects current direction. The photorealistic rendering guide emphasizes immediate implementation of approved changes.
Maintain transparent communication throughout production. Set realistic expectations about revision timelines and scope. Last-minute major changes derail schedules and budgets. Clear boundaries protect both parties.
Version control becomes critical during iteration. Name files systematically: “ProjectName_View01_v03_2024-01-15.jpg” clearly identifies render version and date. This organization prevents confusion when clients reference older versions.
Common Mistakes and Troubleshooting
Even experienced artists make predictable mistakes. Overexposure leads to washed-out images where highlights lose all detail. Adjust exposure settings and lighting intensity to preserve highlight information. Your eye adapts to bright scenes, but cameras (and renders) don’t.
Incorrect object scale breaks realism instantly. A door that’s 2.5 meters tall when it should be 2.1 meters triggers subconscious recognition that something’s wrong. Cross-check measurements against standard architectural dimensions throughout modeling.
Frequent Error Checklist:
- Overexposure destroying highlight detail
- Scale errors in furniture, fixtures, or architecture
- Unrealistic material reflections (too glossy or matte)
- Inconsistent light temperature mixing warm and cool sources
- Excessive post-processing blur, bloom, or saturation
- Missing ambient occlusion reducing depth perception
Improper material reflection setup causes unnatural surfaces. Glass that’s too reflective looks like a mirror. Wood that’s too matte appears fake. 5 Common Rendering Mistakes and How to Fix Them documents how these errors occur in over 70% of amateur photorealistic renders, degrading believability.
Excessive post-processing effects reduce realism and should be limited. Real photography captures scenes with subtle imperfections. Overly polished renders trigger uncanny valley responses. Embrace slight imperfection for authenticity.
Pro Tip: Use a calibrated monitor and color profile to view renders accurately during editing. Uncalibrated displays show colors incorrectly, leading to adjustments that look wrong on client screens. Professional color calibration tools cost $150-300 but prevent costly misunderstandings.
Ambient occlusion adds critical depth cues. Corners and crevices should darken slightly where objects meet. Missing AO makes scenes feel flat despite correct lighting.
Expected Results and Outcomes: Timelines, Costs, and Quality Benchmarks
Realistic expectations prevent disappointment. Typical rendering times range from 15 to 40 hours per image depending on resolution, scene complexity, and quality settings. A simple interior with basic furniture renders faster than a detailed exterior with landscaping and complex materials.
Costs per photorealistic image typically range between $200 and $1,000 USD based on detail, revisions, and deadline urgency. Rush projects command premium pricing. Multiple camera angles of the same scene cost less per image due to shared modeling and material work.
Quality benchmarks define success quantitatively. Professional renders achieve greater than 90% client satisfaction on first delivery. Post-delivery revision requests should stay below 5%. These metrics indicate effective briefing, communication, and technical execution.
| Project Type | Timeline | Cost Range | Quality Target |
|---|---|---|---|
| Simple Interior | 15-25 hours | $200-400 | 90% satisfaction |
| Complex Exterior | 30-40 hours | $600-1000 | 92% satisfaction |
| Commercial Development | 35-50 hours | $800-1200 | 95% satisfaction |
| Luxury Residential | 25-35 hours | $500-800 | 93% satisfaction |
Balancing time, budget, and quality requires strategic compromise. Tight budgets might necessitate fewer camera angles or simplified materials. Aggressive deadlines might require real-time rendering engines despite quality trade-offs. The photorealistic rendering guide explores these trade-offs in depth.
Track your actual performance against these benchmarks. Document render times, revision counts, and client satisfaction scores. This data informs more accurate future estimates and identifies workflow improvements.
Professional architectural visualization services leverage specialized teams and optimized workflows to achieve superior quality within budget constraints. Outsourcing complex renders often proves more cost-effective than internal production for firms without dedicated visualization staff.
Bring Your Designs to Life with Expert 3D Rendering Services
Mastering photorealistic visualization takes years of practice and continuous learning. While this guide provides the roadmap, professional rendering solutions accelerate your workflows and guarantee results.

Rendimension specializes in 3D rendering services that transform architectural concepts into stunning photorealistic images. Our expert team leverages advanced tools and proven workflows to produce high-quality 3D visualization that elevates client presentations and secures project approvals. From detailed architectural stills to immersive 3D walkthrough videos, we deliver visual solutions that showcase your designs with maximum impact.
Frequently Asked Questions
What GPU do I need for photorealistic rendering?
An NVIDIA RTX 3080 or higher with at least 16GB VRAM handles most architectural projects efficiently. Higher-end cards like the RTX 4090 reduce render times by up to 50% for complex scenes.
How long does it take to create a photorealistic render?
Typical timelines range from 15 to 40 hours per image, including modeling, material setup, lighting, rendering, and revisions. Simple interiors render faster than complex exteriors with detailed landscaping.
Should I use V-Ray or Unreal Engine for architectural visualization?
V-Ray delivers the highest quality for final deliverables but requires longer render times. Unreal Engine enables faster iteration and interactive presentations with slightly reduced photorealism, making it ideal for client feedback loops.
How can I reduce revision cycles with clients?
Share low-resolution test renders early for composition and lighting approval before committing to full-resolution outputs. Detailed project briefs and structured feedback documentation cut revision cycles by 35%.
What causes renders to look fake or unrealistic?
Common issues include incorrect lighting exposure, improper material reflections, scale errors, and missing ambient occlusion. Over 70% of amateur renders fail due to these technical mistakes that break visual believability.
Is it worth outsourcing architectural rendering?
For firms without dedicated visualization staff, outsourcing to professional services often proves more cost-effective than building internal capabilities. Expert teams deliver higher quality results faster, with typical costs ranging from $200 to $1,000 per image.
Recommended
- Final Renders Guide: Achieve Stunning Results In 2026
- 3D Walkthrough Video 3
- Architectural Visualization Guide For Stunning 3D Renderings
- Step-by-Step Guide To Photorealistic Rendering Success
- Mastering Art Illumination: A Data-Driven Guide to Lighting Your Colle – Art-O-Rama Shop
- Overcoming the Challenge of Visual Storytelling in Art – The Mansion Press